Have u ever imagined that Microsoft will bring its all new diverse products covering Dynamics 365, Office 365 and standalone products under one roof making a Trio…to unlock the potential faster than you ever thought possible…if you were not aware…then this post is for you…
The main intention is to empower everyone with one connected app platform…Power Platform combines the robust power of PowerApps, PowerBI, and Microsoft Flow into one powerful business application platform – providing quick and easy app building and data insights.
This is part one of 6 series blog posts helps you to understand the basics, in and out of this entire all new ecosystem. Upcoming blog posts will give you a deep insight on covering every individual aspect on this marvellous platform.

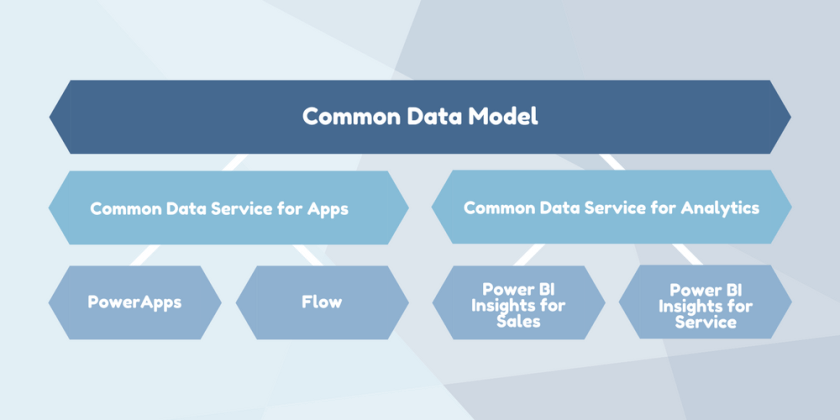
Common Data Model:
The Common Data Model (CDM) is the shared data language used by business and analytical applications. CDM bridges the gap between disjointed data repositories, granting easier cross-platform business reporting.
It consists of a set of a standardised, extensible data schemas published by Microsoft and partners that enables consistency of data and its meaning across applications and business processes. This allows apps to integrate and share data with each other without the need for extensive, custom integration by providing a centralized point where systems can come together and connect.
The Common Data Model is a secure method for exposing Microsoft databases that allows developers to build custom connections with other databases.
Common Data service:
The heart of the Microsoft Power Platform is the Common Data Service for Apps(CDS). These applications handle your data through the use of Microsoft’s Common Data Service for Apps (CDS). CDS is a cloud-based tool hosted on Azure which allows you to securely store and manage your business data. Data within the CDS is stored within a set of entities, a standard set of entities are included, however custom entities can be created for specific requirements to your organization and populate them with data using Power Query. The CDS for Apps is built on the Common Data Model.
Dynamics 365 applications, like Dynamics 365 for Sales, Service or Talent also use the Common Data Service to store and secure data used by the applications. This enables you to build apps using PowerApps and the Common Data Service directly against your core business data already used within Dynamics 365 without the need for integration. You can think of Common Data service as a common store allows for an easier app building experience, and a single set of logic to maintain and operate over the data.
Power Apps:
Power Apps enables users fostering via No Code solutions which improves productivity and reduces the time for the delivery.

PC Mag. had rated the power apps as the best low code solutions available in the market..if you haven’t gone through this..read this article..
PowerApps at its core is a Platform as a Service. It allows you to create Mobile Apps that run on Android, iOS, Windows (Modern Apps) – and with almost any Internet browser..Read more about Power Apps in the upcoming blog post here…
Microsoft Flow:
Microsoft Flow is an online workflow service that automates actions across the most common apps and services and a trigger based system.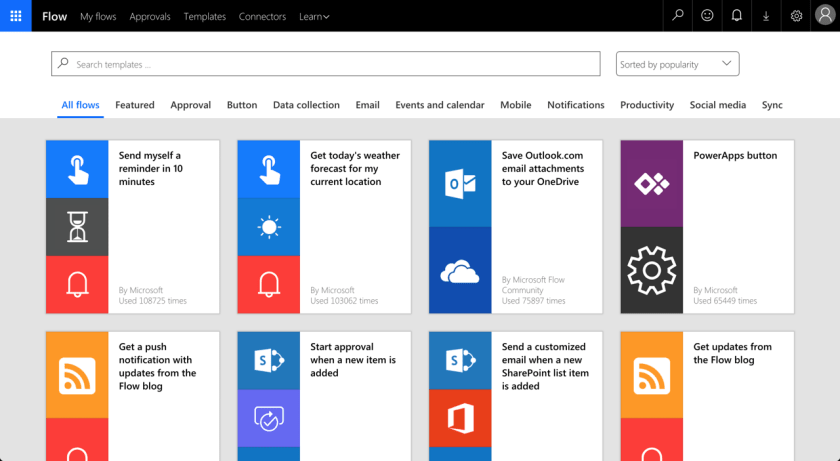
In total there are connectors for 323 applications and protocols at the time of writing, and you can write your own if you need a different one. You can read more about Flow and automating your business processes here…
Power BI:
Microsoft Power BI is a collection of software services, apps, and connectors that work together to turn your unrelated sources of data into coherent, visually immersive, and interactive insights. Power BI can be simple and fast, capable of creating quick insights from an Excel workbook or a local database.
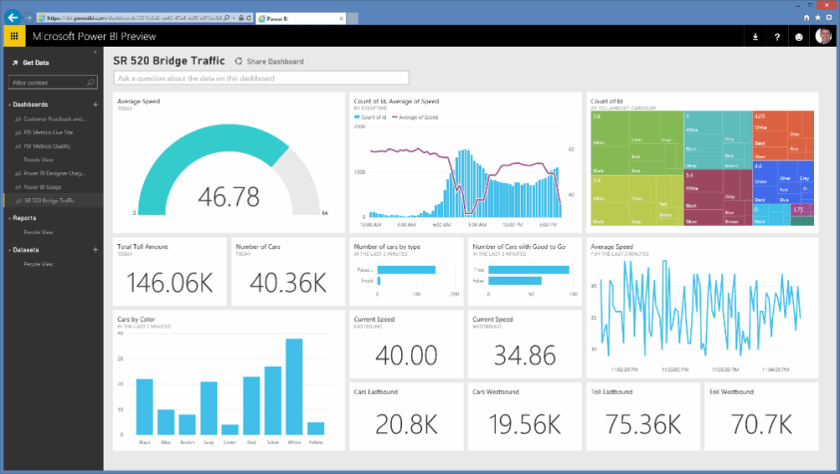
At the users flexibility….we can use…Windows desktop application called Power BI Desktop, an online SaaS (Software as a Service) service called the Power BI service, and mobile Power BI apps that are available on Windows phones and tablets, and also on Apple iOS and Google Android devices.
These three elements—Desktop, the service, and Mobile apps—are designed to let people create, share, and consume business insights in the way that serves them, or their role, most effectively.
Read more capabilities of Power BI here…
Connectors & Gateways:
Nevertheless we discussed all the other components as part of this framework, connectors and gateways plays a major role…Connectors are essentially proxy wrappers around the APIs provided by services that allow Microsoft Flow, PowerApps and Logic Apps to easily interact with the service. You can read more about connectors and gateways and much more in upcoming post…
That’s it for today…thank you for reading…
Cheers,
PMDY
17.444846
78.640132
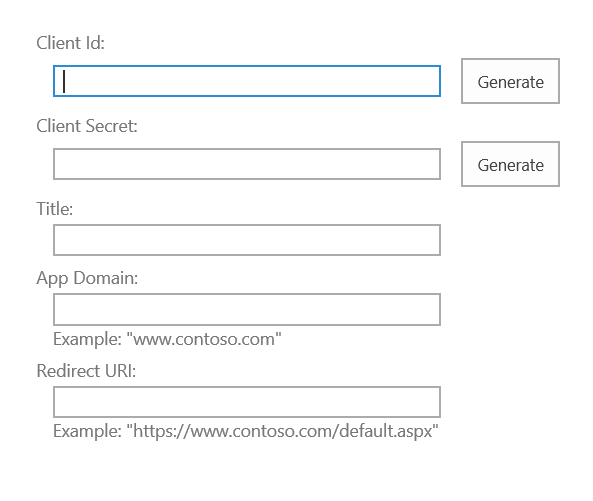
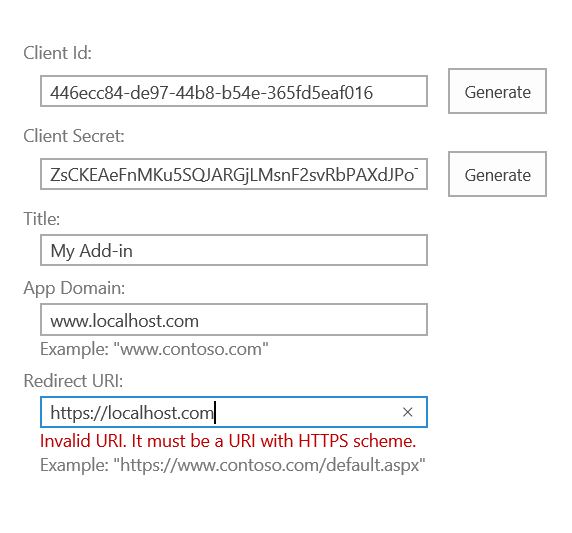
 SharePoint Add-in Identifier

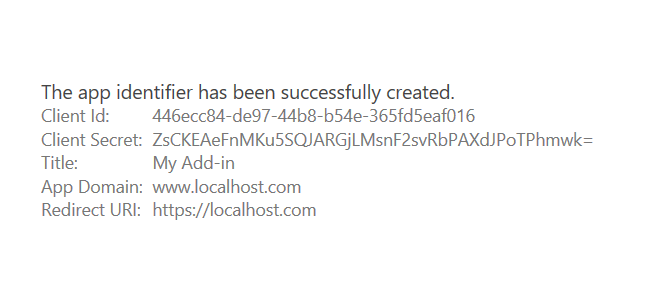
 Trust SharePoint Add-In