Impersonation – Level Up Hidden Feature that every Power Platform CE Developer ought to know

Hi Folks,

By this time, almost every Dynamics 365 Developer had some day or the other used Level up in their Custom Engagement consultant career.

While every one out in the Dynamics CRM Space know about the widely popular God mode available in Level Up which helps in the day to day administration and maintenance activity of CE applications.

Today in this blog post, lets see how we can achieve impersonation using Level up. We all know about impersonation in Dynamics CRM possibly using Plugins via Plugin Registration tool or directly through code.

But do you know, using Level Up, do you know that you even don’t need to write any piece of code but can impersonate to any user in the system with thin a few clicks right from your browser. If this interests you, just follow along…

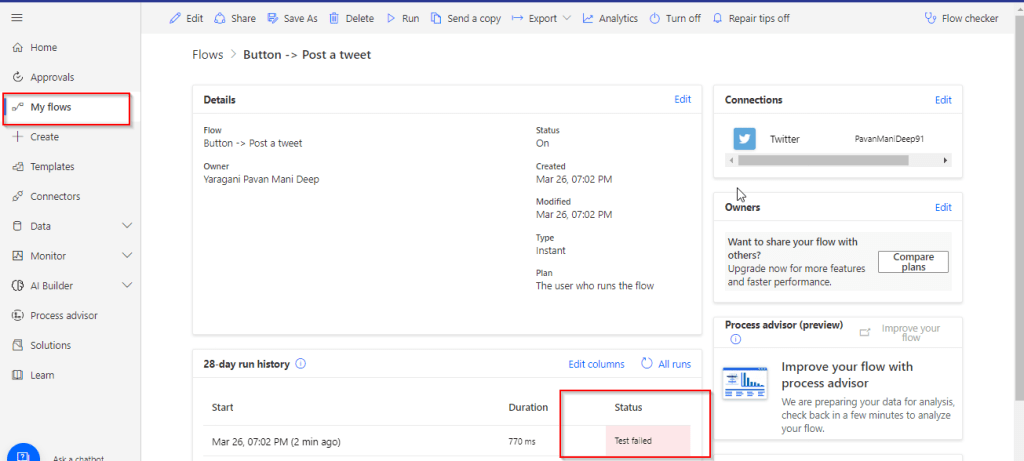
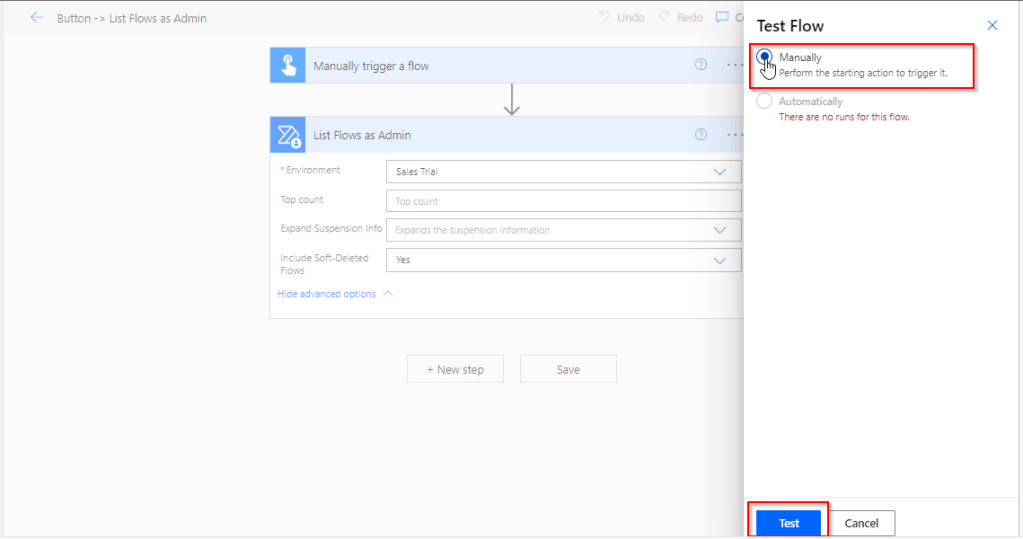
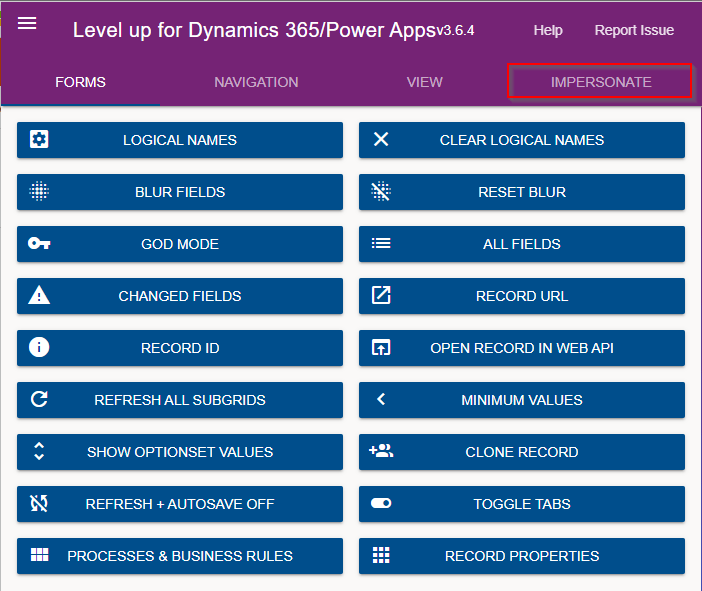
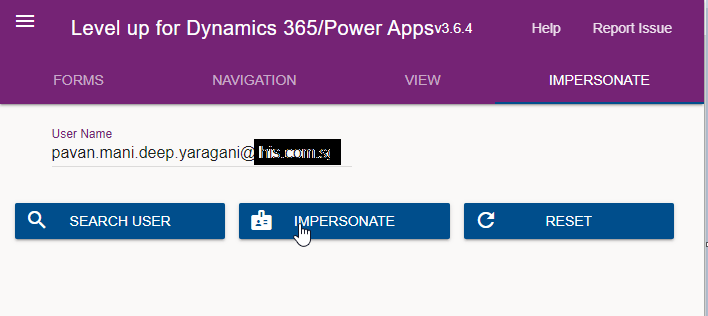
Just open the level up chrome extension. This is how your home screen look like once opened..to use this feature, just click on Impersonate as highlighted in the below image. For all this activity, I am logged in as Admin user to the system.

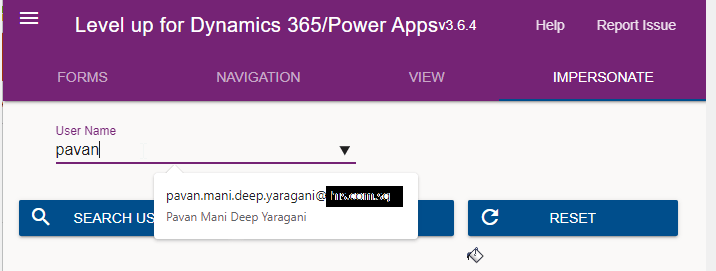
Next you can search with the username with whom you want to impersonate with i.e. here I would like to impersonate with my user account. You can search and impersonate with any user in the system.

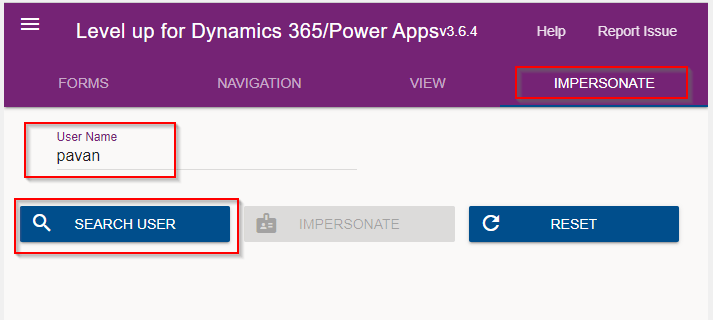
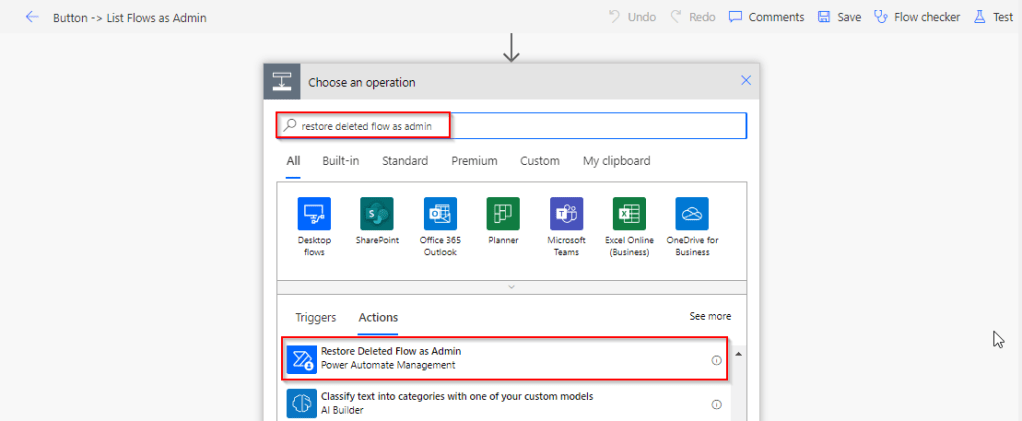
Once you click on SEARCH USER

Upnext, click on impersonate button available as below

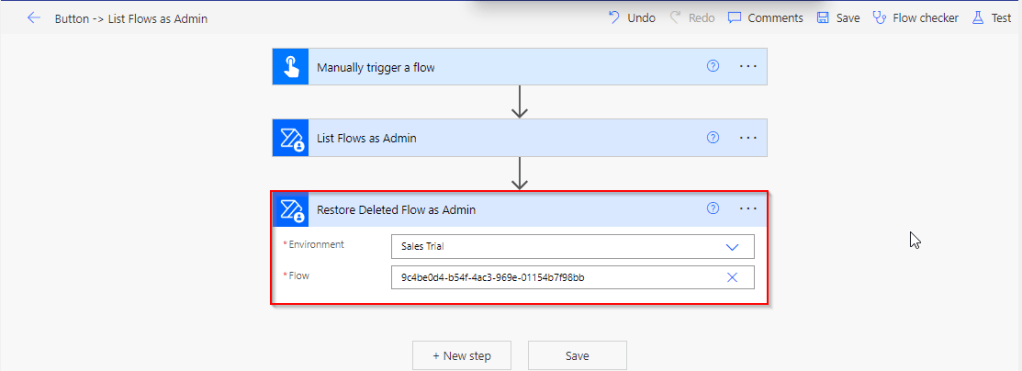
It opens a new window impersonated with the user account as the user choosen for the impersonation.

The screen shows as the user pavan is the logged in user…

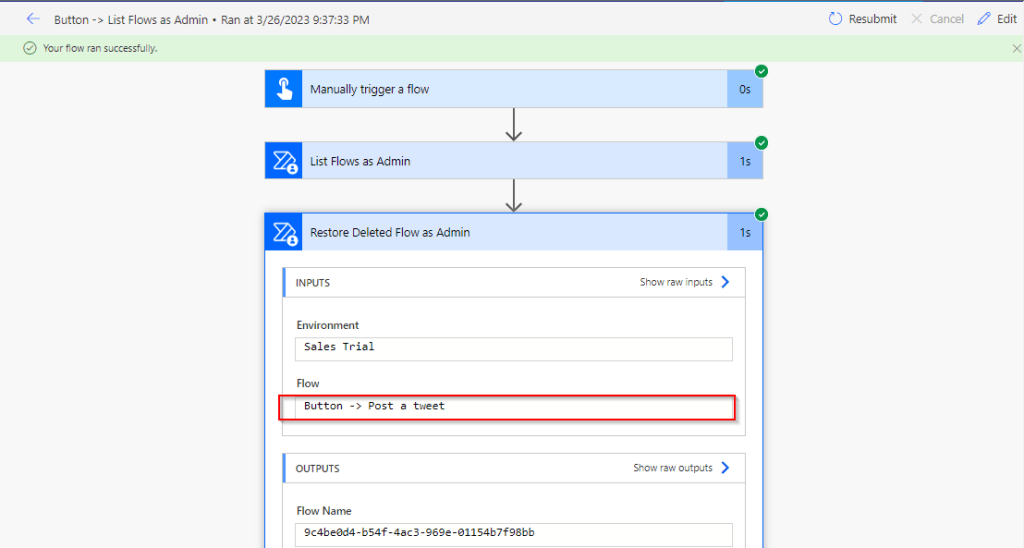
Now you can perform all the operations same as what user pavan has…how cool is it…this feature perfects suits when you want to test out the application security roles where you would like to make a change to a user role and assign to other team member, test it without needing his/her presence. Cool to know, isn’t it….

References:

You can install the extension on Edge, Firefox and Chrome.

BrowserStore Link
Chromehttps://chrome.google.com/webstore/detail/level-up-for-dynamics-crm/bjnkkhimoaclnddigpphpgkfgeggokam
Firefoxhttps://addons.mozilla.org/en-US/firefox/addon/level-up-for-d365-power-apps/
Edgehttps://microsoftedge.microsoft.com/addons/detail/level-up-for-dynamics-365/mdjlgdkgmhlmcikdmeehcecolehipicf

GitHub for source code and project documentation

Cheers to Nataraj Yegnaraman who developed this cool tool…

Thanks for reading…

PMDY

Restore your deleted Power Automate Flows – Quick Tip

Hi Folks,

Have you or some one in your team accidentally deleted some your flows and want them to be back..? Then this post is for you…

There are the two ways you can restore deleted flows up to 20 days in either way…once after 20 days, even Microsoft Support couldn’t recover your flows.

In this blog post, we will see how you can recover your flows using first approach using Power Automate Management connector which is much simpler.

All you need is a button flow with two Power Automate management connector actions—List Flows as Admin and Restore Deleted Flows as Admin.

So let’s see…

I have a very simple flow as below…

But is has been failing due to some authentication issue, so I have deleted it…

Later I understood the root cause for the authentication issue, I want the flow created to be back. But no problem, you can recover your flow as below…So follow these steps to quickly get your deleted flow back…using an another flow…

Choose a manual trigger…

Next add an action, and choose an operation by searching list flows as admin.

Select your environment in the connector

Save your flow and test it…

Once your flow is successful, verify the outputs..scroll to find out the flow, check for the display name and note down the name associated.

This connector will list down all the flows created in your tenant…when you expand the raw OUTPUTS/value. Note the name which is nothing but the Guid of your flow.

Add Restore Deleted Flows as Admin action and run the flow by searching for the same as below.

Add the Restore Deleted Flows as Admin action from the Power Automate Management Connector.

In the Flow field, enter the name value ie. Guid noted from previous step ie.

9c4be0d4-b54f-4ac3-969e-01154b7f98bb

Save the flow, and test/run it.

You can note your flow is back, you can find out under My Flows but it’s disabled state.

Note:

  • The steps in this article apply to both non-solution and solution flows.
  • Flows that were deleted more than 20 days ago can’t be recovered. Both restore methods (PowerShell script and Power Automate Management connector), as well as Microsoft Support can’t help to restore them.
  • After you restore a flow, it defaults to the disabled state. You must manually enable the flow, per your requirements.

Incase if you were good at Power Shell, you can utilize this approach.

Cheers,

PMDY