Hi Folks,
One of my colleagues asked about Dataverse search, hence I am writing this article on Dataverse Search in Dynamics 365 and in the end, will compare different search options available in Dynamics 365.
Dataverse Search:
In layman terms, Dataverse Search is a powerful search tool that helps you find information quickly across your organization’s data in Microsoft Dataverse, which is the underlying data platform for apps like Power Apps, Dynamics 365, and more, shows you all the related information from across different tables or records in one place.
In short, Dataverse Search is the evolved version of Relevance Search, offering a more robust, faster, and user-friendly search experience including search results for text in documents that are stored in Dataverse such as PDF, Microsoft Office documents, HTML, XML, ZIP, EML, plain text, and JSON file formats. It also searches text in notes and attachments. Before enabling it, just note that once Dataverse search is enabled, it will be affected in all your Model Driven Apps, as of now, just take note.
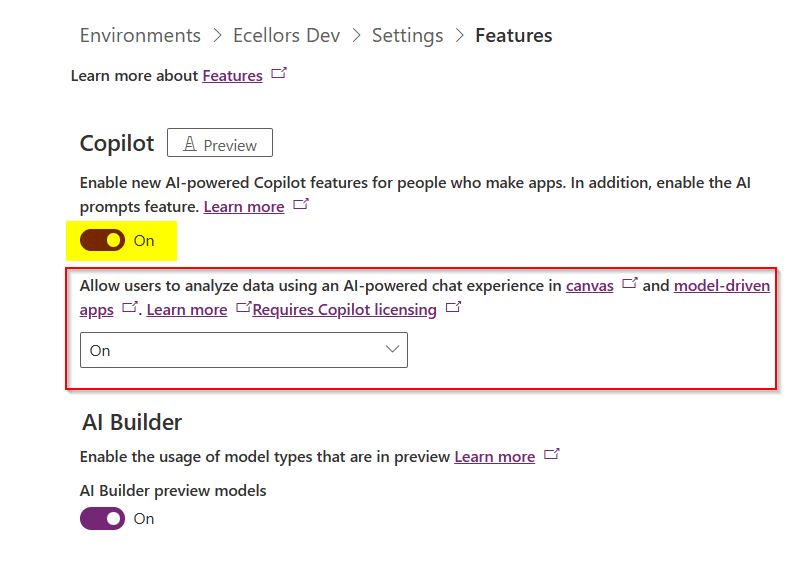
It is on by default, here is where you can now turn off the Dataverse Search:
- Navigate to https://admin.powerplatform.com
- Click on Environments –> Choose your required environment –> Settings –>Features
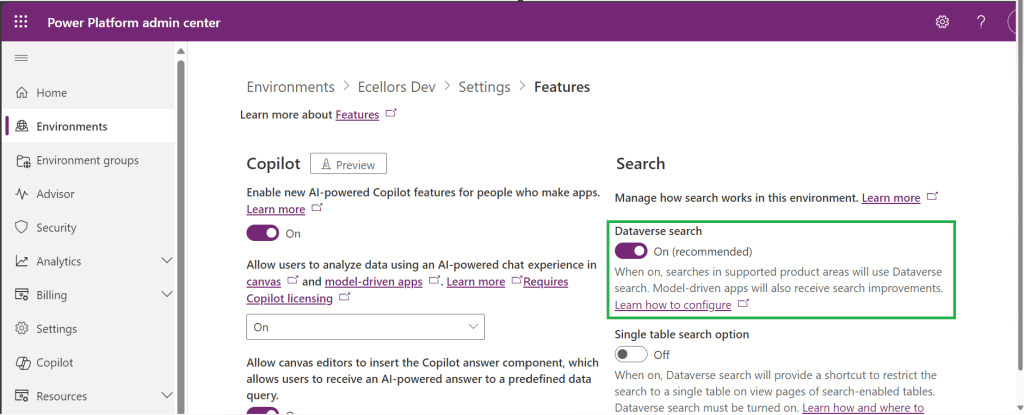
3. Disable/Enable the Dataverse search feature.
Once enabled, we need to configure the tables for Dataverse Search so that indexing is performed at the backend, in order to do this…
- Navigate to https://make.powerapps.com, select your desired solution –> Click on Overview as shown below

Now you need to choose Manage Search Index and you can choose your desired table and fields, there isn’t a limit on the number of tables you can configure, but there is a limit on the number of fields you can configure for an environment, a maximum of 1000 fields are permitted both including system and custom fields, 50 fields are used by system, so you can configure 950 fields.
Just note that some field types are treated as multiple fields in the Dataverse search index as indicated in this table.
| Field type | Number of fields used in the Dataverse search index |
|---|---|
| Lookup (customer, owner, or Lookup type attribute) | 3 |
| Option Set (state, or status type attribute) | 2 |
| All other types of fields | 1 |
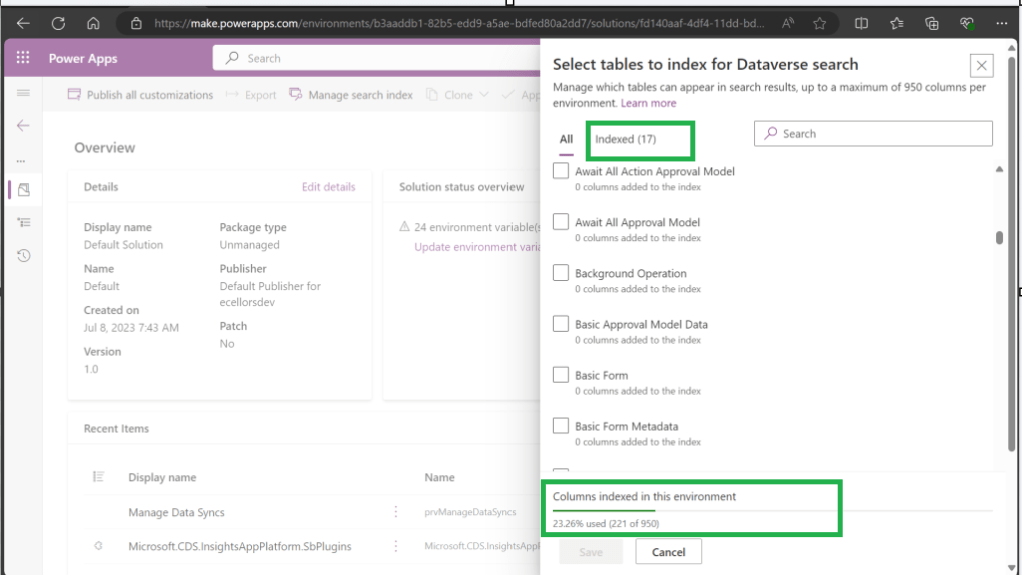
At the bottom of the snap above, you could see the percentage of columns indexed in this environment.
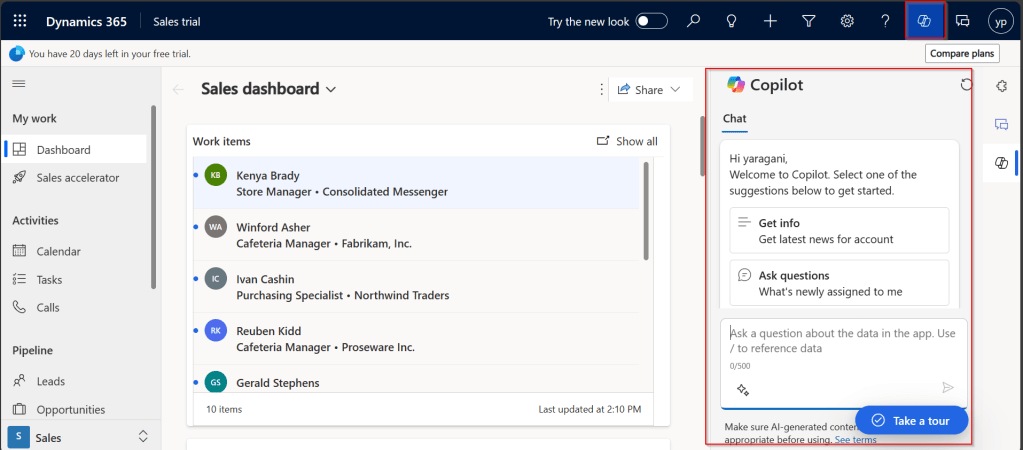
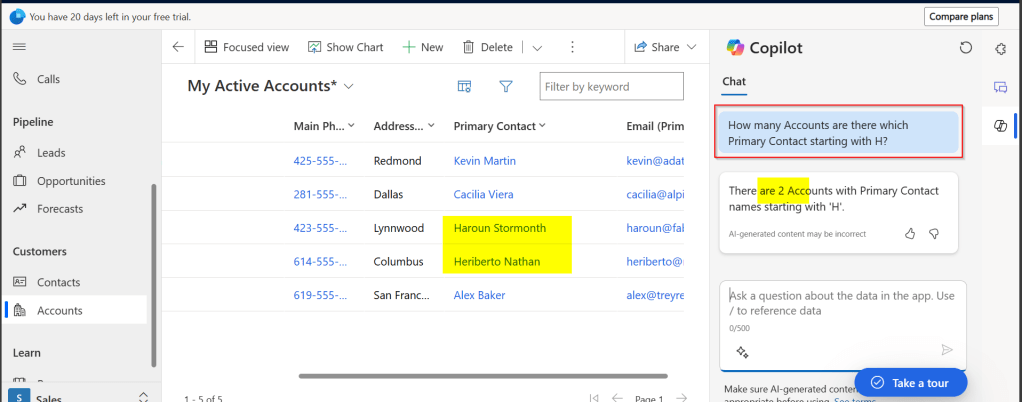
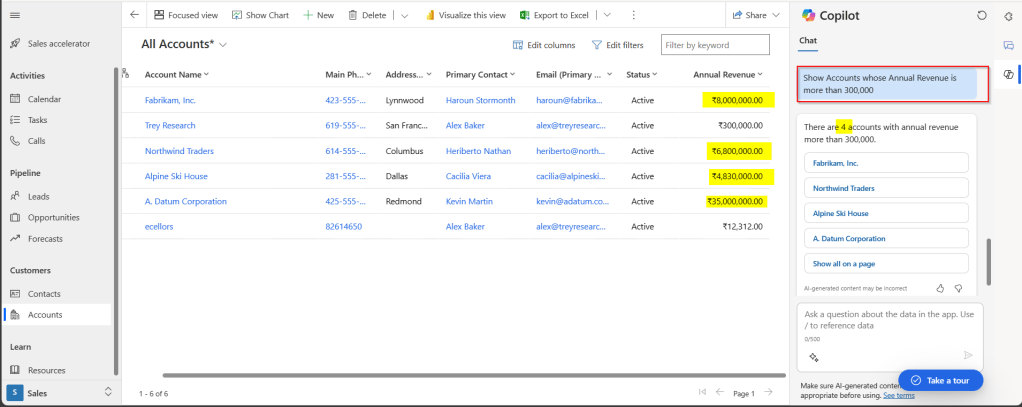
When Dataverse search is enabled, the search box is always available at the top of every page in your app. You can start a new search and quickly find the information that you’re looking for.
When Dataverse search is turned on, it becomes your default and only global search experience for all of your model-driven apps. You won’t be able to switch to quick find search also known as categorized search.

You can also enable Quick actions as shown in the below table
| Table | Quick actions |
|---|---|
| Account | Assign, Share, Email a link |
| Contact | Assign, Share, Email a link |
| Appointment | Mark complete, Cancel, Set Regarding, Assign, Email a link |
| Task | Mark complete, Cancel, Set Regarding, Assign, Email a link |
| Phone Call | Mark complete, Cancel, Set Regarding, Assign, Email a link |
| Cancel, Set Regarding, Email a link |
Here is the short table comparing all types of searches in Dynamics 365…
| Functionality | Dataverse search | Quick Find | Advanced Find |
|---|---|---|---|
| Enabled by default? | Yes. Note: For non-production environments an administrator must manually enable it. | Yes, for the table grid. No, for multiple-table quick find (categorized search). An administrator must first disable Dataverse search before multiple-table grid find can be enabled. | Yes |
| Single-table search scope | Not available in a table grid. You can filter the search results by a table on the results page. | Available in a table grid. | Available in a table grid. |
| Multi-table search scope | There is no maximum limit on the number of tables you can search. | Searches up to 10 tables, grouped by a table. | Multi-table search not available. |
| Search behavior | Finds matches to any word in the search term in any column in the table. | Finds matches to all words in the search term in one column in a table; however, the words can be matched in any order in the column. | Query builder where you can define search criteria for the selected row type. Can also be used to prepare data for export to Office Excel so that you analyze, summarize,or aggregate data, or create PivotTables to view your data from different perspectives. |
| Searchable columns | Text columns like Single Line of Text, Multiple Lines of Text, Lookups, and Option Sets. Doesn’t support searching in columns of Numeric or Date data type. | All searchable columns. | All searchable columns. |
| Search results | Returns the search results in order of their relevance, in a single list. | For single-table, returns the search results in a table grid. For multi-table, returns the search results grouped by categories, such as accounts, contacts, or leads. | Returns search results of the selected row type with the columns you have specified, in the sort order you have configured. |
Hope you learned something today…if you have any questions, do let me know in the comments…
Cheers,
PMDY