Hi Folks,
This is an introductory post, but it’s worth going through where I will be sharing basics about using Centre of Excellence(COE) in Power Platform. Let’s get started.
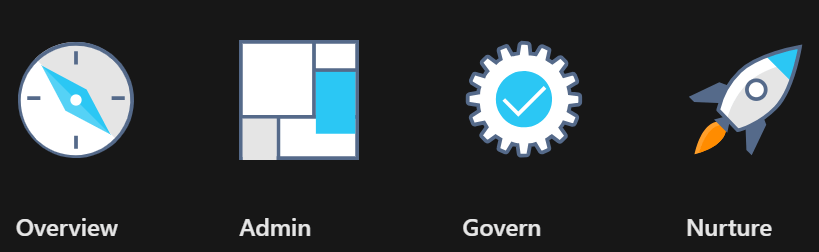
So, what’s Center of Excellence? COE plays a key role in deriving strategy and move forward in this fast-paced world to keep up with the innovation. Firstly, we may need to ask ourselves few questions…Do your organization have lot of flows, apps and copilots aka power virtual agents? Do you want to effective manage them? Then how you want to move forward…using COE Starter kit is a great choice. It is absolutely free to download, the starter kit is a collection of components and tools which will help to oversee and adopt Power Platform Solutions. The assets part of the CoE Starter Kit should be seen as a template from which you inherit your individual solution or can serve as inspiration for implementing your own apps and flows.
There were some prerequisites before you can install your COE Starter Kit. Many of the medium to large scale enterprise Power Platform implementations should be possessing in their tenant.
- Microsoft Power Platform Service Admin, global tenant admin, or Dynamics 365 service admin role.
- Dataverse is the foundation for the kit.
- Power Apps Per User license (non-trial) and Microsoft 365 license.
- Power Automate Per User license, or Per Flow licenses (non-trial).
- The identity must have access to an Office 365 mailbox that has the REST API enabled meeting the requirements of Outlook connector.
- Make sure you enable the Power Apps Code Components in Power Platform Admin Center
- If you want to track unique users and app launches, you need to have Azure App Registration having access to Microsoft 365 audit log.
- If you would like to share the reports in Power BI, minimally you require a Power BI pro license.
- Setting up communication groups to talk between Admins, Makers and Users.
- Create 2 environments, 1 for test and 1 for production use of Starter Kit
- Install Creator Kit in your environment by downloading the components from here
The following connectors should be allowed to effectively use data loss prevention policies(DLP)
- Approvals, Azure Resource Manager, HTTP with Microsoft Entra ID, Microsoft Dataverse, Microsoft Dataverse (legacy), Microsoft Teams, Office 365 Groups, Office 365 Outlook, Office 365 Users, Power Apps for Admins, Power Apps for Makers, Power Automate for Admins,Power Automate Management,Power Platform for Admins,Power Query Dataflows,RSS, SharePoint
Once you were done checking the requirements, you can download from the starter kit here.
You can optionally install from App Source here or using Power Platform CLI here.
The kit provides some automation and tooling to help teams build monitoring and automation necessary to support a CoE.
While we saw what advantages are of having COE in your organization and other prerequisites. In the upcoming blog post, we will see how you can install COE starter kit in your Power Platform tenant and set it up to effectively plan your organization resources for highest advantage.
Cheers,
PMDY