Hi Folks,
Hope you’re all doing great and staying safe. This week, let’s dive into a question almost every architect, developer, and Power Platform enthusiast eventually faces—but rarely gets a clear answer to:
“Should I use Dataverse, SQL Server, or PostgreSQL for my next solution…?”
With so many platforms claiming speed, scalability, flexibility, and low‑code magic, choosing the right one can feel like navigating a maze. But don’t worry—I’ve broken it all down into a simple, structured guide that can help you guide your implementation choice.
Whether you’re building Power Apps, designing enterprise systems, or architecting cloud‑native solutions, this comparison will help you. You will understand what each platform really offers. You will see how they differ. And—most importantly—which one fits your scenario best.
Let’s jump in and make your next data decision a confident one.
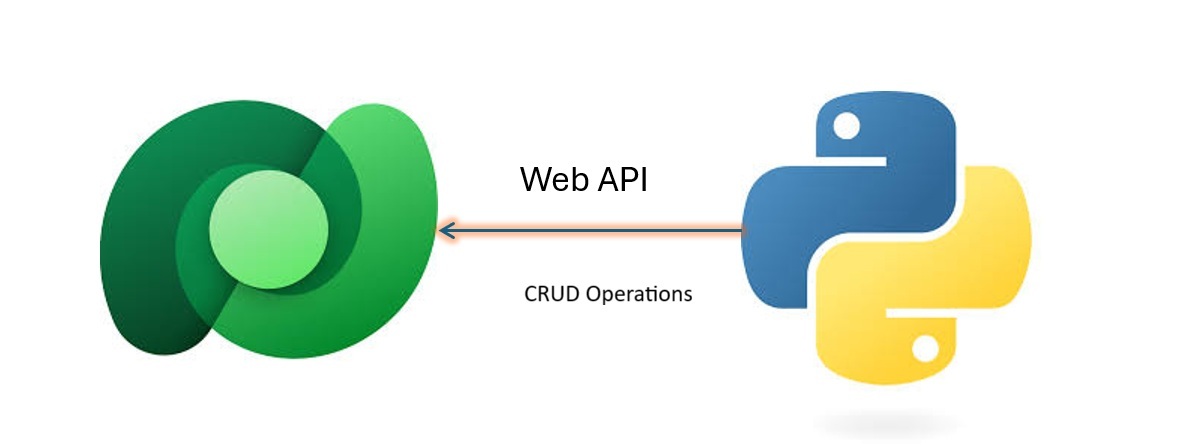
“Firstly, why think of PostgreSQL, in a Microsoft ecosystem
While Power Platform implementations rarely use PostgreSQL directly, it remains one of the most widely adopted enterprise databases. Including it in this comparison helps architects understand how Microsoft’s data platforms stack up against a major industry standard.”
High‑Level Summary
Dataverse is a managed, low‑code data platform built for the Microsoft Power Platform. SQL Server is a commercial, enterprise-grade relational database tightly integrated with the Microsoft ecosystem. PostgreSQL is an open‑source, highly extensible relational database known for standards compliance and advanced features.
What Each One Is
🟦 Microsoft Dataverse
- A cloud-based data platform used by Power Apps, Power Automate, Dynamics 365.
- Not just a database—includes security, business rules, API layer, auditing, integration, and a managed schema.
- Under the hood uses Azure SQL, Cosmos DB, and Azure Blob Storage.
🟥 Microsoft SQL Server
- A full-featured relational database management system (RDBMS).
- Commercial licensing, strong enterprise tooling, and deep integration with Azure, .NET, Windows Server.
- Supports OLTP, analytics, and BI workloads.
🟩 PostgreSQL
- A free, open-source RDBMS with strong SQL standards compliance.
- Known for extensibility (custom types, functions, extensions like PostGIS).
- Competes directly with SQL Server in enterprise features without licensing fees.
Comparison Table
| Feature / Aspect | Dataverse | SQL Server | PostgreSQL |
|---|---|---|---|
| Primary Purpose | Low‑code app data platform | Enterprise RDBMS | Open‑source enterprise RDBMS |
| Best For | Power Platform & Dynamics apps | Enterprise apps, BI, Microsoft stack | Cross‑platform apps, open-source ecosystems |
| Hosting | Fully managed SaaS | On‑prem, Azure, hybrid | On‑prem, cloud (AWS, Azure, GCP), hybrid |
| Licensing | Per‑user/app licensing | Commercial licenses | Free (open source) |
| Extensibility | Limited (managed schema) | High | Very high (extensions, custom types) |
| APIs | Built‑in REST, OData | Requires custom API layer | Requires custom API layer |
| Security Model | Row-level, role-based, built-in | Highly configurable | Highly configurable |
| Performance Control | Limited (managed) | Full control | Full control |
| Use in Power Platform | Native | Requires connectors | Requires connectors |
Key Differences Explained
1. Purpose & Abstraction Level
- Dataverse abstracts away database management. You don’t manage tables, indexes, or backups—Microsoft does.
- SQL Server and PostgreSQL give you full control over schema, performance tuning, and infrastructure.
2. Integration
- Dataverse is the default data layer for Power Apps and Dynamics 365.
- SQL Server integrates deeply with Microsoft tools (SSIS, SSRS, Azure Synapse).
- PostgreSQL integrates broadly across open-source ecosystems and cloud platforms.
3. Cost Model
- Dataverse: Licensing based on Power Platform usage (can get expensive at scale).
- SQL Server: Licensing per core or CAL.
- PostgreSQL: Free, with optional paid support.
4. Flexibility
- Dataverse: Highly opinionated; great for business apps but restrictive for custom architectures.
- SQL Server: Flexible but within Microsoft’s ecosystem.
- PostgreSQL: Most flexible—extensions, custom data types, procedural languages.
5. Scalability
- Dataverse: Scales automatically but within platform limits.
- SQL Server: Scales vertically and horizontally (with Always On, sharding patterns).
- PostgreSQL: Scales well; many cloud providers offer managed scaling.
When to Use Each
Choose Dataverse if:
- You’re building Power Apps, Power Automate, or Dynamics 365 solutions.
- You want zero database administration.
- You need built‑in security, auditing, business rules, and managed APIs.
Choose SQL Server if:
- You’re in a Microsoft-centric enterprise.
- You need high-performance OLTP, BI, or analytics.
- You want tight integration with Azure and .NET.
Choose PostgreSQL if:
- You want open-source, cost-effective, and highly extensible technology.
- You need advanced SQL features or geospatial support (PostGIS).
- You want cloud portability (AWS, Azure, GCP).
How to Decide Quickly
Check the below…ask yourself…the following questions…
- Are you building Power Platform apps? → Use Dataverse.
- Are you building enterprise apps in the Microsoft ecosystem? → Use SQL Server.
- Do you want open-source, flexible, and cloud-portable? → Use PostgreSQL.
References:
Cheers,
PMDY