Hi Folks,
Looking to improve your experience developing code using Power Fx. Then try this feature which was in preview…I want to show you how you can execute them. It is actually quite ideal for prototyping, debugging, testing to see the Power-Fx expression behavior. If you were new to Power-Fx, you can check my introductory post here on this which I wrote way back in 2021.
All you can do this is to execute few commands from VS Code, they directly run on your Dataverse environment.
Few prerequisites to follow:
- Install VS Code (install from here)
- Install Power Platform CLI (install from here)
- Install PowerShell Module for VS Code (install from here)
- Install Power Platform Tools for VS Code (install from here)
- Once you have everything installed you were good to go, few more steps required to set up your VS Code to run successfully.
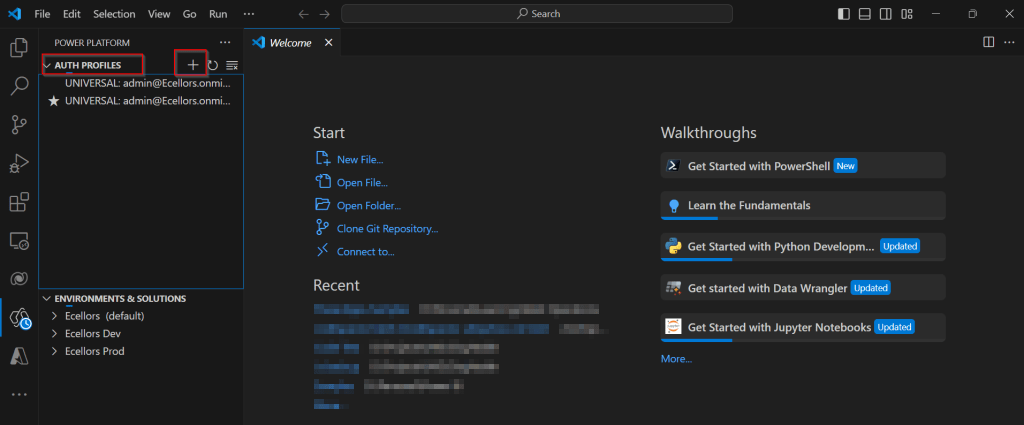
As you have already installed the Power Platform Tools extension above, you should see an icon at the side bar as highlighted below.

Create an authentication profile for your target environment, click on the plus symbol besides the AUTH PROFILES, I have already created few earlier.
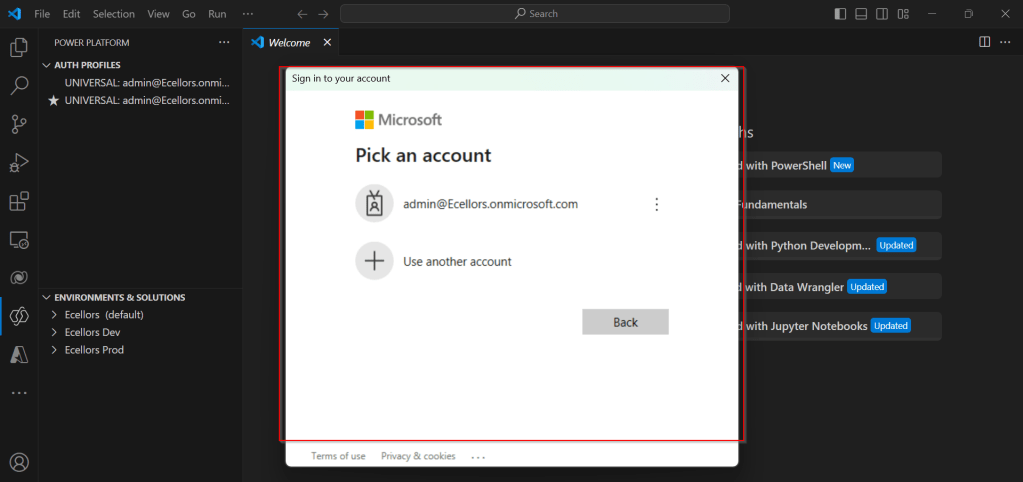
Provide your login credentials using the login prompt.
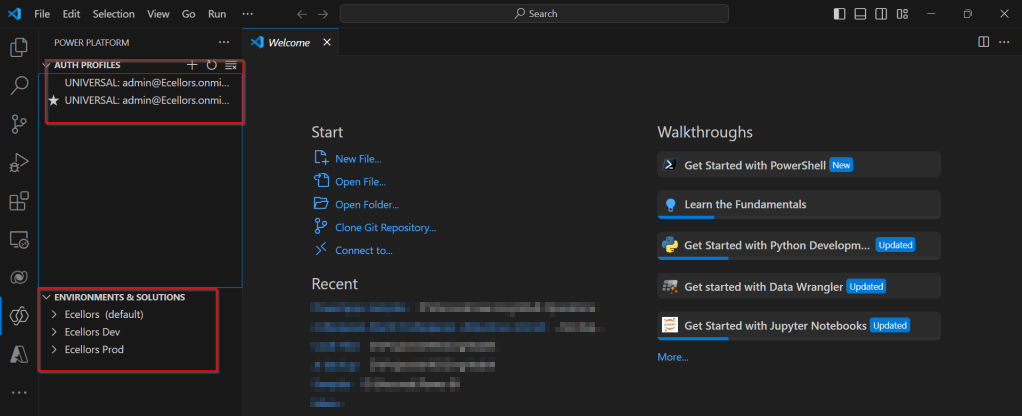
Once authenticated, you should be able to see all your environments in your tenant like below.
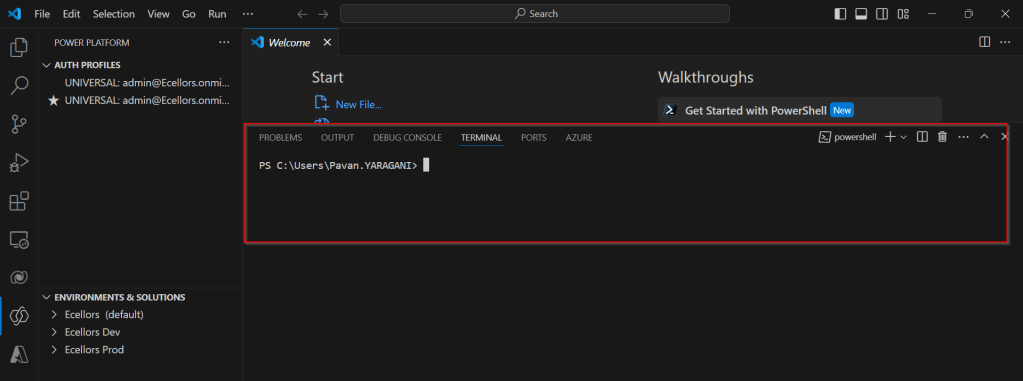
Open a terminal in VS Code

You should see something like below.
Now you were all set to run Power-Fx Commands targeting your envirnment, let’s try it out. In order to interact with Dataverse, use the below commands, thereby reducing the time and complexity of your Dataverse operations by using Power Fx.
1: pac org who: Displays information about your current Dataverse Organization

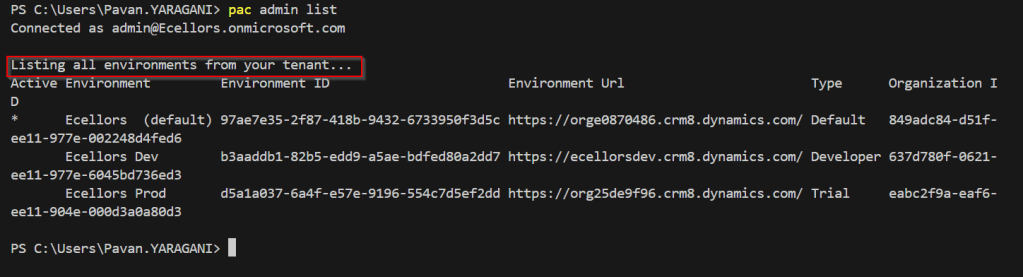
2: pac admin list :List all environments from your tenant.
3. Read-Eval-Print Loop & Dataverse Commands
We heard about Read-Eval-Print Loop while working on other languages mainly Python, we now have that included while using Power Fx, to start using if. Enter the below in your Vs Code Terminal, it should show something like below and now you can execute commands and once connected, you can use Dataverse commands.

By the way, we need to use Plural names below.
pac power-fx repl command:
a. Add Rows: Use Collect (Contacts, { firstname: “Pavan”, lastname: “Mani Deep”})

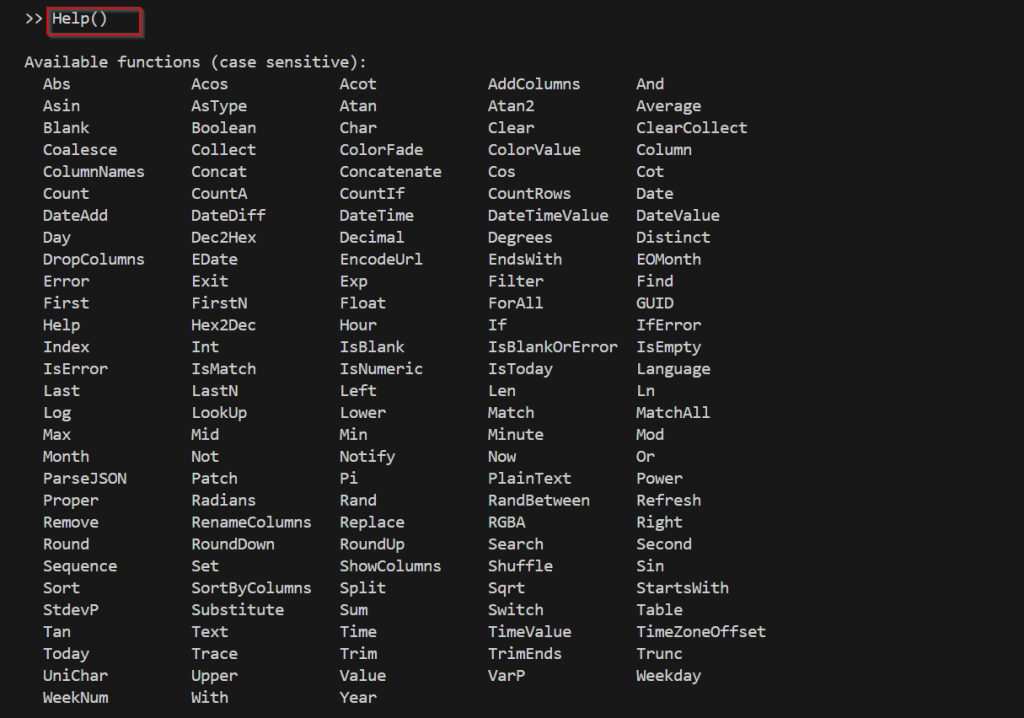
b. Help: Use Help ()
c. Exit: Use Exit() to exit the repl command
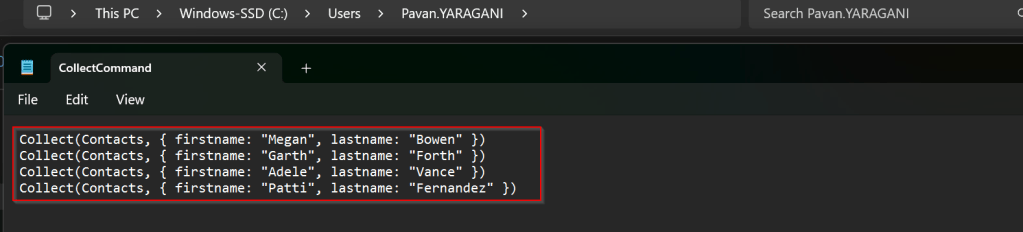
4. Run Power-Fx Commands from a file: All you need to do is save the Power-Fx commands in a text file at the below location.

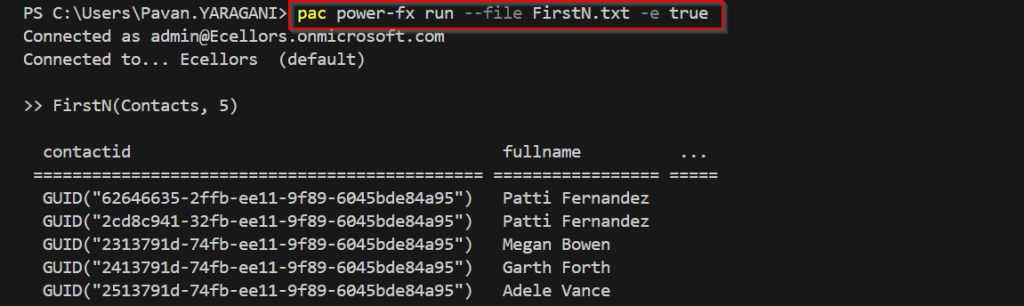
pac power-fx run:
With this command, you can run a file of Power Fx instructions.
a. Create Dataverse records: By using same Collect Command we used above in a file.
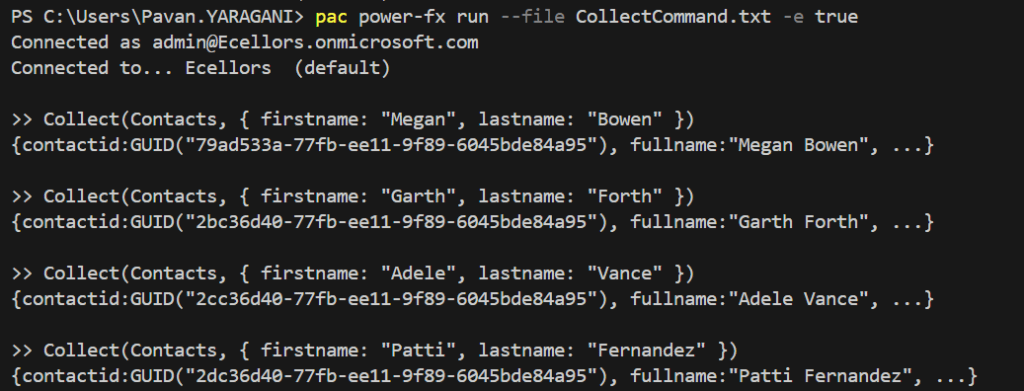
Now execute the command
pac power-fx run –file Name of the file -e true
b. Query a Dataverse table: Save the below command in a file located in the folder path.

Now execute the command
c. Filter a Dataverse table: While I used the filter command, I was not able to filter the data, rather I was getting null. I hope Microsoft will be fixing this when these features are out of preview.

I hope this gives you an idea of how you can execute Power-Fx commands within your favorite IDE(Vs Code).
Cheers,
PMDY