This is continuation in this series of Dataverse SDK for Python, if you haven’t checked out earlier articles, I would encourage to start from the beginning of this series.
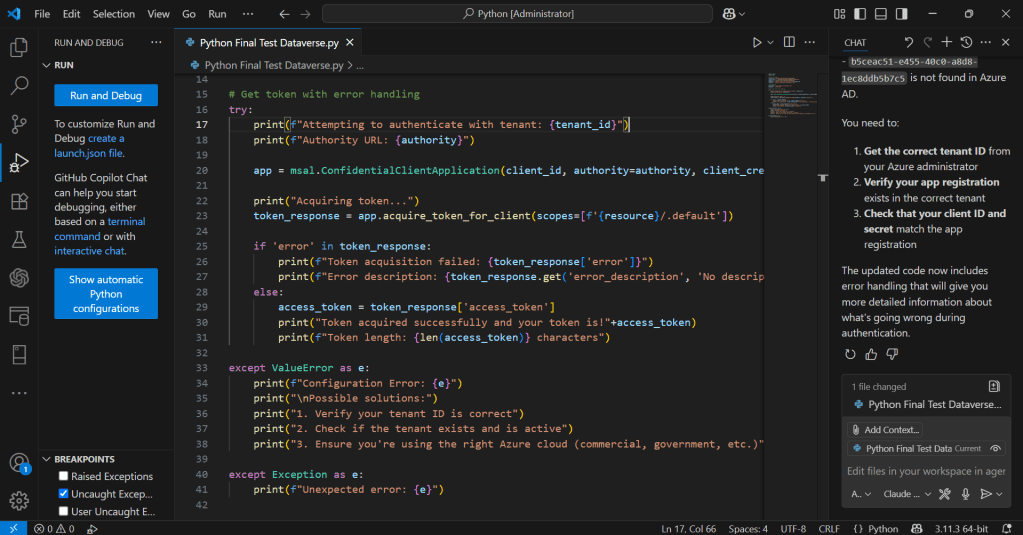
Machine learning often begins with one essential step: data preprocessing. Before models can learn patterns, the raw data must be cleaned, scaled, and transformed into a form suitable for analysis. In this example, let me demonstrate how to retrieve numerical data from Microsoft Dataverse and apply a linear normalization algorithm using Python.
Normalization is a fundamental algorithm in machine learning pipelines. It rescales numeric values into a consistent range—typically between 0 and 1—making them easier for algorithms to interpret and compare.
1. Retrieving Data from Dataverse
Using the DataverseClient and Interactive Browser authentication, we connect to Dataverse and fetch the revenue field from the Account table. This gives us a small dataset to run our algorithm on.
from azure.identity import InteractiveBrowserCredential from PowerPlatform.Dataverse.client import DataverseClient credential = InteractiveBrowserCredential()client = DataverseClient("https://ecellorsdev.crm8.dynamics.com", credential)account_batches = client.get( "account", select=["accountid", "revenue"], top=10,)
We then extract the revenue values into a NumPy array.
2. Implementing the Linear Normalization Algorithm
The algorithm used here is min–max normalization, defined mathematically as:This algorithm ensures:
- the smallest value becomes 0
- the largest becomes 1
- all other values fall proportionally in between
Here’s the implementation:
import numpy as nprevenues = np.array(revenues)min_rev = np.min(revenues)max_rev = np.max(revenues)normalized_revenues = (revenues - min_rev) / (max_rev - min_rev)
This is a classic preprocessing algorithm used in machine learning pipelines before feeding data into models such as regression, clustering, or neural networks.
3. Visualizing the Normalized Output
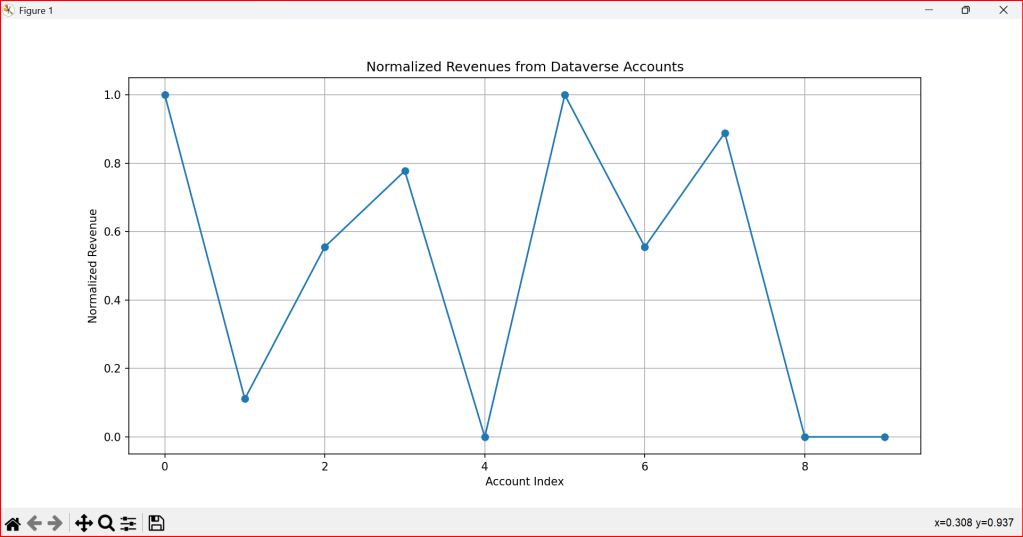
To better understand the effect of the algorithm, we plot the normalized values:
import matplotlib.pyplot as plt plt.plot(normalized_revenues, marker='o')plt.title('Normalized Revenues from Dataverse Accounts')plt.xlabel('Account Index')plt.ylabel('Normalized Revenue')plt.grid()plt.show()
The visualization highlights how the algorithm compresses the original revenue values into a uniform scale.
4. Why Normalization Matters
Normalization is not just a mathematical trick—it’s a crucial algorithmic step that:
- prevents large values from dominating smaller ones
- improves convergence in optimization-based models
- enhances the stability of distance‑based algorithms
- makes datasets comparable across different ranges
The use of this code is to transform raw Dataverse revenue data into normalized, machine‑learning‑ready values that can be analyzed, compared, and visualized effectively.
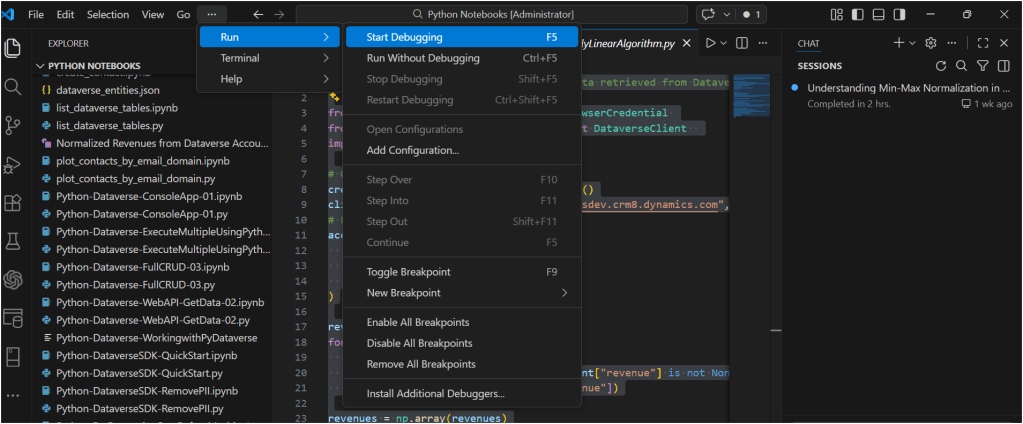
You can download the Python Notebook below if you want to work with VS Code
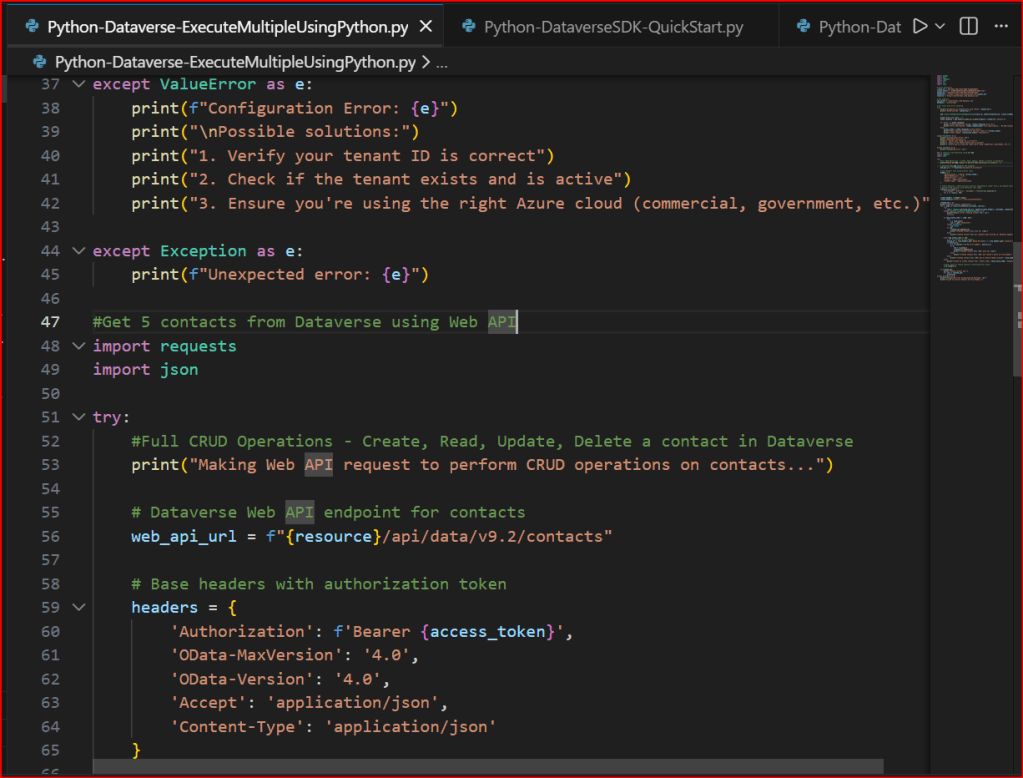
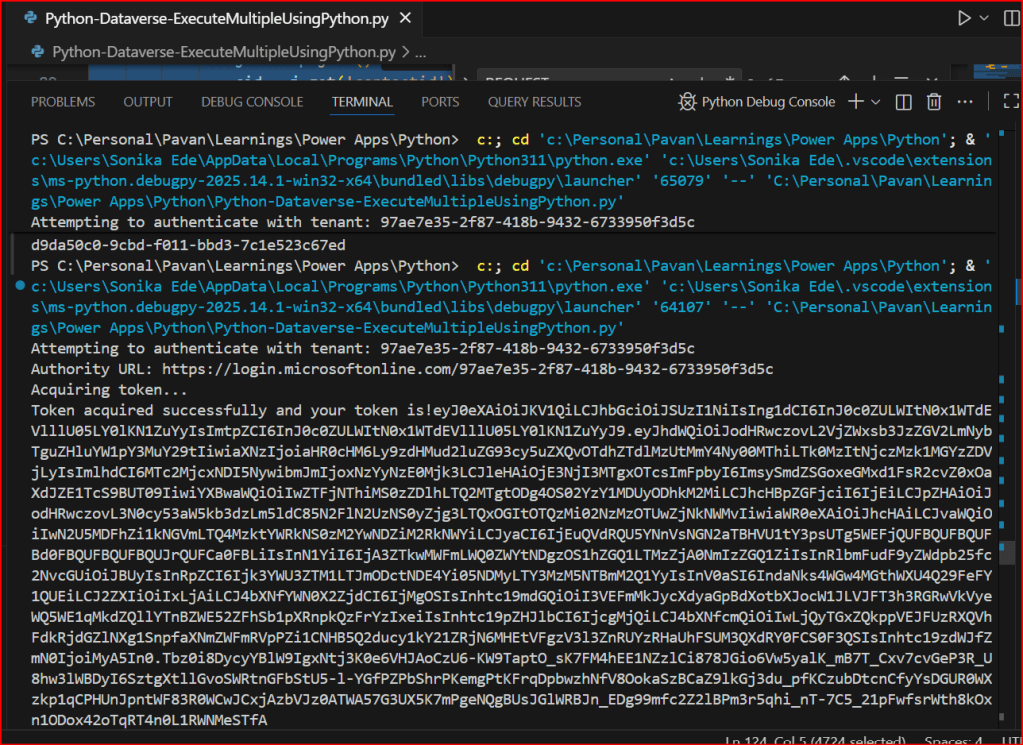
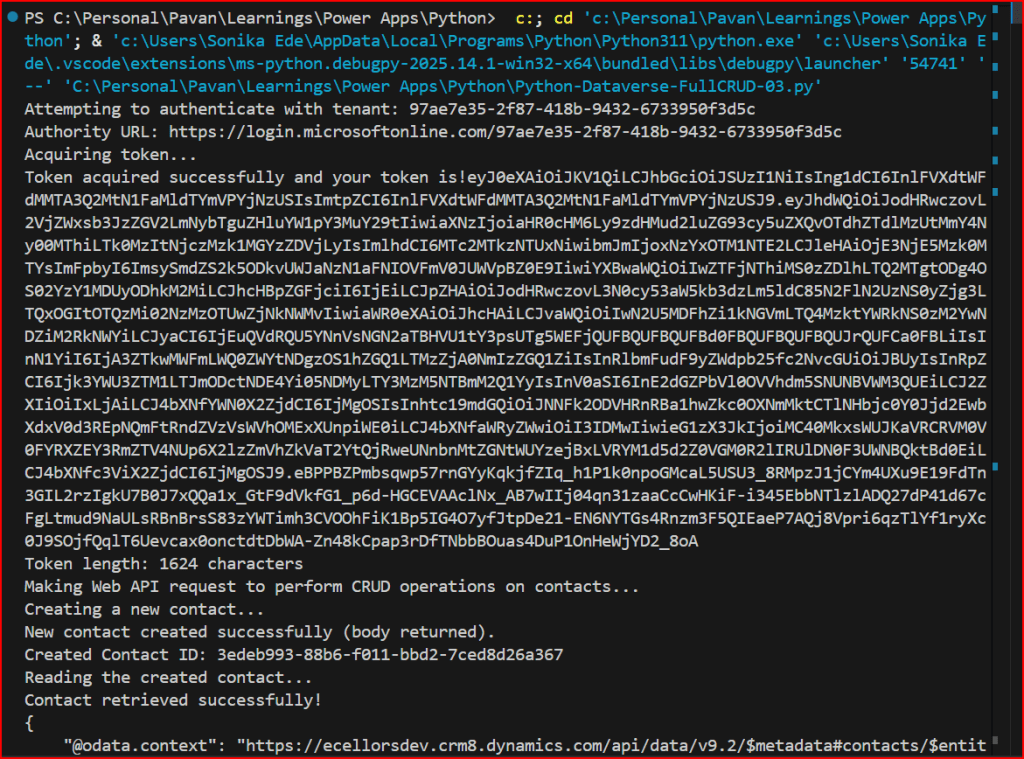
Once you have opened the Python notebook, you can start to run the code as below
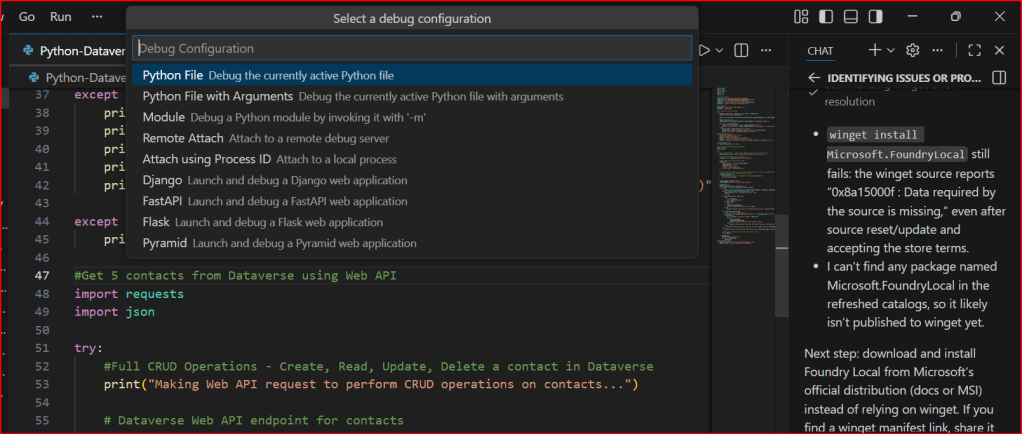
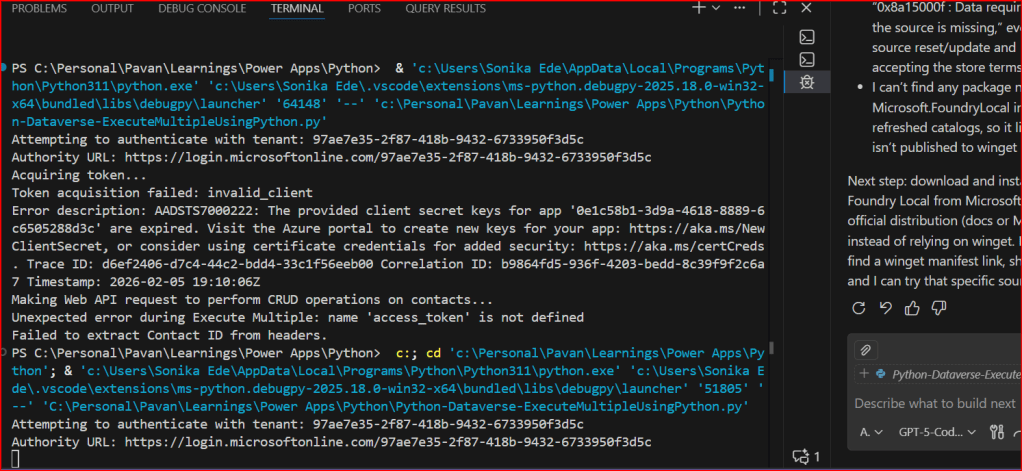
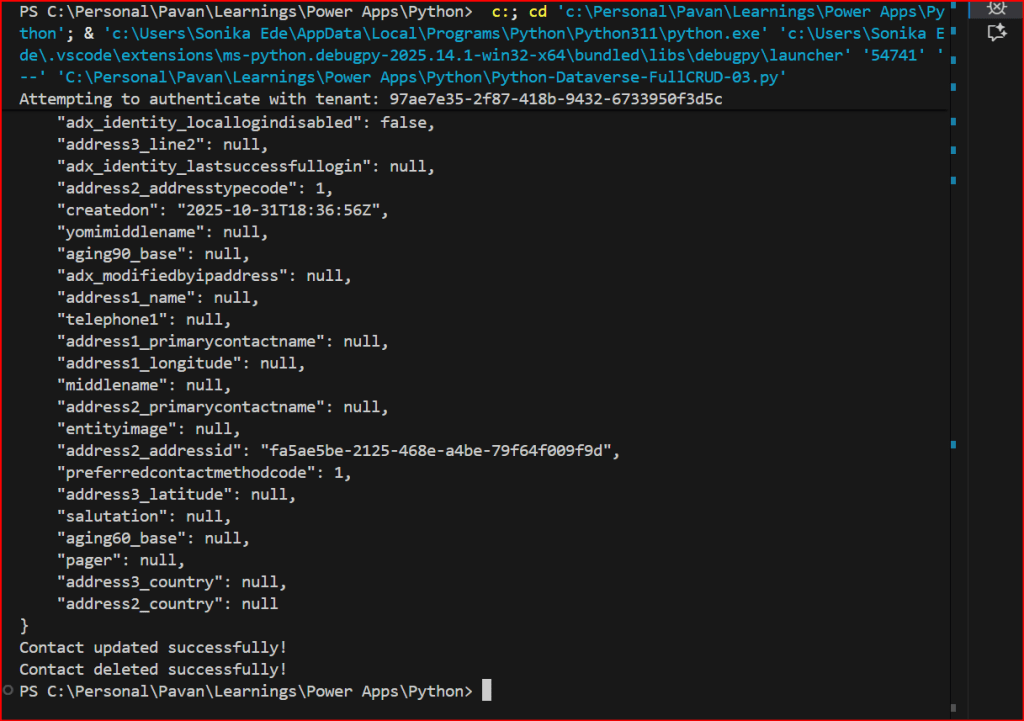
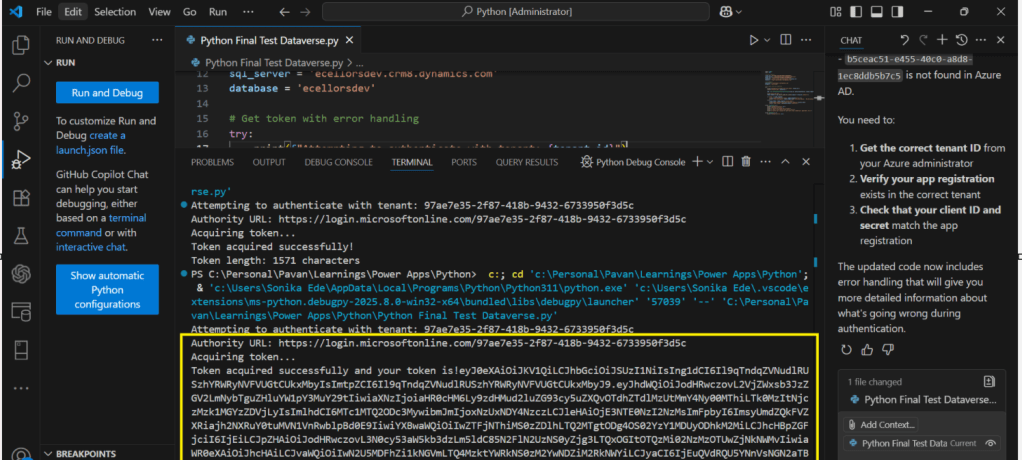
You should see something like below
For authentication in another browser tab, once authenticated, you should be able to see the
Hope you found this useful…it’s going to be interesting, stay tuned for upcoming articles.
Cheers,
PMDY