Hi Folks,
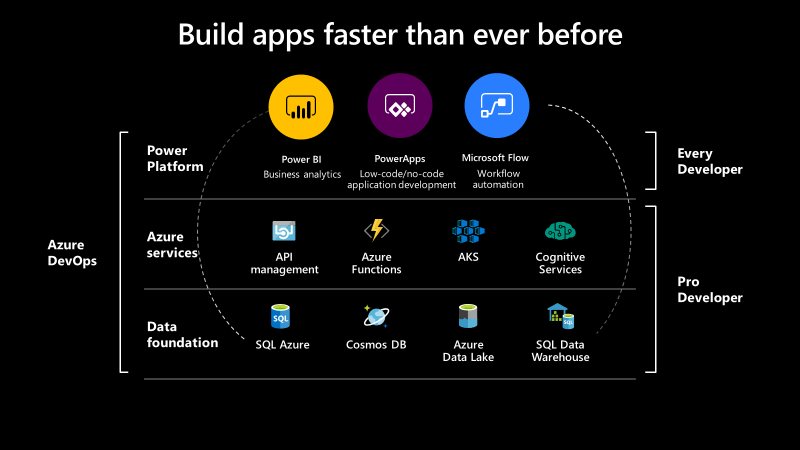
In this blog post, we will talk about the integration of Dynamics CE first party apps(Model driven) with Azure.
You can integrate with Function Apps from Dynamics using two ways…
- Authenticate your Dynamics CE app within your Function app code
- Register a web hook to trigger a call to Azure functions using a trigger
We’ll see both the scenarios…
- Authenticate your Dynamics CE app within your Function app code
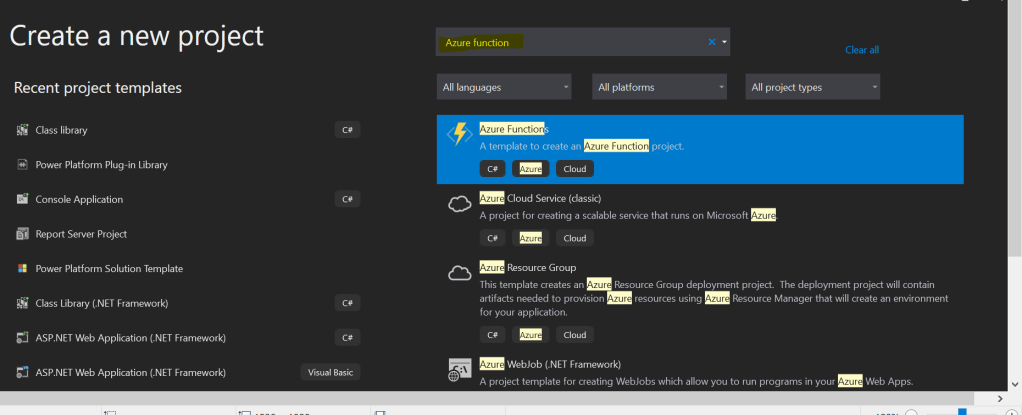
Open your favorite IDE and create azure function..in this case I’ll be using Visual studio.
Create a new Azure Function Project(Make sure you install the Azure functions project template using extensions).
Click on Next option at the bottom, in the next step specify your Function App name as below.
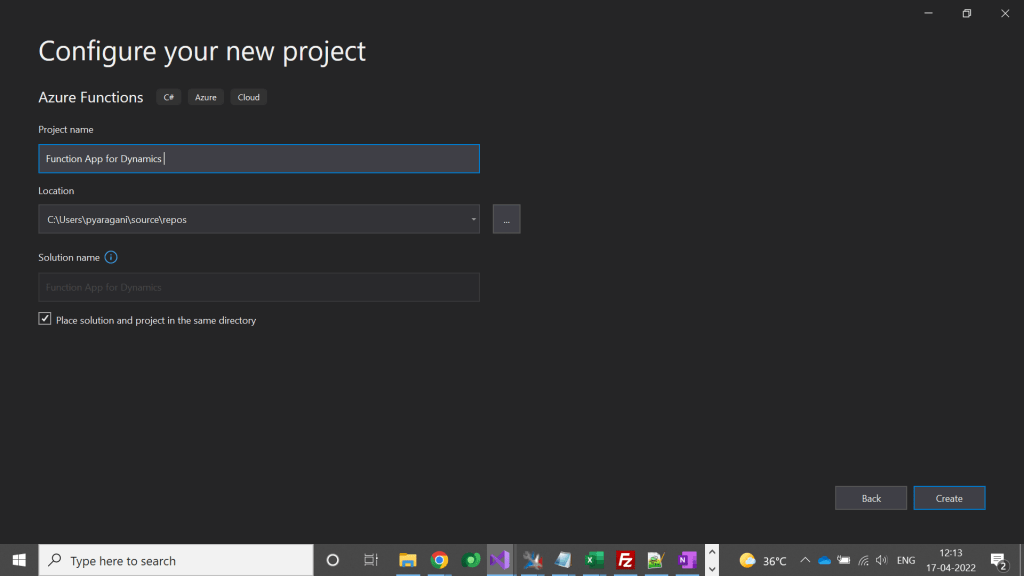
Don’t change other values and click on Create at the bottom of the page.
So in the next step, please make a note of the important things which were highlighted below..
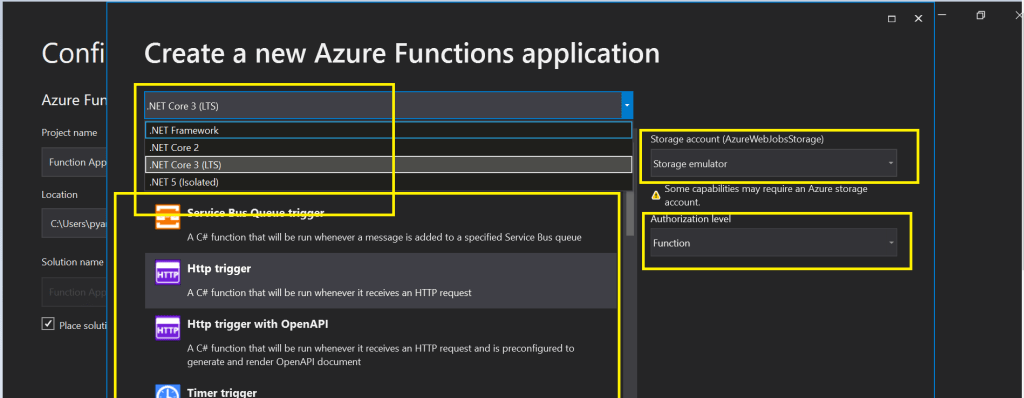
Make sure you select the Target framework as .Net Framework.
You can select any trigger, but for simplicity I am selecting HTTP Trigger here.
In case you need to debug your Azure function and run it locally, then you need to be sure that you install Azurite Storage Emulator in your machine using this link, otherwise you can select None for the storage account option, if in that case make sure that your Azure function don’t need any storage.
Don’t change other values and click on Create at the bottom of the page.
This will take couple of mins to create the necessary scaffolding required for the Azure function.
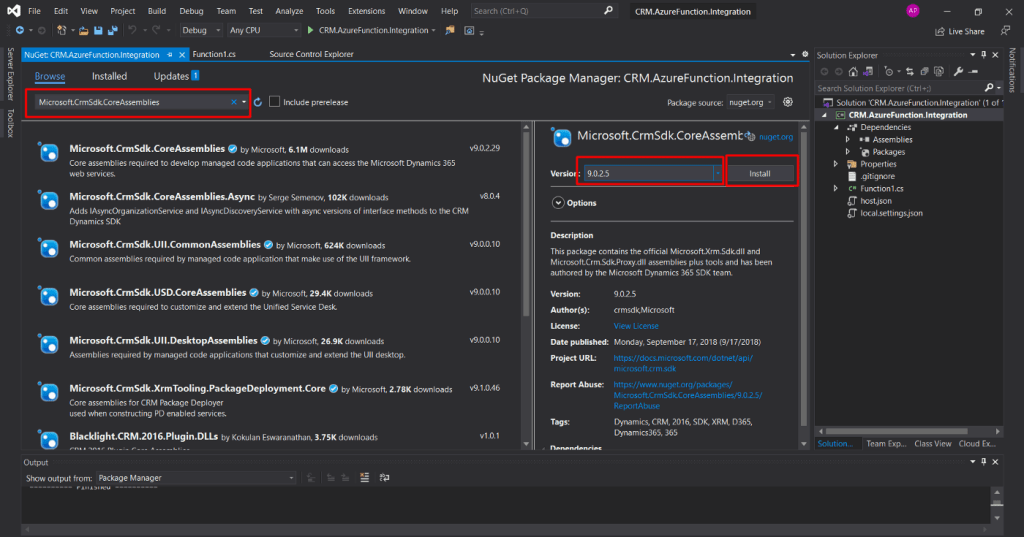
Now you need to authenticate to your Dynamics Instance, so firstly right click on your project and select Manage Nuget Packages. Then you need to browse for Microsoft.Crm.Sdk.CoreAssemblies and install.
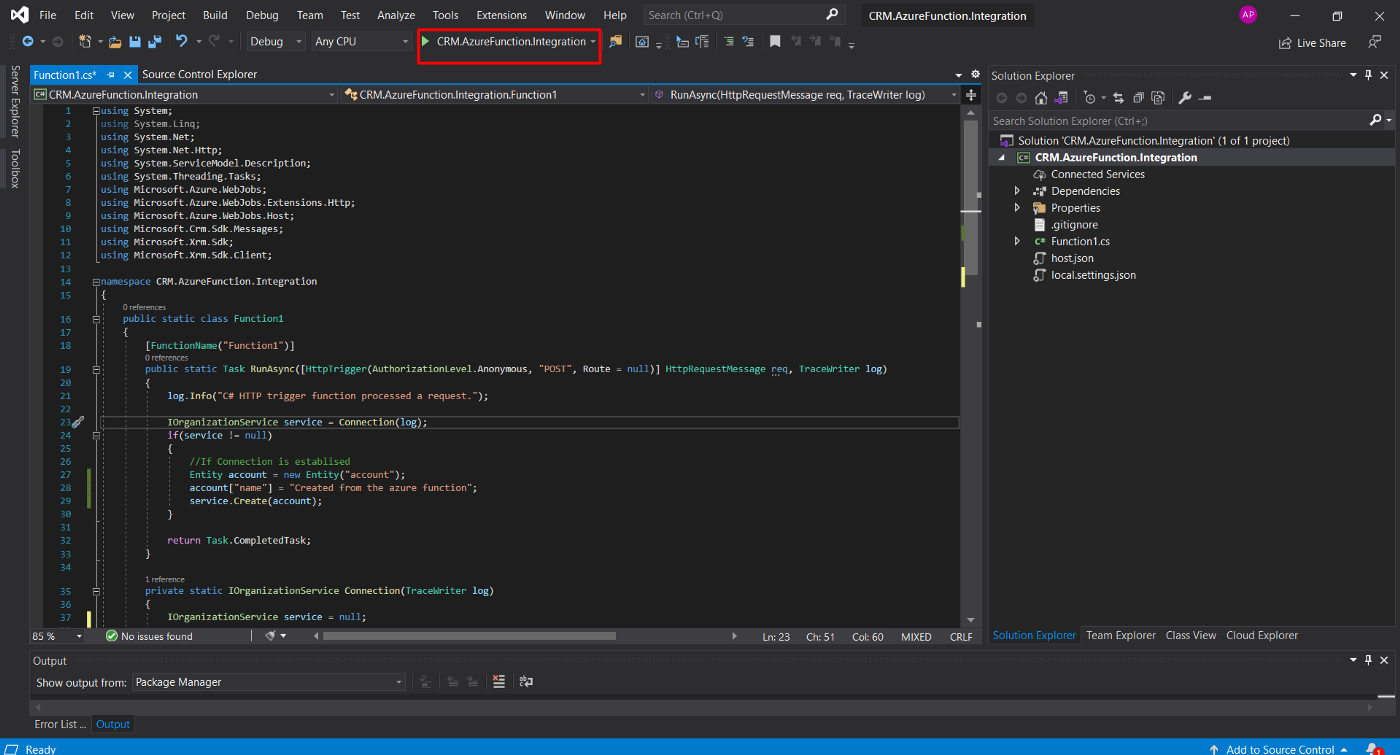
Then you will be able to authenticate your Azure function with Dynamics CE…once you were authenticated you can create a hard coded entity record in Dynamics whenever your function app runs.
The entire code…is hosted in GitHub for reference.
In this way you can an integration between Azure function and Dynamics 365
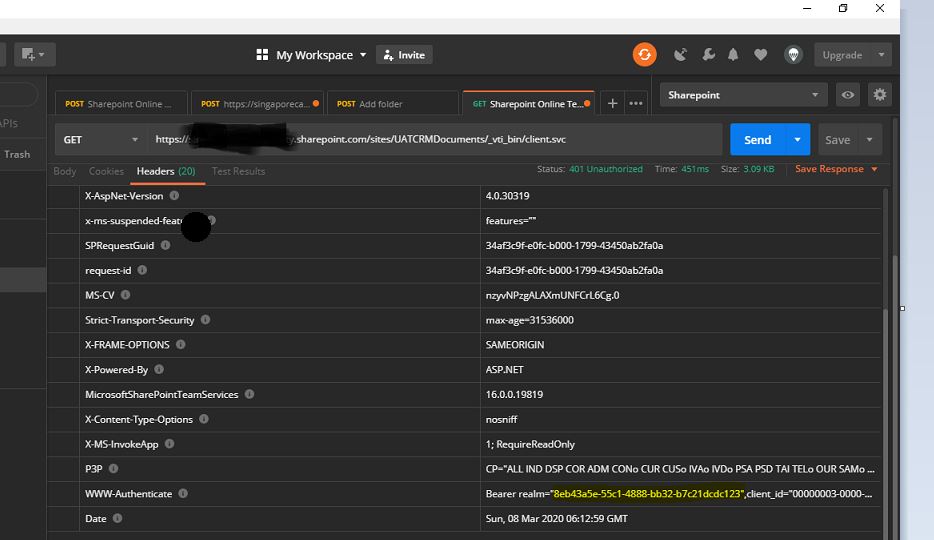
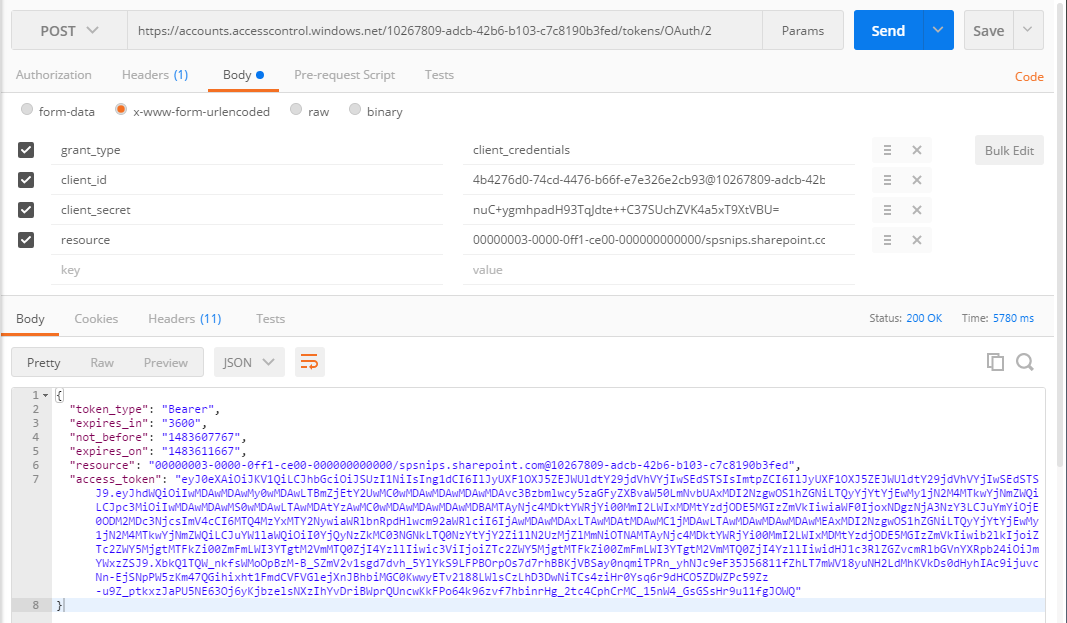
We will require the API testing tool, here I am using Postman and the following is the link to download “Postman”. https://www.postman.com/downloads/
To test the application, click on the Start button on top of Navbar as mentioned below in the screenshot [Button will have Project Name]. It will take a few minutes to Load the Azure Emulator
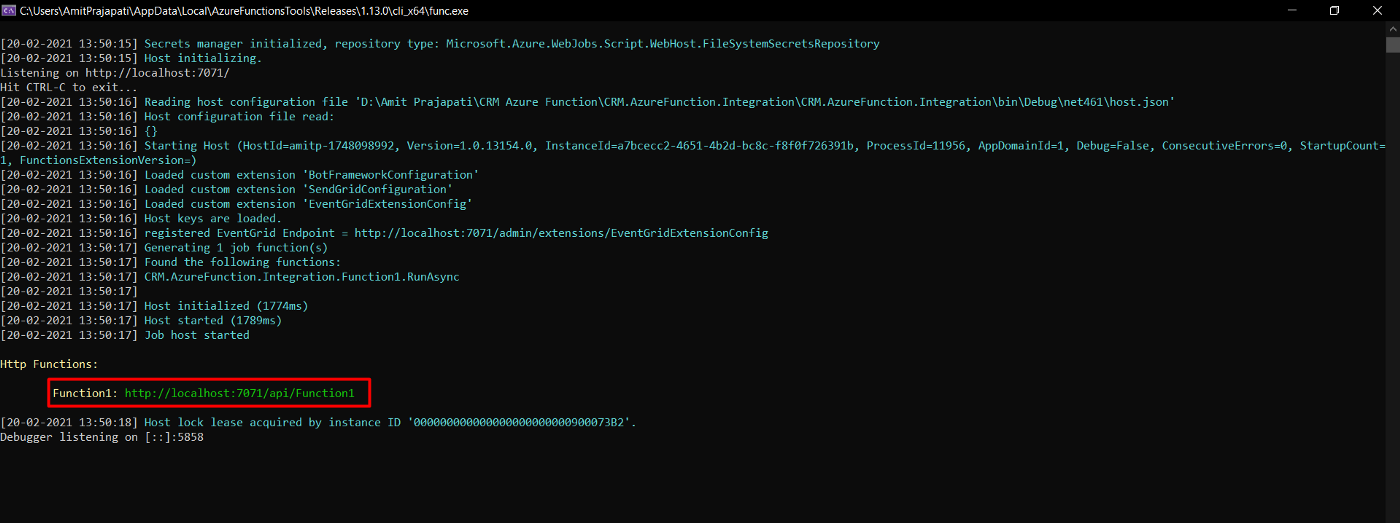
Following is the screen you will be able to see and copy the URL highlighted in the red below and paste that URL in Postman.
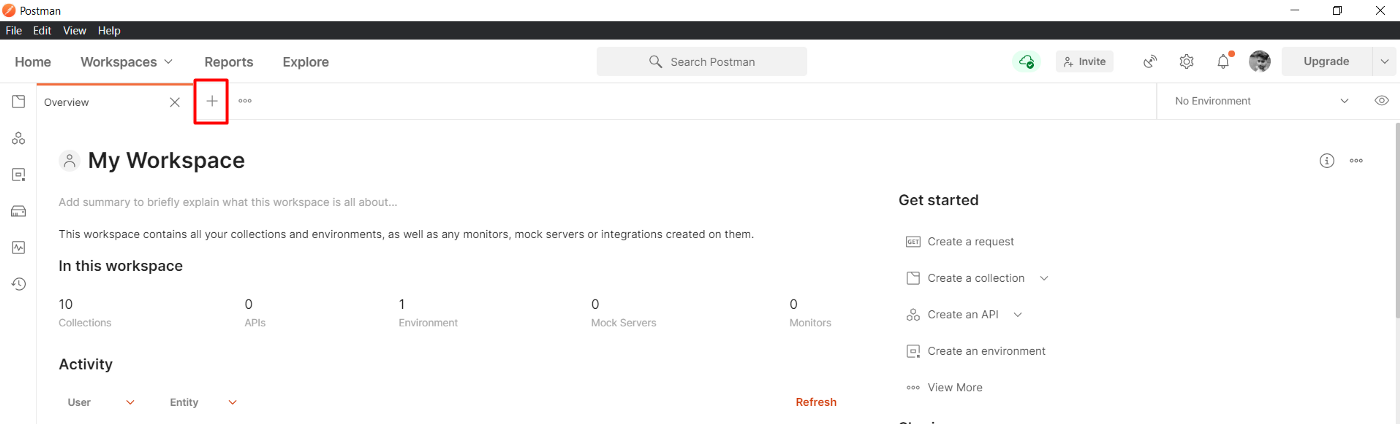
Open the Postman and click on the create a new tab
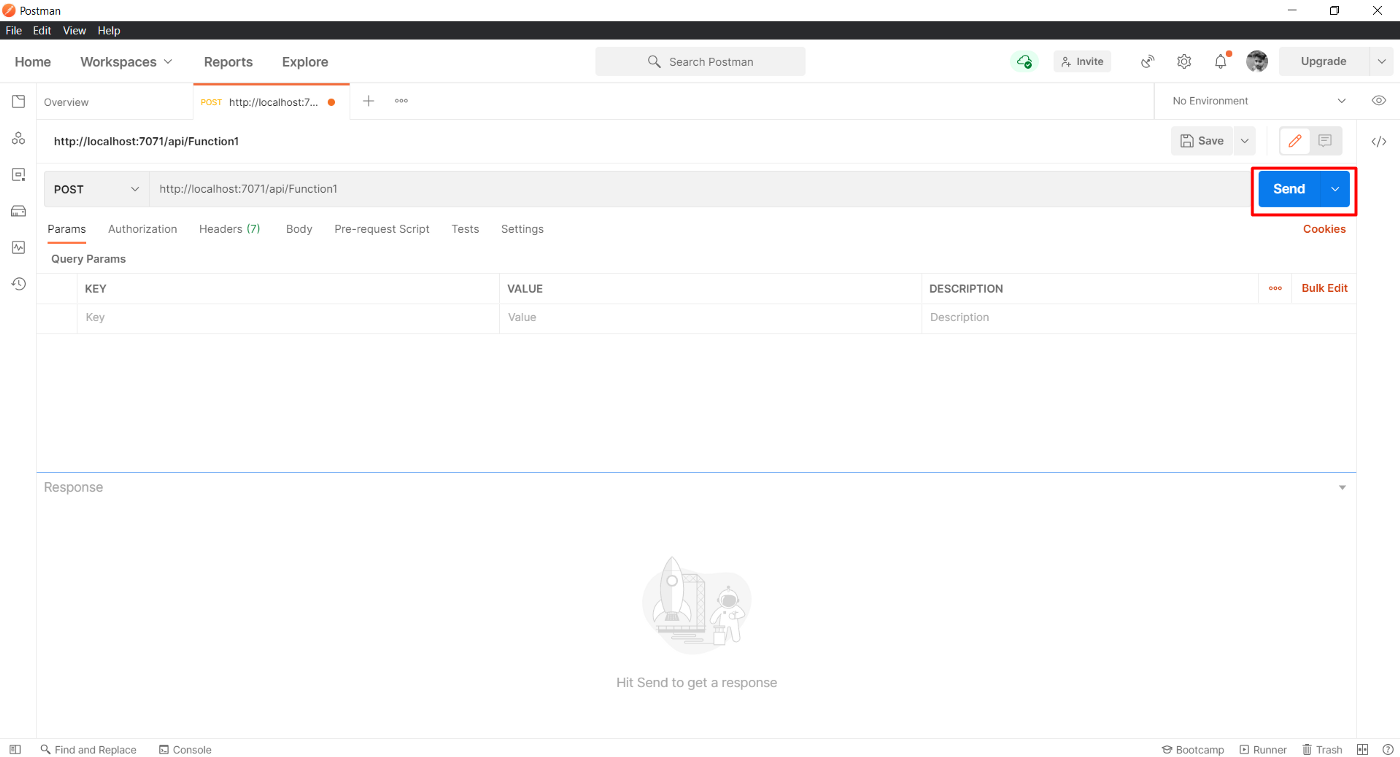
Select request as POST and paste the URL:

After pasting the URL, click on Send
You will get the following response on the Azure Function Tool and Postman

If there any error or issue with the Azure Function code, the request will be failed and will be displayed on both Azure Function Tool and Postman [Status will be “4**” or “5**” ]
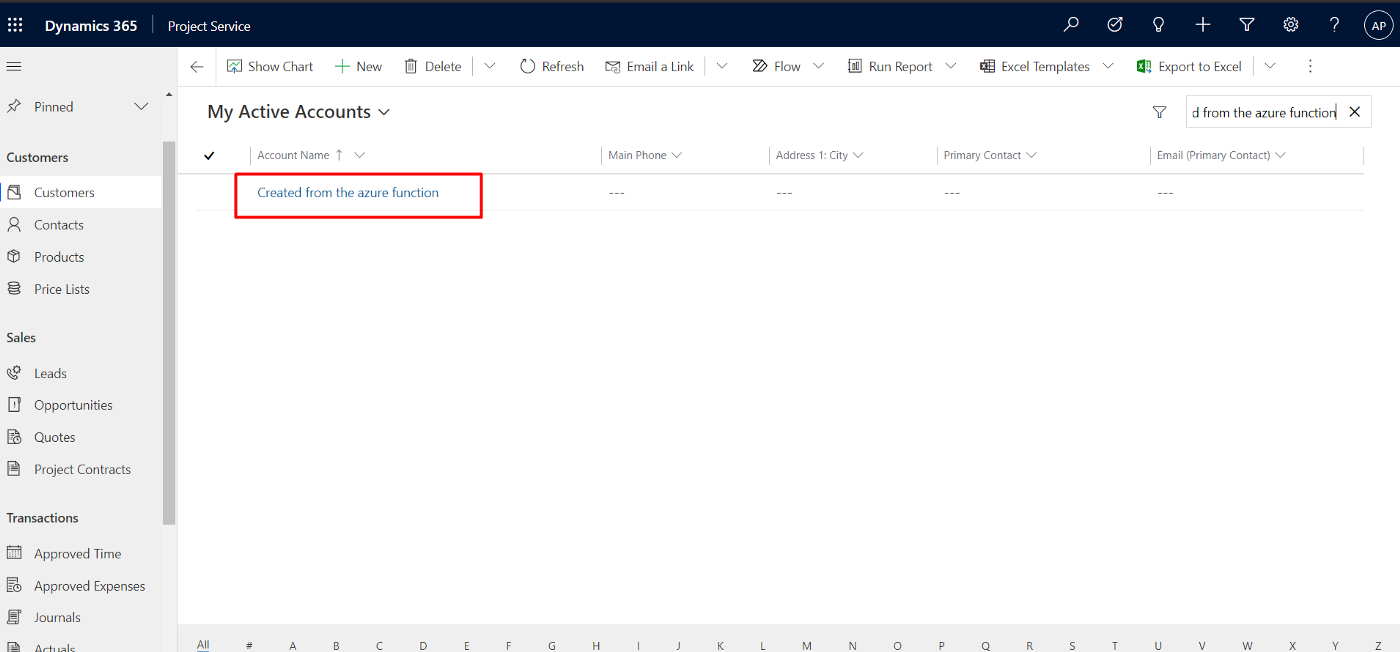
Now, we will take look at Dynamics 365 CRM environment and check whether the account is created or not.
Result
2. Register a web hook to trigger a call to Azure functions using a trigger
Will update the post to add this logic next time.
Cheers,
PMDY


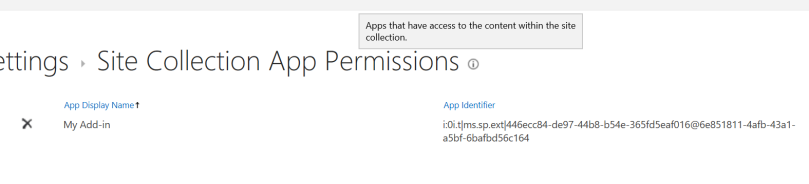
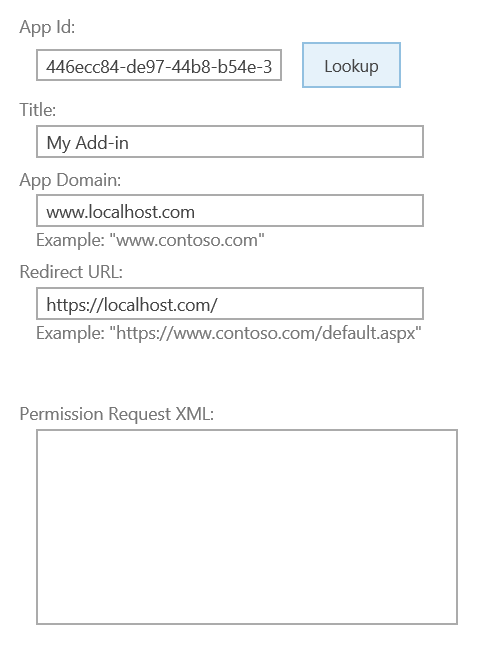
 SharePoint Add-in Identifier

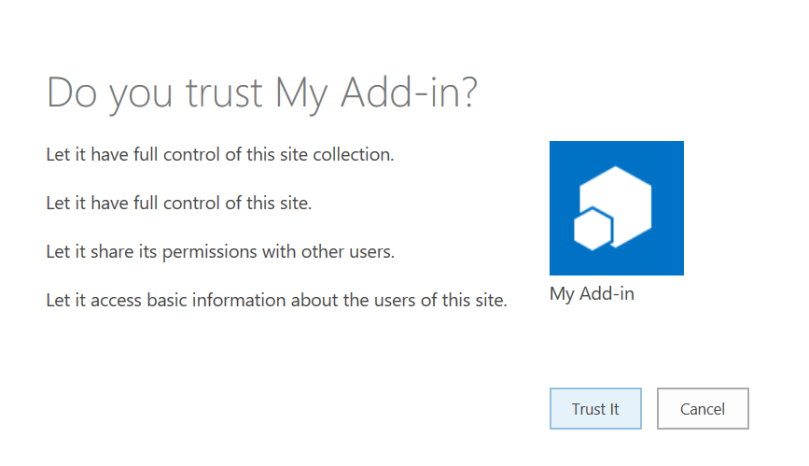 Trust SharePoint Add-In