Setting Up Your First Canvas App – Step-by-Step Guide for Beginners –

Canvas App Series – #02

This is the second blog post series on Canvas Apps where you can learn and grow from Zero – Hero in Canvas Power Apps. In this blog post, we will talk about different ways you can get started with creating canvas apps.

Introduction

Power Apps Canvas Apps allow users to build powerful applications with a drag-and-drop interface, requiring little to no coding. Whether you’re a beginner or an experienced user, setting up your first Canvas App is a straightforward process. This guide walks you through each step.

Prerequisites

Before getting started, ensure you have:

  • A Microsoft Power Apps account (Sign up here).
  • Access to Power Apps Studio.
  • Basic knowledge of what you want to build (e.g., a simple data entry form).

Step 1: Accessing Power Apps Studio

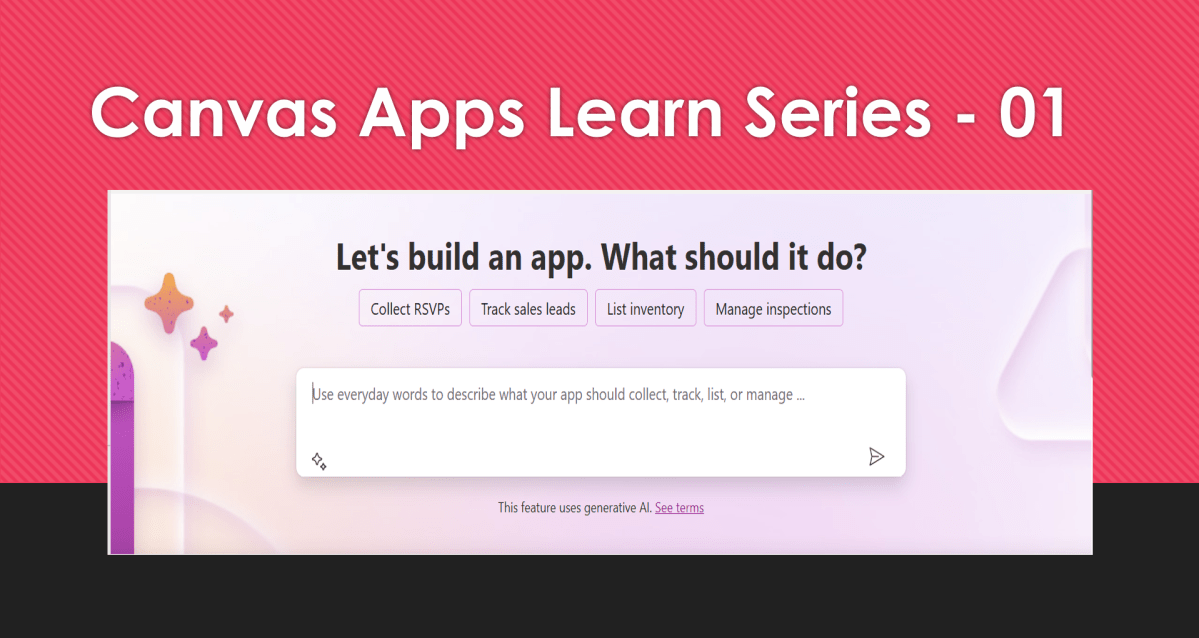
There were different ways you can create a Canvas Apps

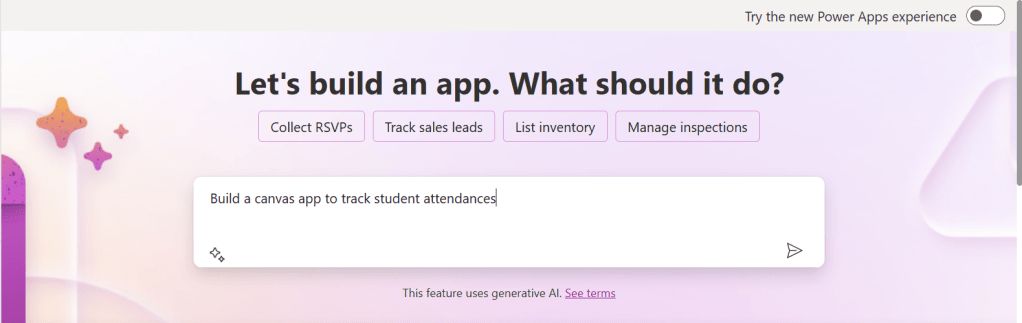
  1. You can create a canvas app by giving your requirement in Copilot which will in turn build your Canvas Apps.

2. You can design them using any of the existing templates available

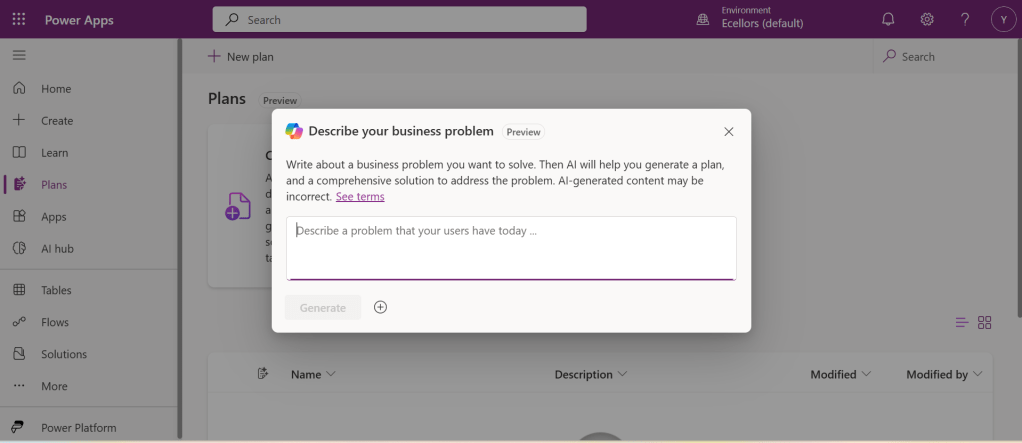
3. You can also design your App using Plan designer which is the latest feature released and still in preview, for this you need to enable

For this you need to have an plan available

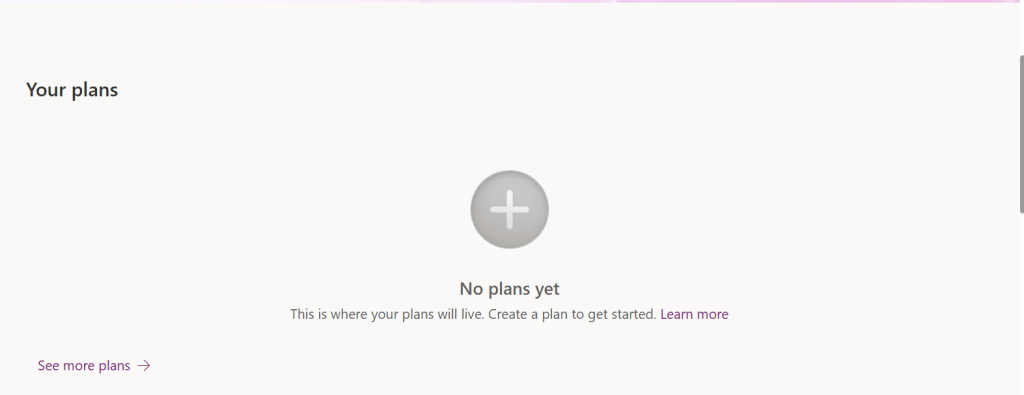
You can click on See more plans option available, create new plans if necessary

You have to state your business problem, this is pretty much same as using the Copilot in the old experience but here you just tell what problem you have been solving by creating the App, that’s it.

I entered Tracking Student Attendances as my problem and within a matter of 1 min, it designed whole data model where you can accept or propose for a new change.

Once you accept, next it will go ahead and start preparing the data necessary.

After you accept this, it will start designing for the user experiences

Once everything is done, you

It will ask you to save in a solution, this way you will be able to save all your changes to a solution which can be safely moved across environments.

And that’s it, your fully functional app is ready in few mins.

Step 2: Designing Your App

Once inside the Power Apps Studio:

  1. Drag and drop controls from the left-side panel to the canvas.
  2. Add labels, text inputs, buttons, and galleries as needed.
  3. Resize and align elements for a clean layout.

Below is the sample Power App screen in Studio containing the components.

Step 3: Connecting to a Data Source

  1. Click on Data in the left panel.
  2. Select Add data and choose a source like SharePoint, Dataverse, or Excel.
  3. Connect your app to the data source.

Step 4: Adding Functionality with Formulas

Power Apps uses Excel-like formulas to add functionality. Example:

  • To navigate to another screen: Navigate(Screen2, ScreenTransition.Fade)
  • To filter data: Filter(Orders, Status="Pending")

Step 5: Previewing and Testing Your App

  1. Click on the Play button in the top-right corner.
  2. Test the app’s functionality.
  3. Fix any layout or data issues as needed.

Image Suggestion: Screenshot showing the app running in preview mode.

Step 6: Saving and Publishing

  1. Click File > Save As.
  2. Choose Cloud as the storage option.
  3. Click Publish to make your app available.

Image Suggestion: Screenshot of the Save & Publish screen.

Conclusion

Congratulations! You’ve built your first Canvas App. You can continue refining it by adding more features, integrating AI, or automating workflows.

Are you ready to explore more? Share your first Canvas App experience in the comments!

Do you want step by step guided walk through, then check this App in a Day Workshop from Microsoft where you can start from scratch and build a fully functional Canvas App.

Cheers,

PMDY

Master Canvas Power Apps – #Canvas Apps Learn Series

Hi Folks,

This is a blog post series on Canvas Apps where you can learn and grow from Zero – Hero in Canvas Power Apps…and boost your knowledge on Canvas Apps.

  1. Introduction to Canvas Apps – What they are, why they matter, and real-world use cases.
  2. Setting Up Your First Canvas App – Step-by-step guide for beginners.
  3. Understanding Screens and Navigation – How to structure an app with multiple screens.
  4. Working with Data Sources – Connecting to SharePoint, Dataverse, Excel, and other sources.
  5. Forms and Galleries – Displaying and capturing data effectively.
  6. Mastering Power Fx – Key formulas and best practices.
  7. User Experience and UI Design – Creating a responsive and user-friendly interface.
  8. Using Components for Reusability – Making apps scalable and maintainable.
  9. Working with Media and Attachments – Adding images, videos, and file uploads.
  10. Performance Optimization Tips – Best practices to make apps faster.
  11. Offline Capabilities in Canvas Apps – How to work with apps when offline.
  12. Integrating Power Automate with Canvas Apps – Automating processes.
  13. AI and Copilot Features in Canvas Apps – Adding intelligence to apps.
  14. Advanced Security and Role-Based Access – Controlling user access and permissions.
  15. Publishing and Managing Your Canvas Apps – Deployment, versioning, and governance.

Firstly, let’s start with some simple introduction for this post…

What Are Canvas Apps?

Canvas Apps are a powerful low-code development tool within Microsoft Power Platform that allows users to build custom business applications with a drag-and-drop interface. Unlike model-driven apps, which rely on structured data models, Canvas Apps provide full control over the user interface, enabling developers and business users to design highly customized applications tailored to specific business needs.

Canvas Apps can be used to create simple applications for internal business processes or sophisticated applications with multiple screens, data interactions, and integrations with other Microsoft and third-party services. Users can design these apps using Power Apps Studio, a web-based development environment that provides a range of components, such as buttons, galleries, forms, and media controls, to create intuitive and responsive applications.

Why Are Canvas Apps Important?

Canvas Apps bring significant value to businesses and developers by providing:

  1. Low-Code Development – Build applications with minimal coding, making app development accessible to both developers and non-developers. Power Fx, a formula-based language, enables business logic implementation with ease.
  2. Customization & Flexibility – Unlike model-driven apps that follow a predefined data structure, Canvas Apps allow users to freely design screens, layouts, and controls, ensuring the app meets unique business requirements.
  3. Seamless Data Integration – Connect to over 800+ data sources, including SharePoint, Dataverse, Excel, SQL Server, and third-party APIs, ensuring seamless access to enterprise data.
  4. Cross-Platform Compatibility – Run apps on web browsers, mobile devices (iOS & Android), and embedded within Microsoft Teams, SharePoint, and Dynamics 365.
  5. Integration with Power Platform – Enhance apps with Power Automate for automation workflows, Power BI for data visualization, and AI Builder for AI-driven insights and intelligent automation.
  6. Rapid Prototyping & Deployment – With the drag-and-drop interface and prebuilt templates, businesses can quickly prototype and deploy applications without long development cycles.
  7. Security & Compliance – Apps built using Canvas Apps inherit Microsoft’s security infrastructure, allowing role-based access control (RBAC) and compliance with enterprise security standards.

Real-World Use Cases

Canvas Apps can be leveraged across industries to improve efficiency and streamline operations. Some common real-world use cases include:

  • Expense Management App – Employees can submit expenses with receipts, managers can approve them, and finance teams can generate reports.
  • Inventory Management System – Track stock levels, reorder inventory, and generate reports in real-time.
  • Incident Reporting App – Employees can report workplace incidents with photos, location, and real-time status updates.
  • Customer Feedback App – Collect customer feedback through mobile-friendly forms and analyze responses with Power BI.
  • Field Service Management – Field workers can access work orders, update job statuses, and capture customer signatures through mobile devices.
  • HR Onboarding App – Manage the onboarding process for new employees with guided forms, policy documents, and task checklists.

Getting Started with Canvas Apps

To start building a Canvas App, follow these steps:

  1. Sign in to Power Apps (https://make.powerapps.com)
  2. Click on ‘Create’ and select ‘Canvas App from Blank’
  3. Choose a layout (Tablet or Mobile) based on your app’s intended use
  4. Design your app using Power Apps Studio:
    • Add Screens: Home screen, forms, galleries, etc.
    • Insert Controls: Buttons, text inputs, dropdowns, and images
    • Connect Data Sources: Link to Dataverse, SharePoint, SQL, etc.
    • Apply Business Logic: Use Power Fx formulas to create dynamic interactions
    • Test the App: Use Preview mode to validate functionality
  5. Publish and Share Your App: Deploy the app and control access using Microsoft Entra ID (Azure AD)

Best Practices for Building Canvas Apps

  1. Plan Your App Structure – Define screens, navigation, and key functionalities before starting.
  2. Optimize Performance – Reduce unnecessary data calls and use delegation-friendly queries.
  3. Use Components for Reusability – Create custom components for commonly used UI elements.
  4. Ensure Responsive Design – Design layouts that work across multiple device sizes.
  5. Leverage Power Automate for Automation – Automate approvals, notifications, and data processing.

What’s Next?

In the next post, we’ll walk through setting up your first Canvas App from scratch, covering app layout, adding controls, and connecting to a data source.

Stay tuned! Don’t forget to follow along…

Cheers,

PMDY