Hi Folks,
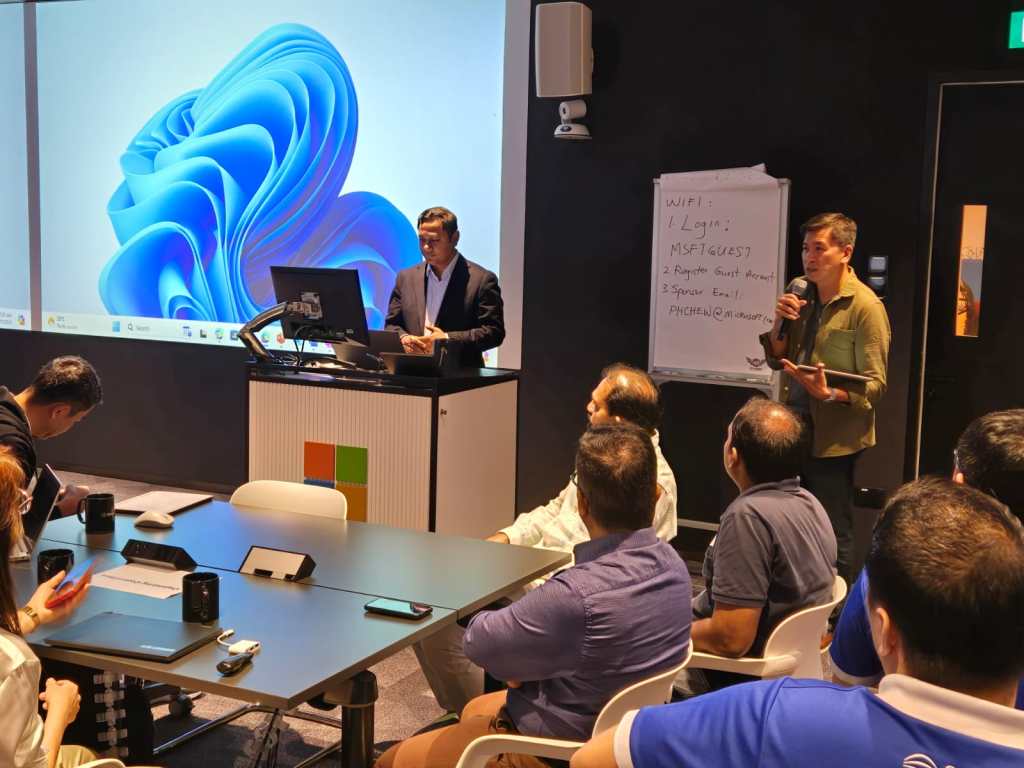
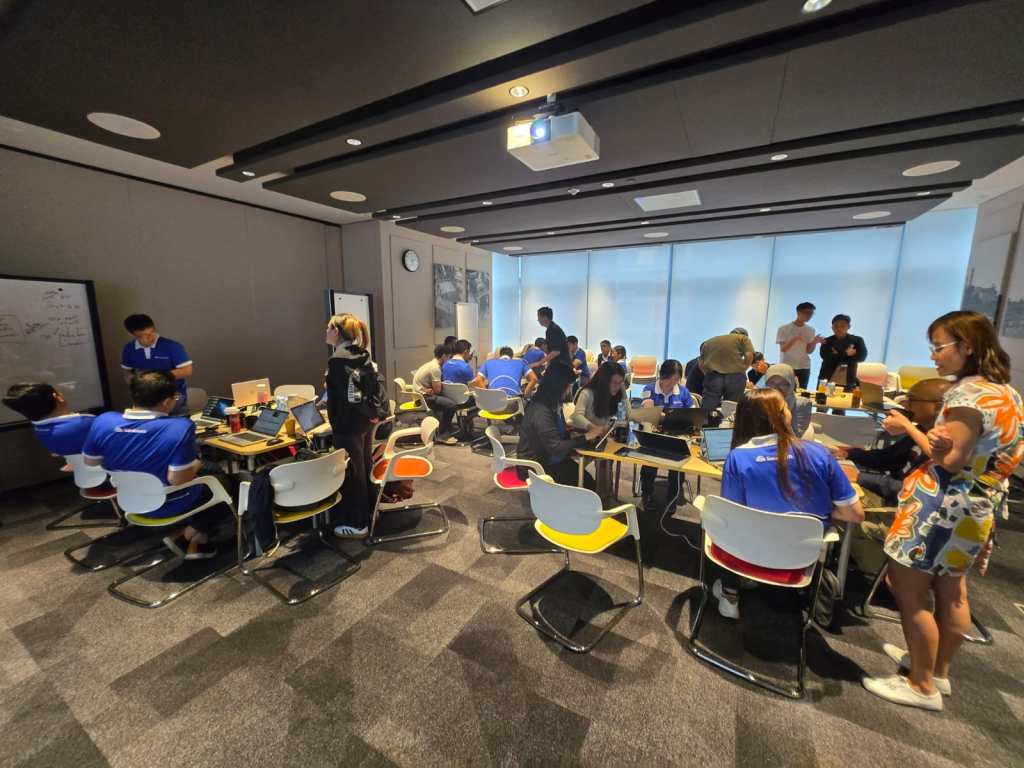
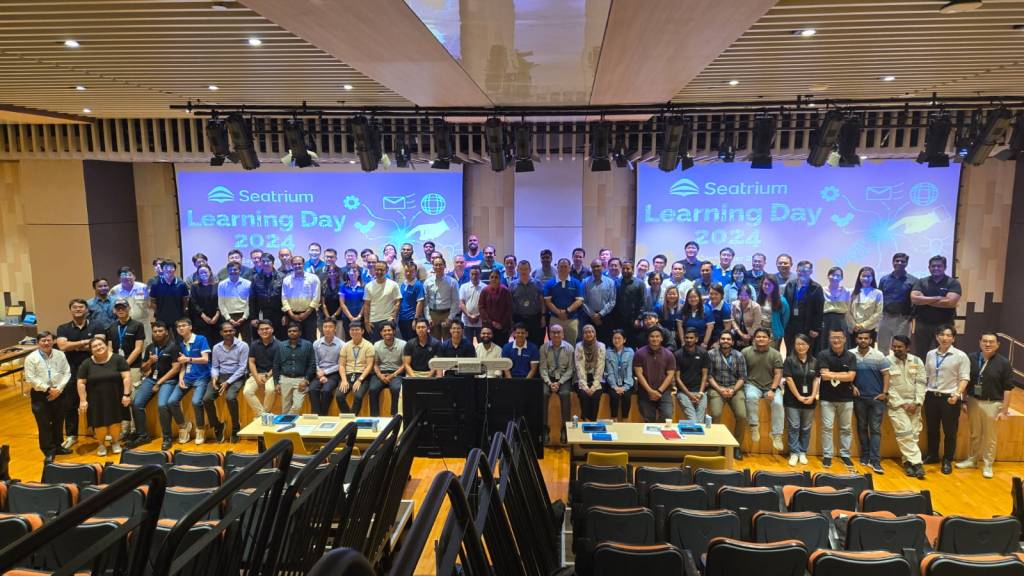
Excited to share about the recently held AI Innovation Day Bootcamp and Hackathon 2 day event organized by Microsoft, Singapore on September at Seatrium, 80 Tuas S Blvd, Singapore, SG, 6265 1766.
🗣️ Business User Feedback & Reflections
Solutions buit by Seatrium employees based on the engagement and the type, thanks to David Choo, Seatrium Microsoft Technical Account Manager for spearheading this Initiative.
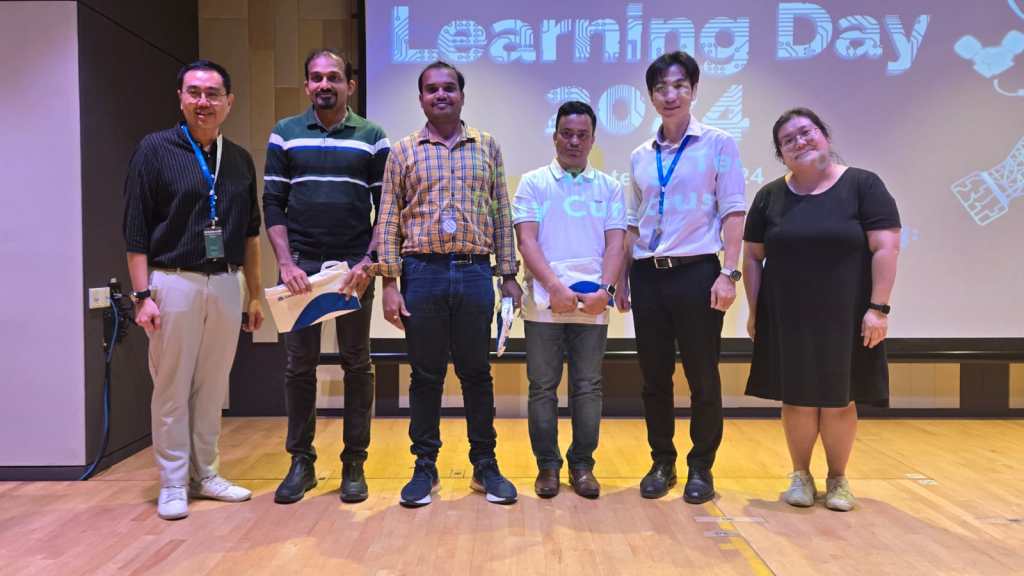
Seatrium management officially sent a thank you note to MVPs Pavan Mani Deep Yaragani, Goloknath Mishra, Senthami Selvan for spending 3 valuable days for this event making it a grand success.
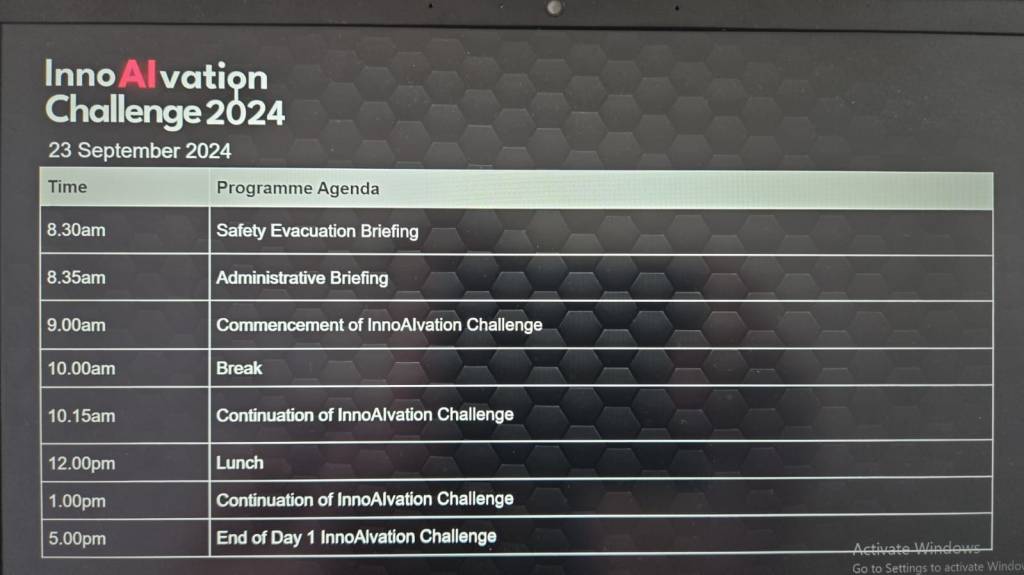
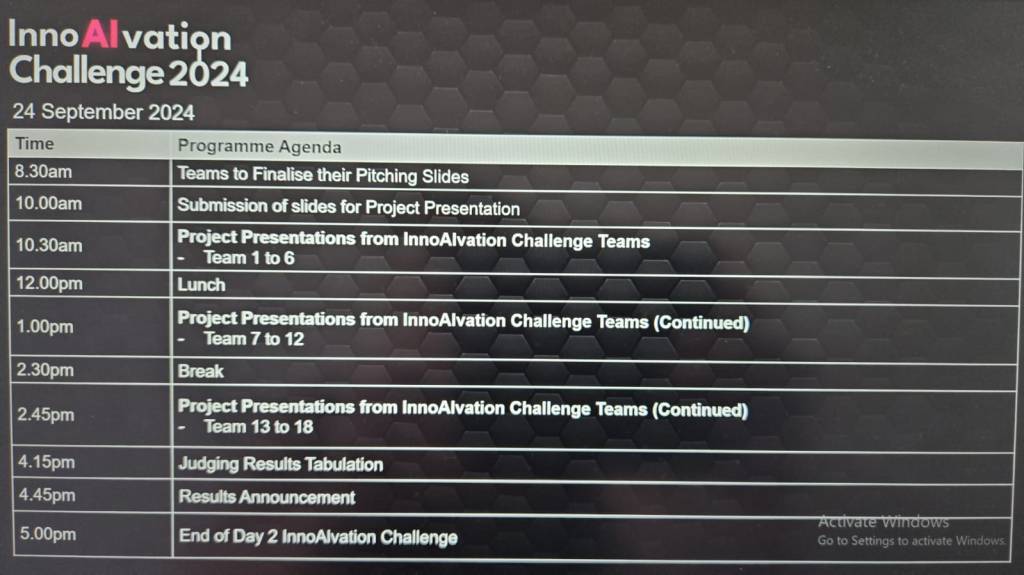
The event took place like below
- Day Microsoft Singapore with Seatrium Hackathon Particpants for prepartion on 16 September
- AI Innovation Day – 1 – 23 September, 2024.
- AI Innovation Day – 2 – 24 September, 2024.
- AI Innovation Day – Evaluation and Awards
Below were some the feedback from different business user teams.
🛠️ Operations & Production Team:
“We’ve been struggling with manual job task cards for years—seeing OCR and Copilot Studio digitize it in just two days was mind-blowing!”
“Tracking welder certifications used to take hours each week. Now, with this Power App, we can do it in seconds.”
📦 Supply Chain:
“This predictive maintenance idea using AI was something we thought only big tech could do. I didn’t expect we could prototype it so fast with Azure AI and Power Platform!”
“The Power BI dashboards finally give us a single view of procurement metrics without needing to export Excel sheets all day.”
🏗️ Engineering:
“We’ve been manually cross-checking MTOs and standards forever—having AI do that gives us back our time to actually focus on engineering work.”
“It’s amazing to see a tool extract information from drawings and relate it to VCDs without manual effort.”
💻 Group IT & HR:
“That SharePoint Copilot FAQ bot is going to save us a ton of IT support emails—super impressive.”
“Invoice checking and validation was one of our most time-consuming tasks—now it’s automated and way more reliable.”
📊 Commercial & Planning:
“We finally saw what Microsoft Fabric can do for project-level KPIs and dashboards. We’re excited to explore more.”
“This was one of the most hands-on, practical hackathons we’ve had. It wasn’t just ideas, we actually saw working solutions.”
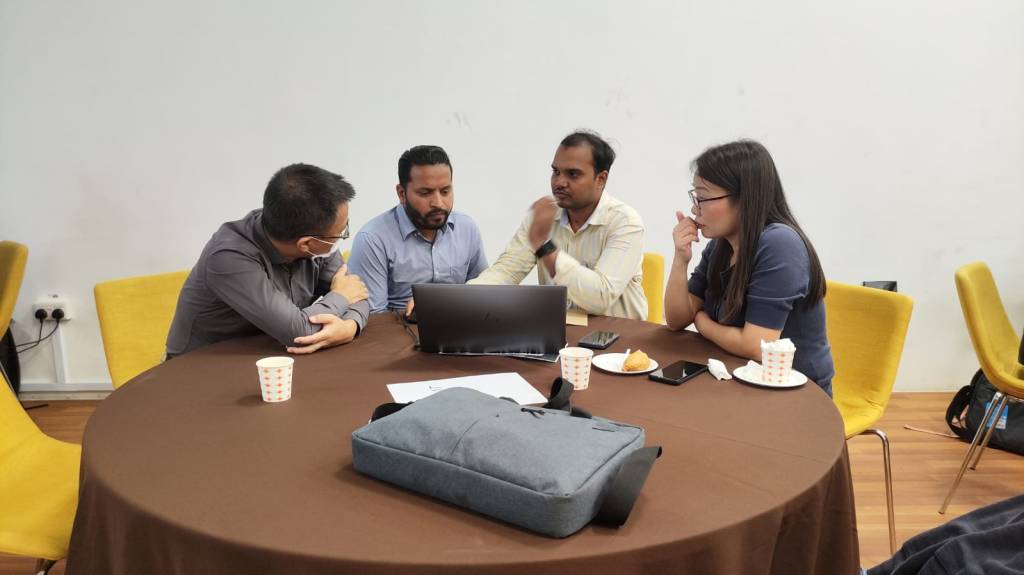
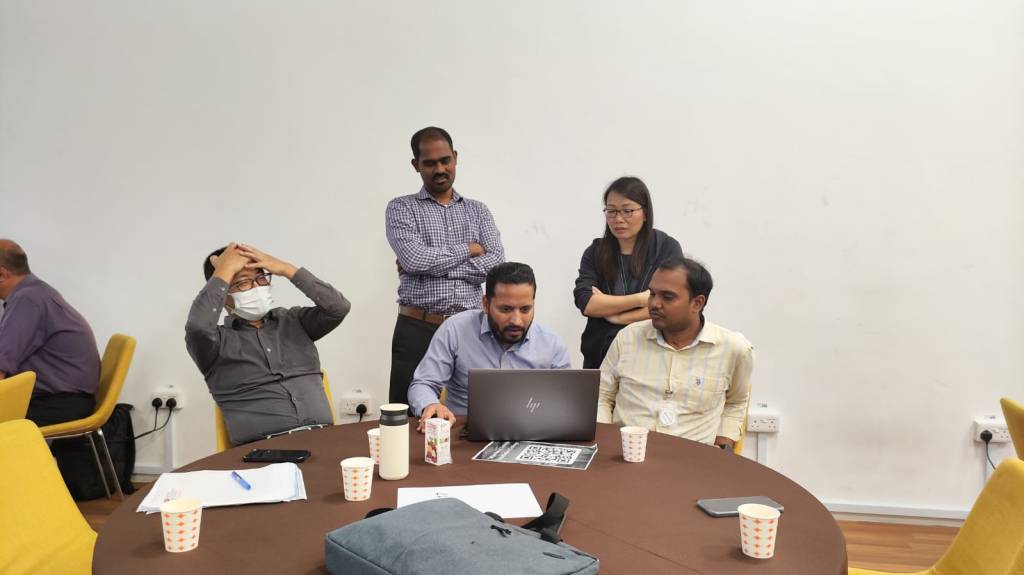
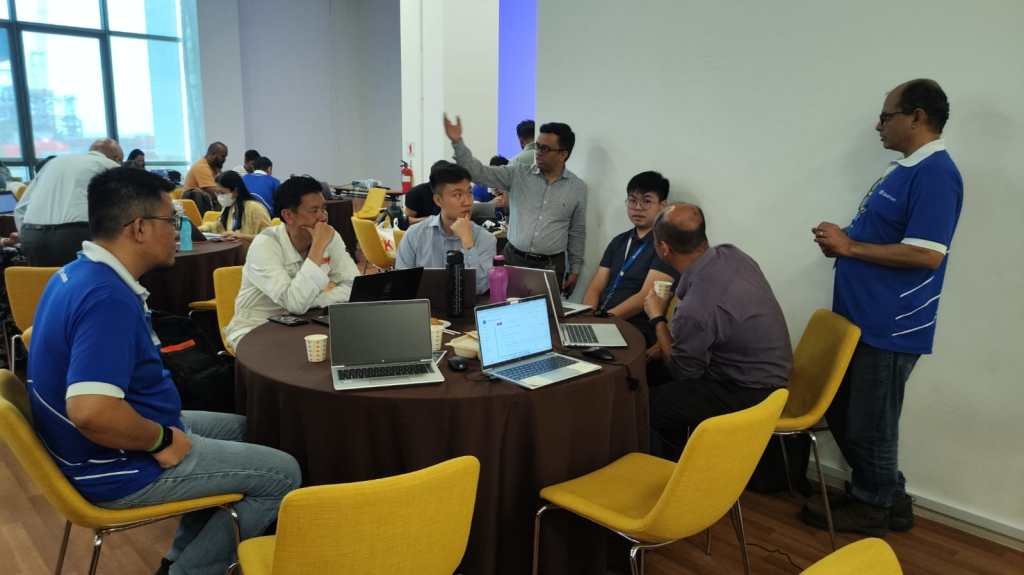
The teams have worked on the attached use cases:
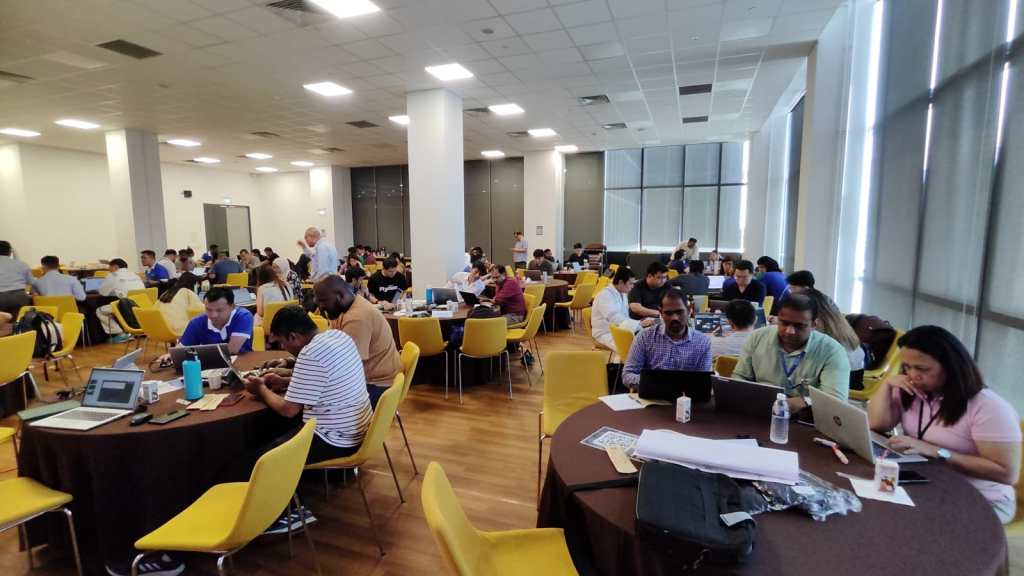
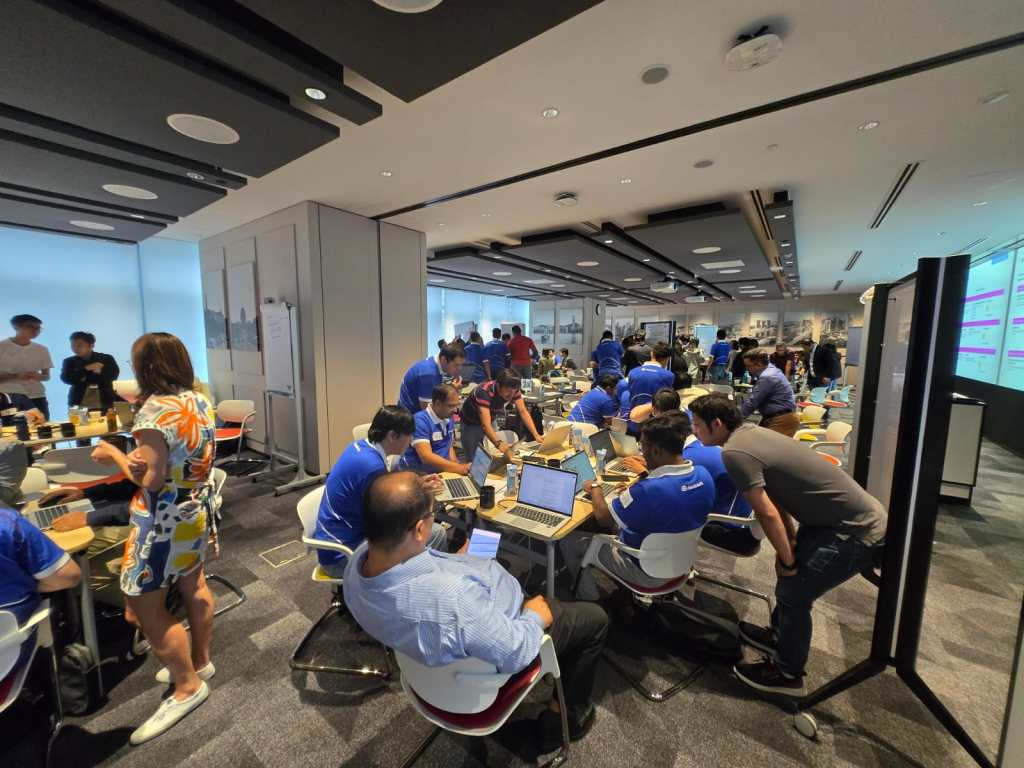
Fantastic event Pics:


Looking forward to more collaborations with Microsoft for organizing such events in Singapore.
Cheers,
PMDY