Hi,
Recently we faced an issue while deploying solution to other environment from Dev..getting below error in Dynamics 365 On premise 8.2 version..
| A record with these values already exists. A duplicate record cannot be created. Select one or more unique values and try again. |
This could be due to below reasons..
1. One entity has two CustomControlDefaultConfigs
Like this

We tried to delete one of the duplicated CustomControlDefaultConfig (randomly). This works in some cases.
2. Entity with unique CustomControlDefaultConfigid, but solution import crashes with error customcontroldefaultconfig With Id = d3226572-022c-e611-80e6-00155dc26410 Does Not Exist. The solution contains only one CustomControlDefaultConfig for this entity
<CustomControlDefaultConfigs>
<CustomControlDefaultConfig>
<PrimaryEntityTypeCode>10084</PrimaryEntityTypeCode>
<CustomControlDefaultConfigId>{bd771d8c-2cd6-e511-80d4-00155d0e4417}</CustomControlDefaultConfigId>
<ControlDescriptionXML>
<controlDescriptions />
</ControlDescriptionXML>
<IntroducedVersion>1.0</IntroducedVersion>
</CustomControlDefaultConfig>
</CustomControlDefaultConfigs>
This could be due to corrupt config setting as in our case.
Fix:
Delete the CustomControlDefaultConfigId present in the entity which is creating the issue, open the Customizations.xml in the solution and delete the highlighted ID. For this use XRM Toolbox Bulk Delete tool to delete this ID as below, as this can’t be done using UI.
To Delete a record we would we would use Bulk Delete Tool


Here is fetch XML to be used and replace the below highlighted ID in green with the ID from the customizations.xml
<fetch version=”1.0″ output-format=”xml-platform” mapping=”logical” distinct=”false”> <entity name=”customcontroldefaultconfig”> <filter type=”and”> <condition attribute=”customcontroldefaultconfigid” operator=”eq” value=”{a88b6a06-3f20-e811-9661-00155d00a048}” /> </filter>
</entity>
</fetch>
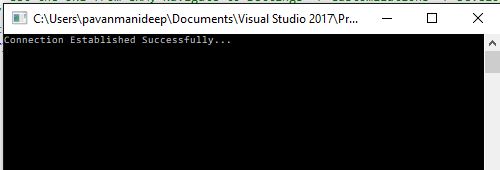
You can use Fetch XML Tester to verify if the record exists and after delete again you can run to verify if record got deleted..
Once record is deleted, try import the same solution again and it should work.
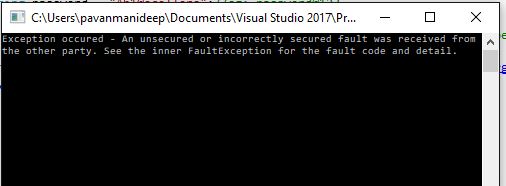
This works so that the solution from Dev would be imported to other environment but the Publish Customizations fails on import, you might encounter below issues.. when publishing..
- Getting Dependency Calculation There was an error calculating dependencies for this component. Missing component id {0}
- Failure trying to associate it with CustomControlDefaultConfig
Reason:
If there is any orphan record exists in “CustomControlDefaultConfigBase” table in the target environment it would cause solution import failure or ‘Publish Customizations’ error.
Fix:
CRM On-Premise
- Check if any orphan records in CustomControlDefaultConfigBase tabel. (Use below queries)
- SELECT * FROM CustomControlDefaultConfigBase WHERE PrimaryEntityTypeCode NOT IN (SELECT ObjectTypeCode FROM Entity)
- Note: before continuing, a backup database is recommended.
- Delete from the Target environment the CustomControlDefaultConfig records with orphaned Object Type Codes:
- DELETE FROM CustomControlDefaultConfigBase WHERE PrimaryEntityTypeCode NOT IN (SELECT ObjectTypeCode FROM Entity)
Prevention Tip:
- If you are adding an entity to your solution, always add ‘Primary key’ field
- In the source environment open the Solution being imported
- Open each Entity and expand Fields
- Make sure that every entity has its “Primary Key” added to the solution.

Hope this helps..
Cheers,
PMDY
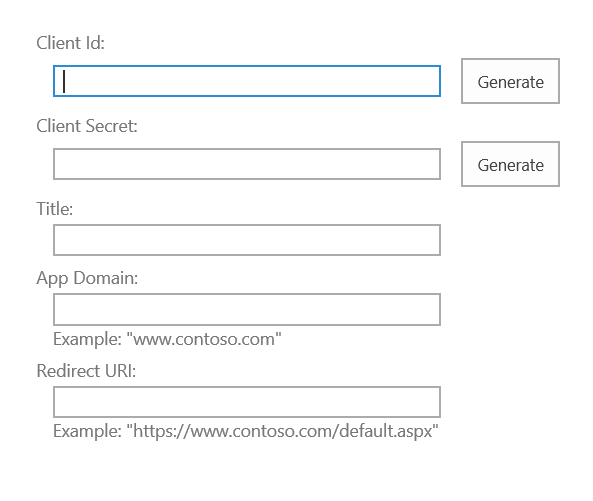
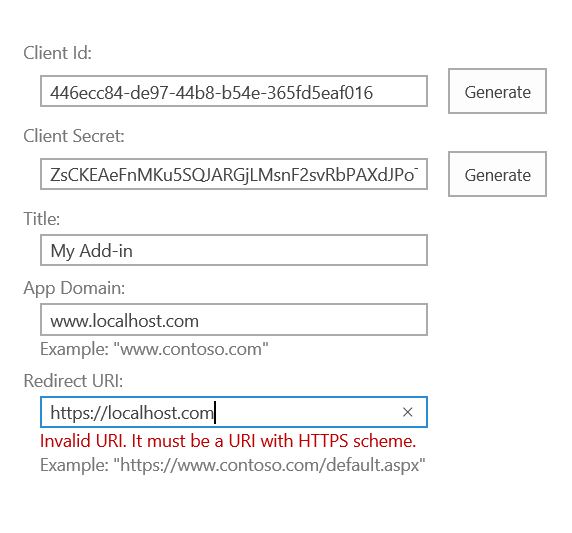
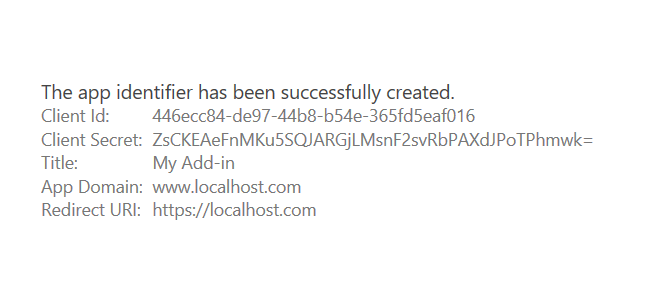 SharePoint Add-in Identifier

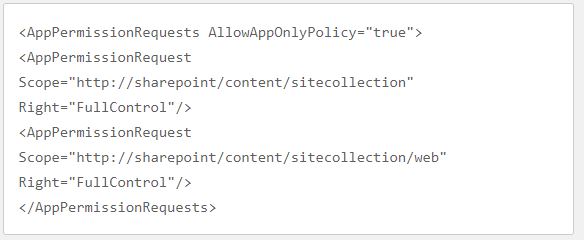
 Trust SharePoint Add-In