This is in continuation in the Python + Dataverse series, it is worth checking out from the start of this series here.
At times, there will be a need to remove PII(Personally Identifiable Information) present in the Dataverse Environments, for this one time task, you can easily run Python script below, let’s take example of removing PII from Contact fields in the below example.
This file contains hidden or bidirectional Unicode text that may be interpreted or compiled differently than what appears below. To review, open the file in an editor that reveals hidden Unicode characters.
Learn more about bidirectional Unicode characters
While many people doesn’t know the significance of MIME Type, this post is to give brief knowledge about the same before moving to understand security concepts in Power Platform in my upcoming articles.
In the Microsoft Power Platform, MIME types (Multipurpose Internet Mail Extensions) are standardized labels used to identify the format of data files. They are critical for ensuring that applications like Power Apps, Power Automate, and Power Pages can correctly process, display, or transmit files.
Core Functions in Power Platform
Dataverse Storage: Tables such as ActivityMimeAttachment and Annotation (Notes) use a dedicated MimeType column to store the format of attached files alongside their Base64-encoded content.
Security & Governance: Administrators can use the Power Platform Admin Center to block specific “dangerous” MIME types (e.g., executables) from being uploaded as attachments to protect the environment.
Power Automate Approvals: You can configure approval flows to fail if they contain blocked file types, providing an extra layer of security for email notifications.
Power Pages (Web Templates): When creating custom web templates, the MIME type field controls how the server responds to a browser. For example, templates generating JSON must be set to application/json to be parsed correctly.
Email Operations: When using connectors like Office 365 Outlook, you must specify the MIME type for attachments (e.g., application/pdf for PDFs) so the recipient’s client can open them properly.
application/octet-stream (used for generic binary files)
Implementing MIME type handling and file restrictions ensures your Power Platform solutions are both functional and secure.
1. Programmatically Setting MIME Types in Power Automate
When working with file content in Power Automate, you often need to define the MIME type within a JSON object so connectors (like Outlook or HTTP) understand how to process the data.
Structure: Use a Compose action to build a file object with the $content-type (MIME type) and $content (Base64 data).json
Dynamic Mapping: If you don’t know the file type in advance, you can use an expression to map extensions to MIME types or use connectors like Cloudmersive to automatically detect document type information.
2. Restricting File Types in Power Apps
The Attachment control in Power Apps does not have a built-in “allowed types” property, so you must use Power Fx formulas to validate files after they are added.
Validation on Add: Use the OnAddFile property of the attachment control to check the extension and notify the user if it’s invalid in PowerApps
Submit Button Logic: For added security, set the DisplayMode of your Submit button to Disabled if any attachment in the list doesn’t match your criteria.
3. Global Restrictions (Admin Center)
To enforce security across the entire environment, administrators can navigate to the Power Platform Admin Center to manage blocked MIME types. Adding an extension to the blocked file extensions list prevents users from uploading those file types to Dataverse tables like Notes or email attachments.
Hope this helps…in next post, I will be talking about Content Security Policy and how Power Platform can be secured using different sets of configuration.
On 14 November, 2025, I took the AB 100 Exam, this post is to share my experience about this exam.
The exam doesn’t look difficult or tricky to me, it feels like a lot to read in short amount of time. Most of the questions revolved around Copilot Studio, Azure AI Foundry, Azure Services for tracking telemetry, Copilot, Dynamics 365 Customer Engagement, Finance and Operations, Supply Chain Management.
While there is nitty-gritty on using Prebuilt agents and Custom Agents using Azure AI Foundry and Agent Governance, choosing right agent for the need but note that no question came up from AI Builder, Licensing as well.
As per Exam NDA, exact exam questions may not be shared publicly, I am sharing my experience so that someone preparing for this exam can use this while preparing for taking this exam.
If you want to learn further, you can go through the below link which was recently created by Microsoft….go take a look…
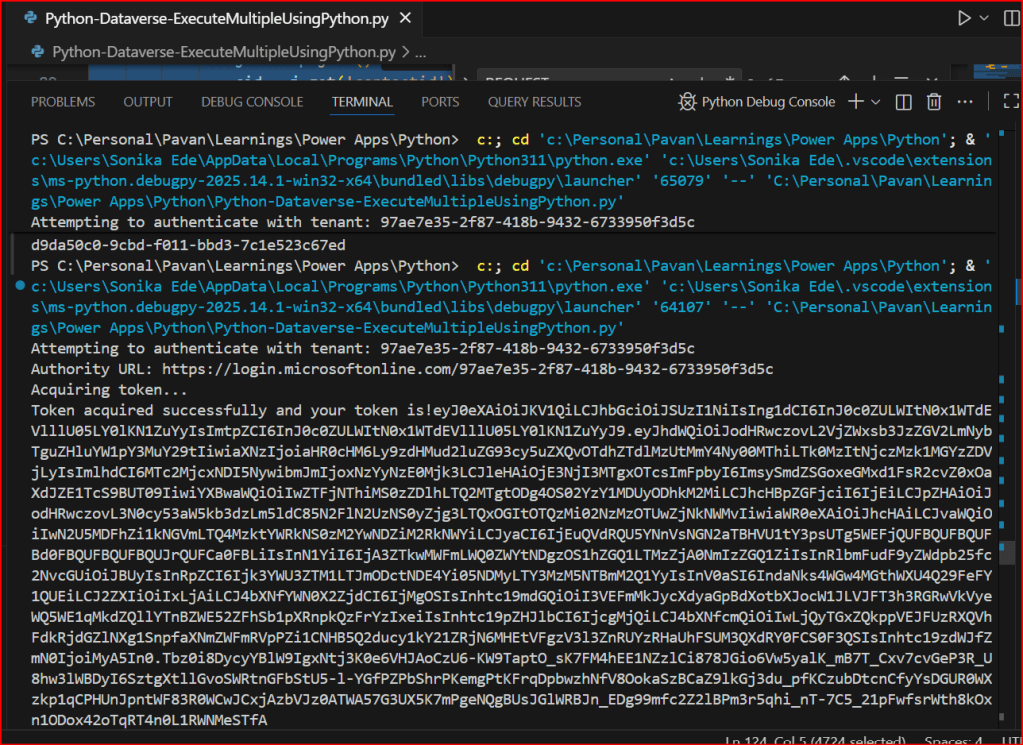
This is continuation in this Python with Dataverse Series, in this blog post, we will see how can we create multiple records in a single batch using ExecuteMultiple in Python.
Please use the below code for the same…to make any calls using ExecuteMultiple…
This file contains hidden or bidirectional Unicode text that may be interpreted or compiled differently than what appears below. To review, open the file in an editor that reveals hidden Unicode characters.
Learn more about bidirectional Unicode characters
After a break, I am back with my next blog post, this is a very short one.
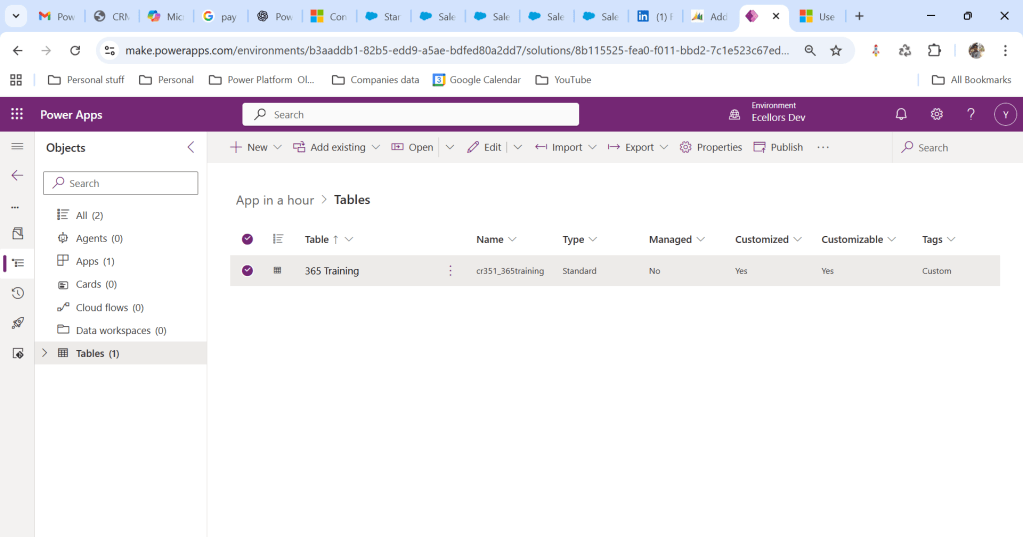
Whenever you were working on any implementation, you could have added entity assets to the solution, many people miss adding metadata for the entity, since they don’t have a way to check properly, folks end up removing and readding the entity with metadata toggle on.
But don’t worry, here is a simple way to check this..
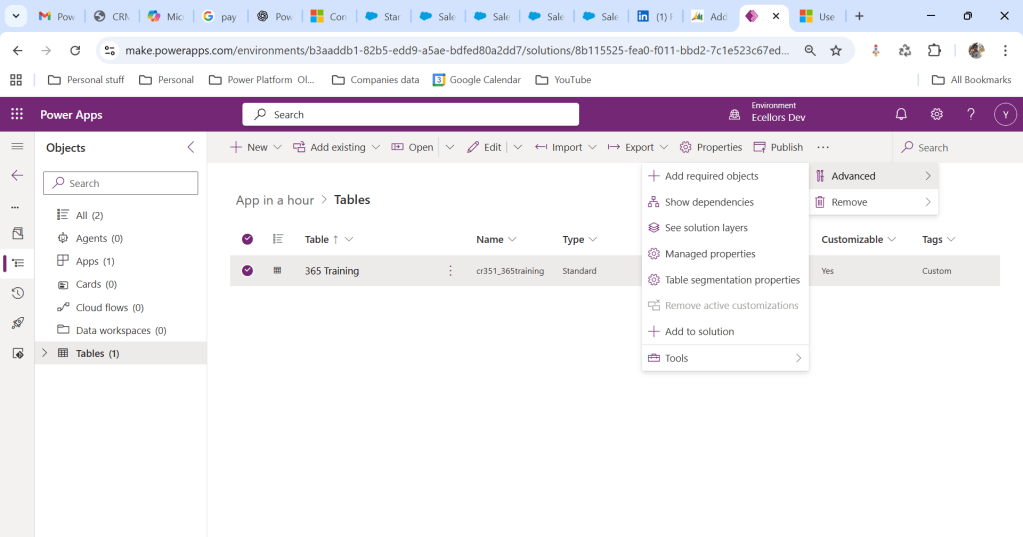
Let’s say you have added a table to the form like below
Now you want to add the metadata for this, click on the table name below
Click on Elipses…
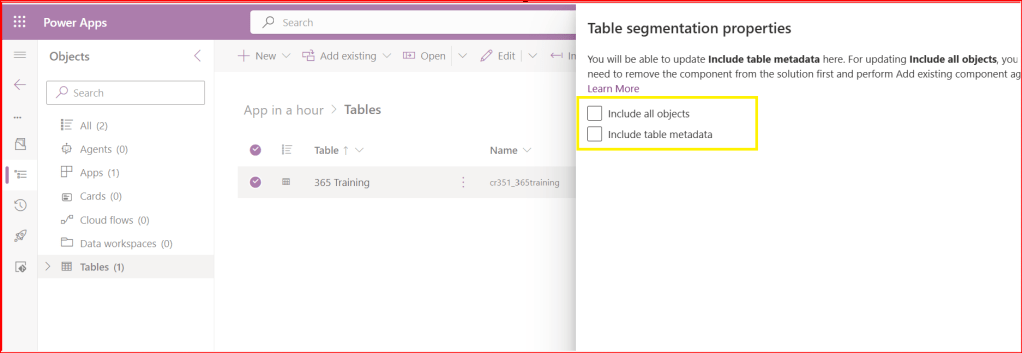
Choose table segmentation as shown above
So as highlighted above, you can include all the objects or include table metadata.
Hope this small tip helps…so even if you miss adding metadata, you can safely add it later at any point of time.
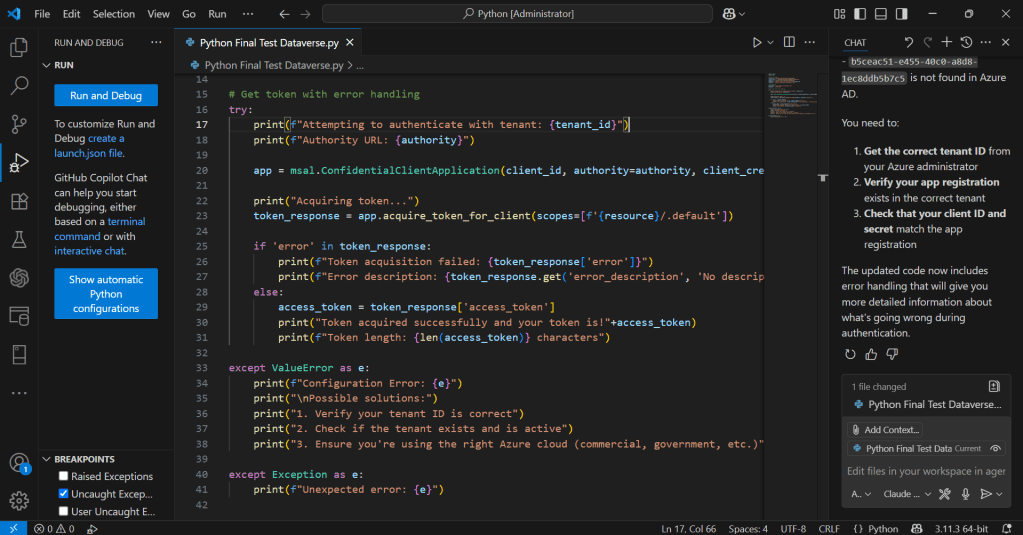
This is in continuation to the previous blog post…if you haven’t gone through the earlier post on connecting to Dataverse using Python, please have a look here
Now, we will see how you can retrieve the records in Dataverse using Web API using Python…
Follow the previous blog post for connecting to Dataverse using Python
Once you get the access token via the TDS End point, we can invoke the Dataverse Web API using below code…
This file contains hidden or bidirectional Unicode text that may be interpreted or compiled differently than what appears below. To review, open the file in an editor that reveals hidden Unicode characters.
Learn more about bidirectional Unicode characters
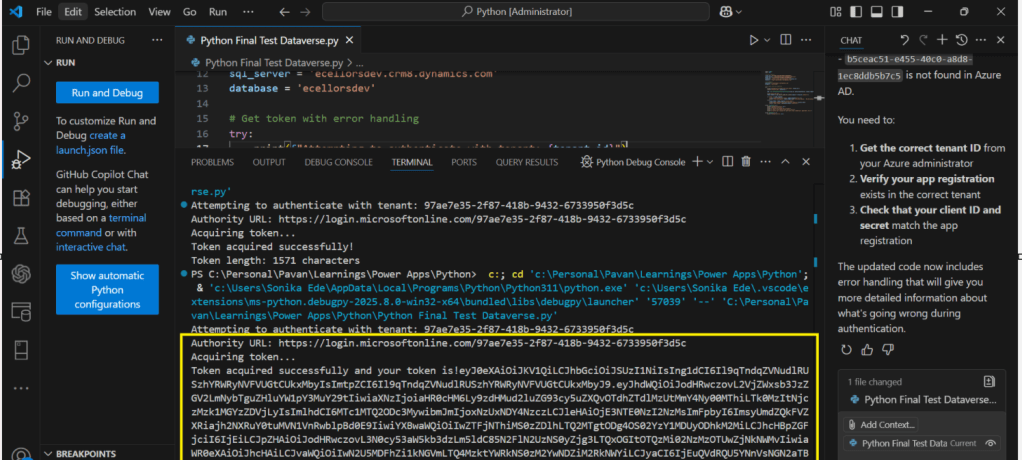
This series is for Pro Code Developers especially those working on Dataverse and want to know how to work with Dataverse and Python. I am starting this series as I see little to no content in this area.
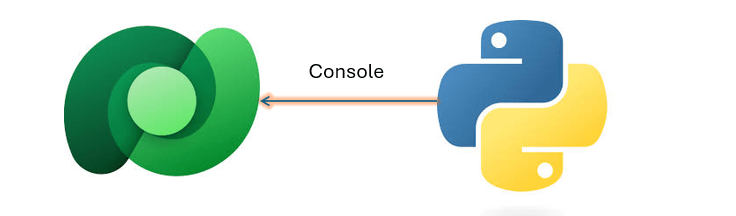
So, in this post, first we will try to understand how to write a console application using Python Code utilizing(Tabular Data Stream) the TDS end point. Well, there were many posts in the internet for connecting to Dataverse using Python but uses more libraries and requires bit more code
Below posts will have hardcoded configurations as they are meant for initial trial purposes, going further, we will align with the best practices.
This file contains hidden or bidirectional Unicode text that may be interpreted or compiled differently than what appears below. To review, open the file in an editor that reveals hidden Unicode characters.
Learn more about bidirectional Unicode characters
This is another post related to Plugins in Dynamics 365 CE.
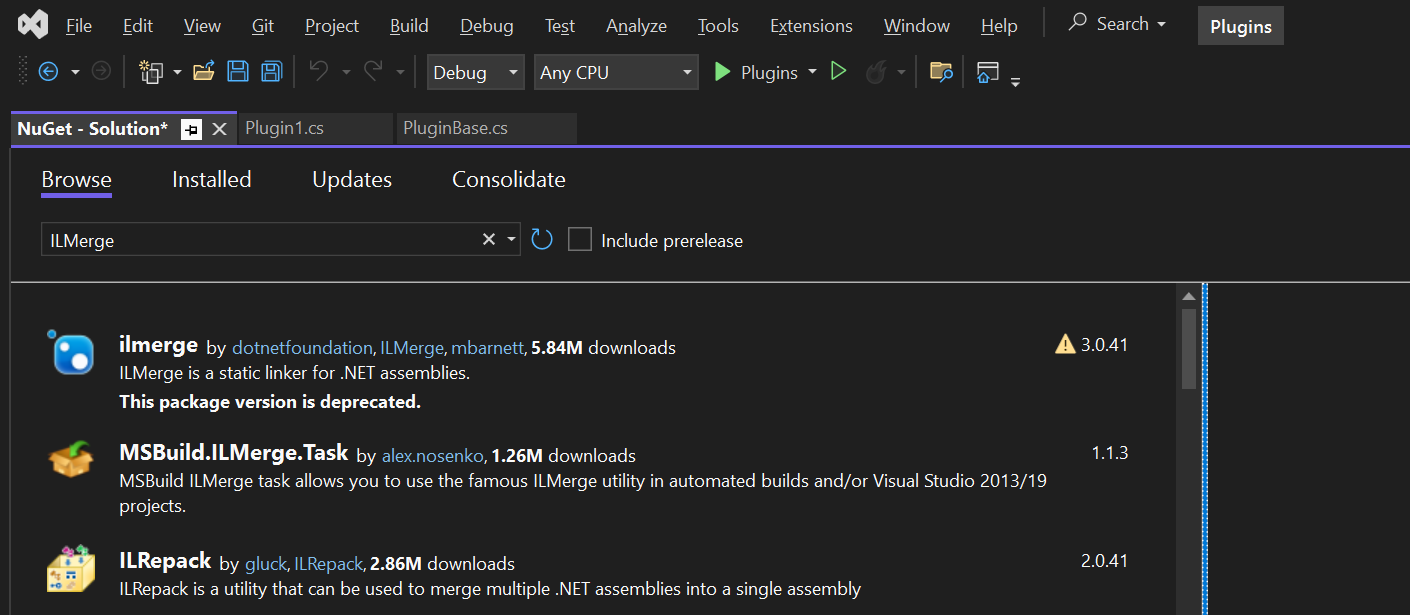
Considering medium to large scale implementations, there isn’t a single Power Platform Project which don’t require merging of external assemblies.
We relied on ILMerge to merge those assemblies into a single DLL. We used to search for ILMerge assemblies in Nuget and installed them for use.
Then the plugins are signed in for several reasons, primarily related to security, assembly integrity, and versioning of the sandbox worker process.
But either of the above are no longer needed with the help of Dependent Assembly feature…with few simple steps, you can build the Plugin…Interesting, isn’t it, read on…
Pre requisites:
Download Visual Studio 2022 Community Edition here
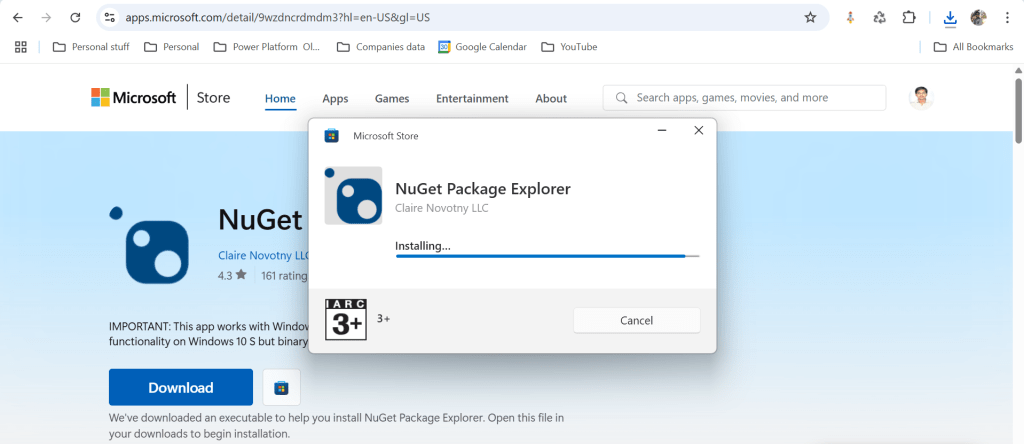
Download and install NuGet Package Explorer from this link NuGet Package Explorer open the NuGet Package Explorer
Avoid Direct Plugin Project Creation in Visual Studio
Never create a Plugin project directly from Visual Studio or any other IDE here after.
Use Microsoft PowerApps CLI instead
Always use Power Apps CLI as it easy and only requires a single command to create the entire Plugin project scaffolding
This ensures a standardized and reliable development environment.
It automatically creates a Nuget Package file that will be used to avoid ‘Could not load assemblies or its dependencies‘.
Ok, let’s begin.
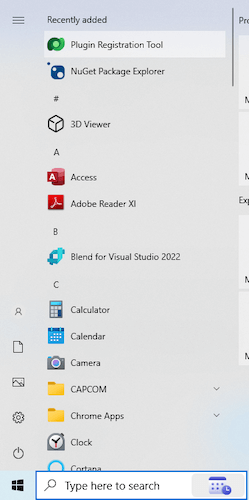
Once you have downloaded all the prerequisites mentioned, make sure you have installed them in your local machine. Others are straight forward to download, for NuGet Package explorer, you need to search in Windows store to install.
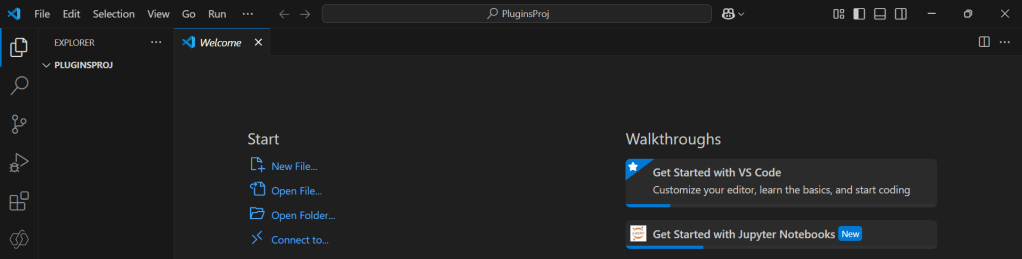
Create a local folder for the Plugins
Navigate to that folder from VS Code
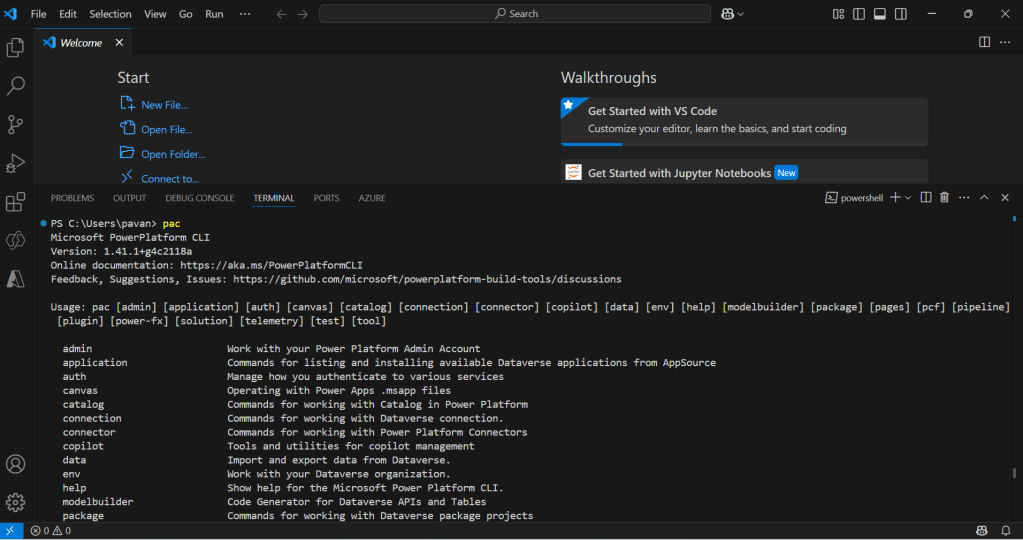
Now open terminal, run the pac command as below
Execute the following command to create plugin project
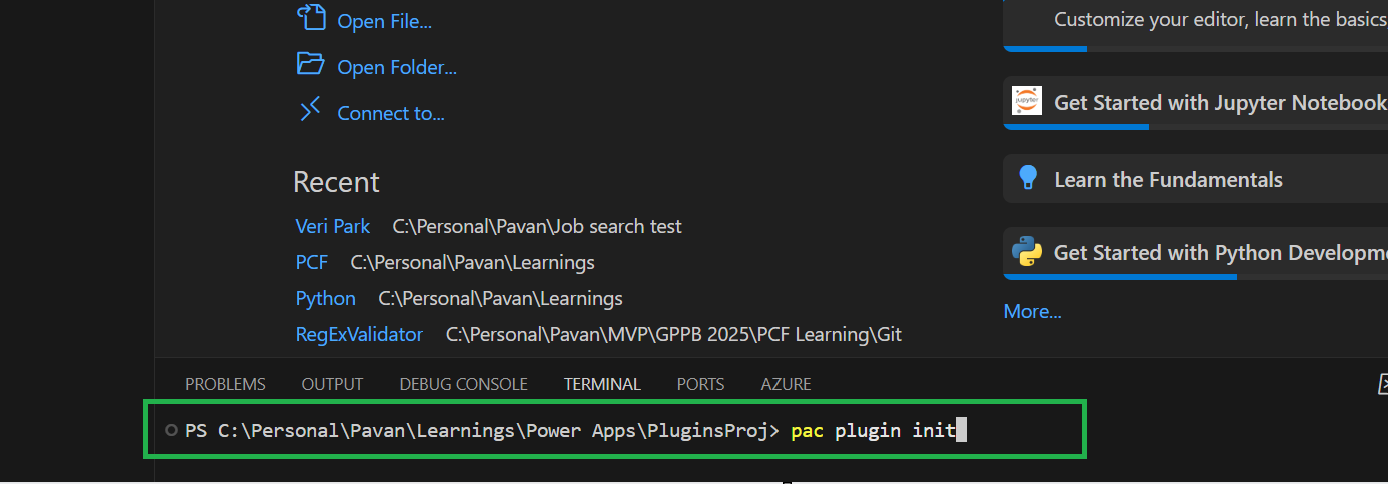
Browse to the directory where you want to create the plugin project
Execute the command on CMD to create plugin project “pac plugin init“
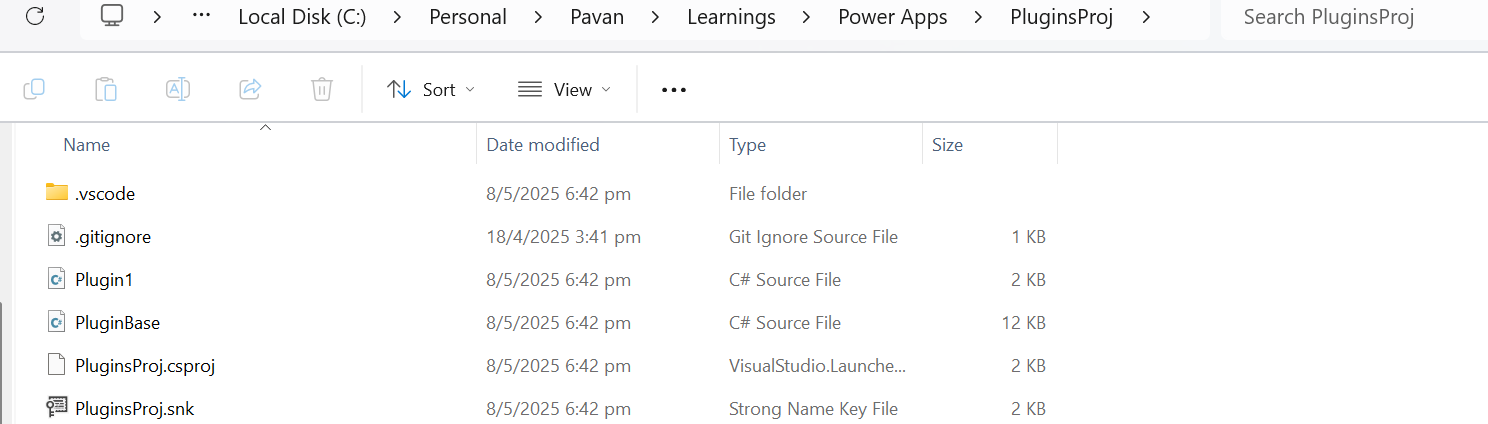
A plugin project will be created at your desired location as follows
Plugin project in local folder will be created as below
That’s it, you can close the VS Code for now.
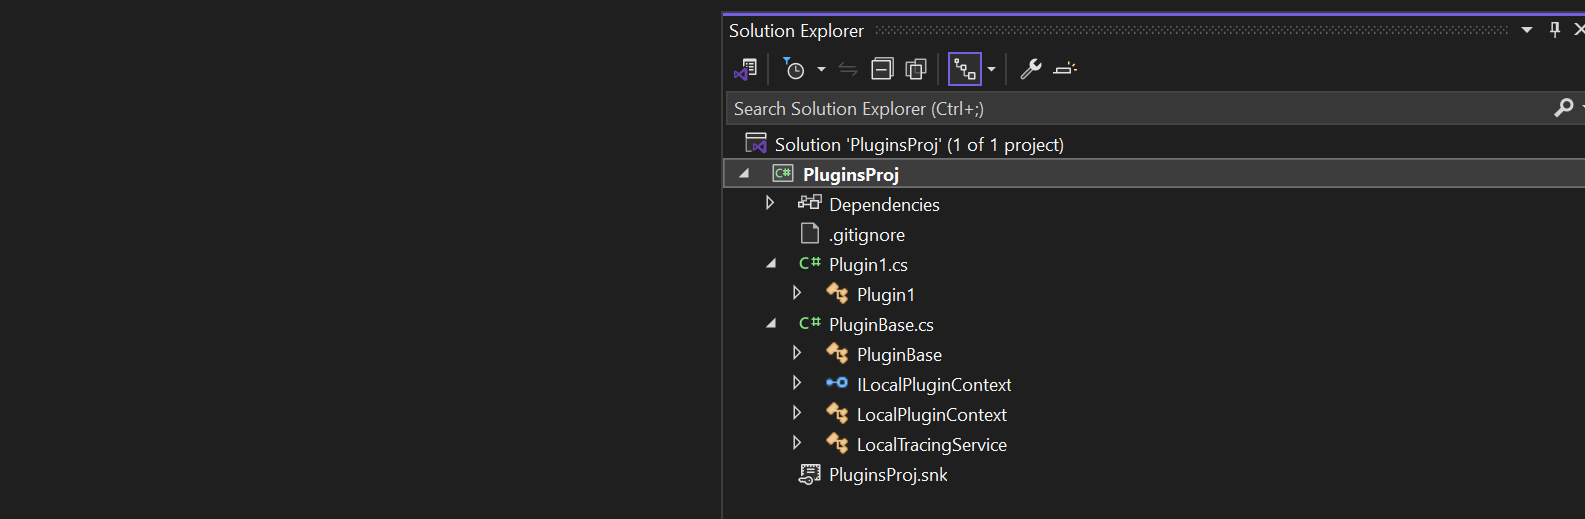
Click on the CS Proj file and open it in Visual Studio
By default, 2 files are automatically created when you create a plugin project as shown above.
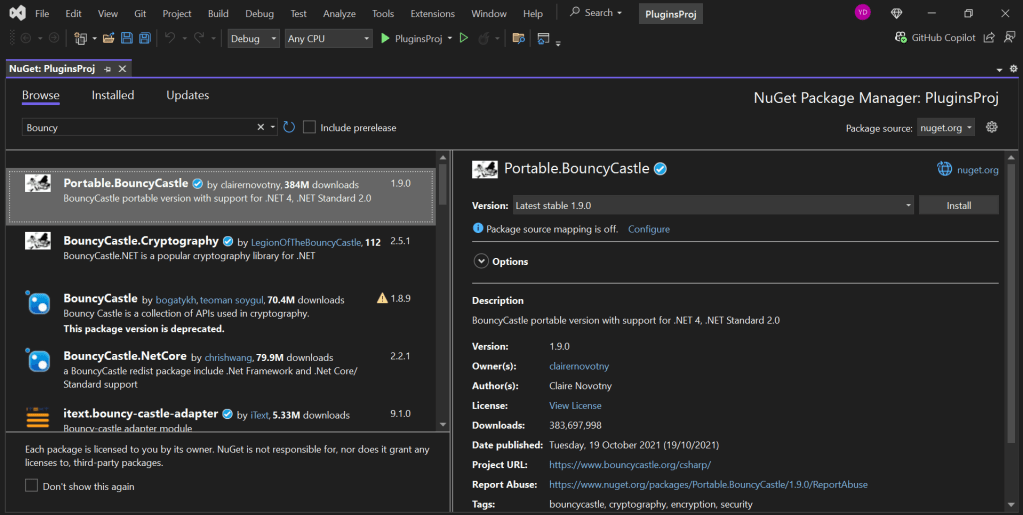
Now will install Bouncy Castle which is an external library, right click on the Plugin Solution –> Manage Nuge Packages
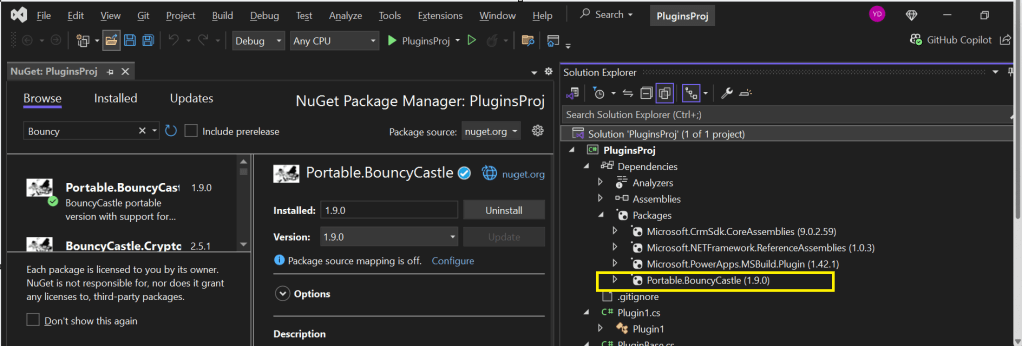
I have added Bouncy Castle NuGet Package to my plugin project for Encryption and Decryption. You can have your own required NuGet Package as per your need.
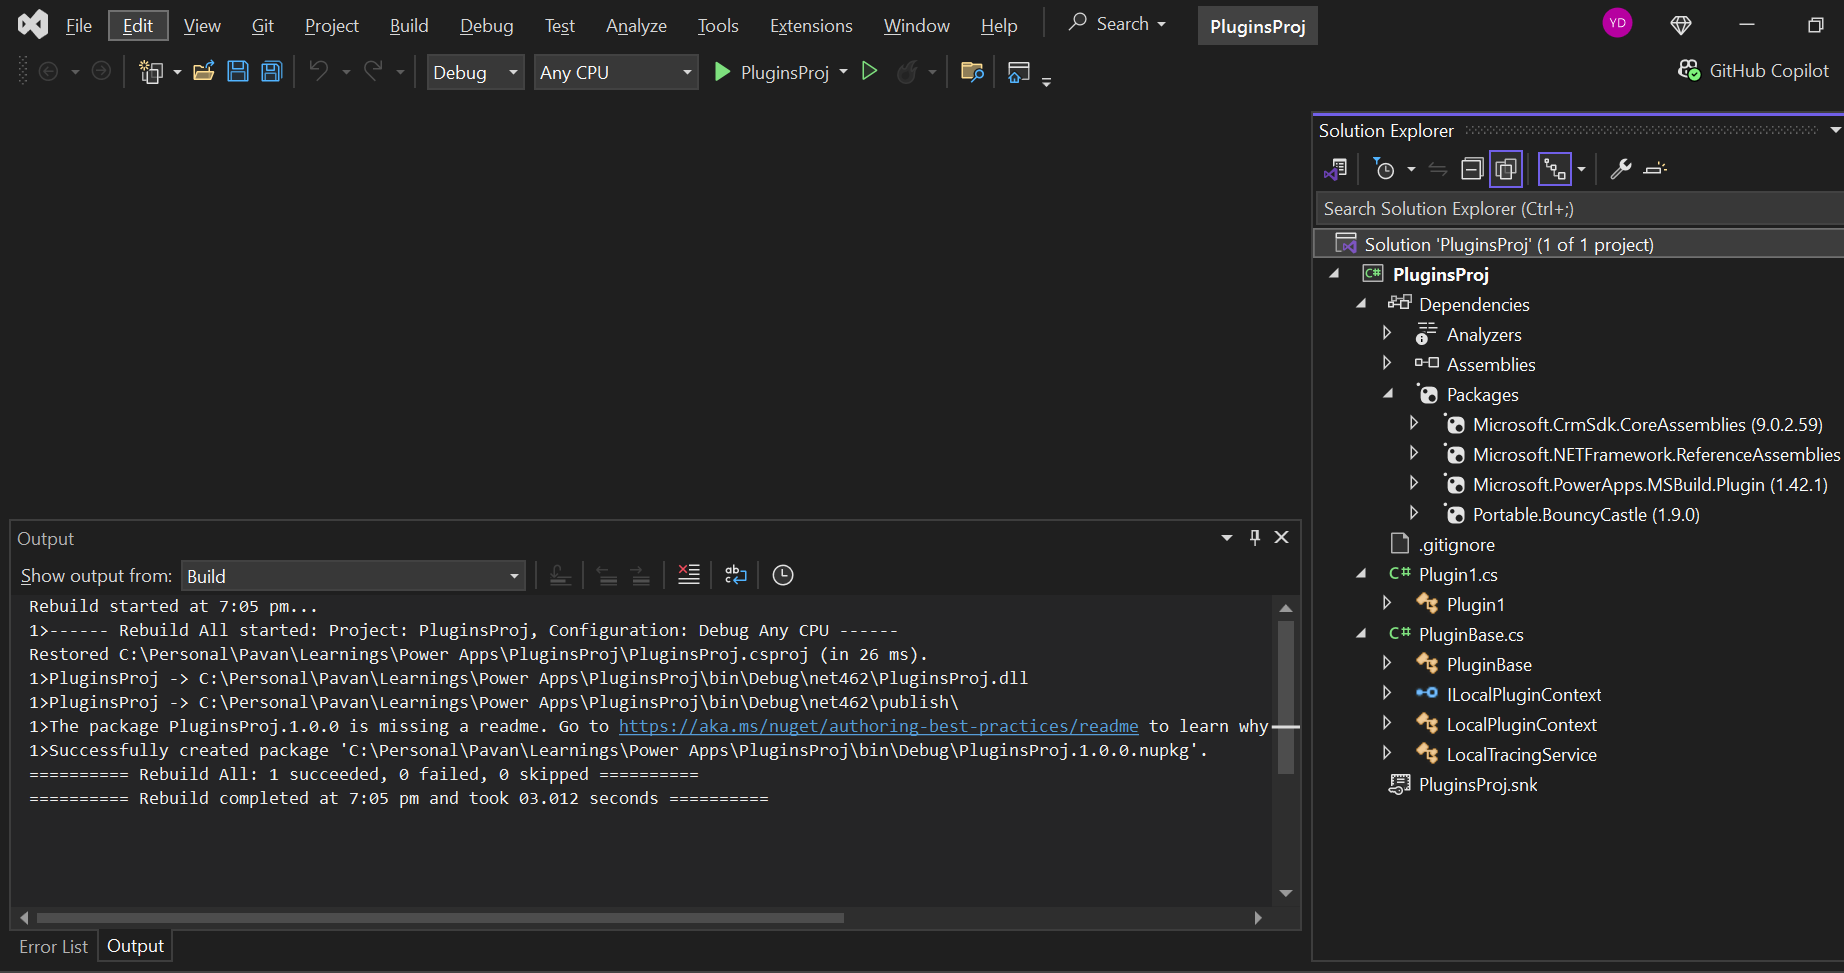
Build your project
After a successful build, you will get the output result as follows
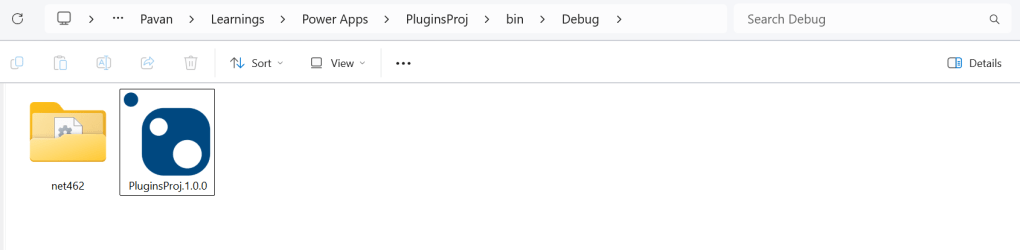
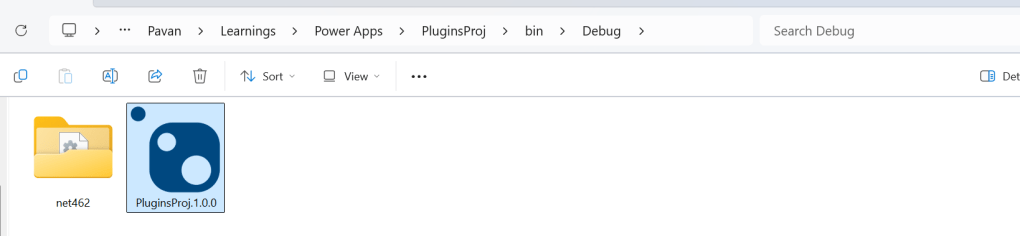
Browse the directory of your project
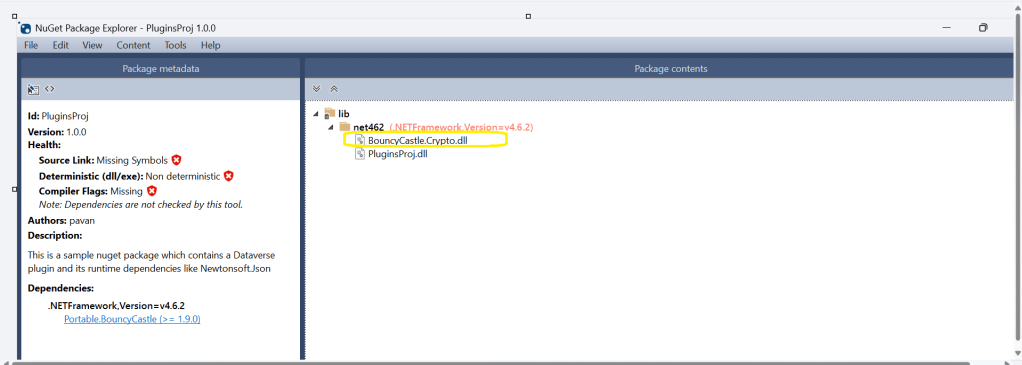
Open the file Plugin_Project.1.0.0.nupkg in Nuget Package Explorer by double clicking it
Now you can see that this nuget package file contains the information related to the added nuget package of Bouncy Castle that we want to include in our plugin project package as follows. In your case, you can have the required nuget package that you want to add
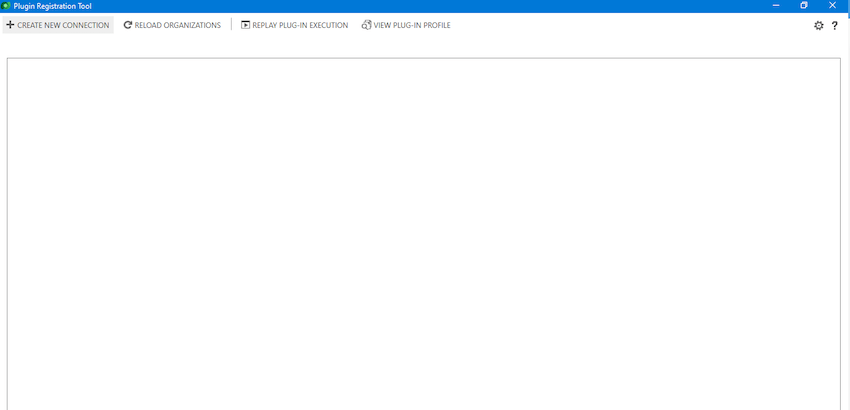
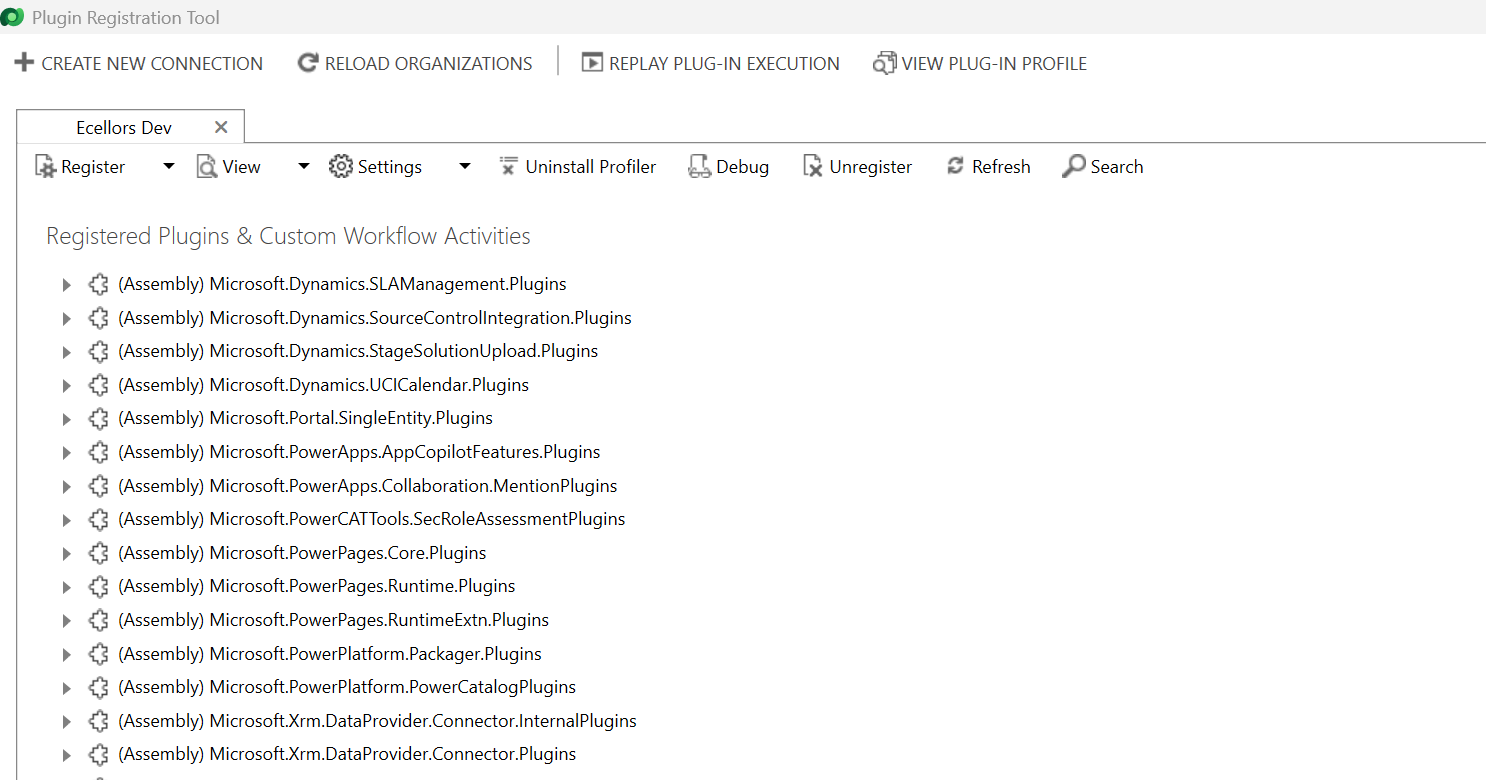
Now open up plugin registration tool
Click to create new connection
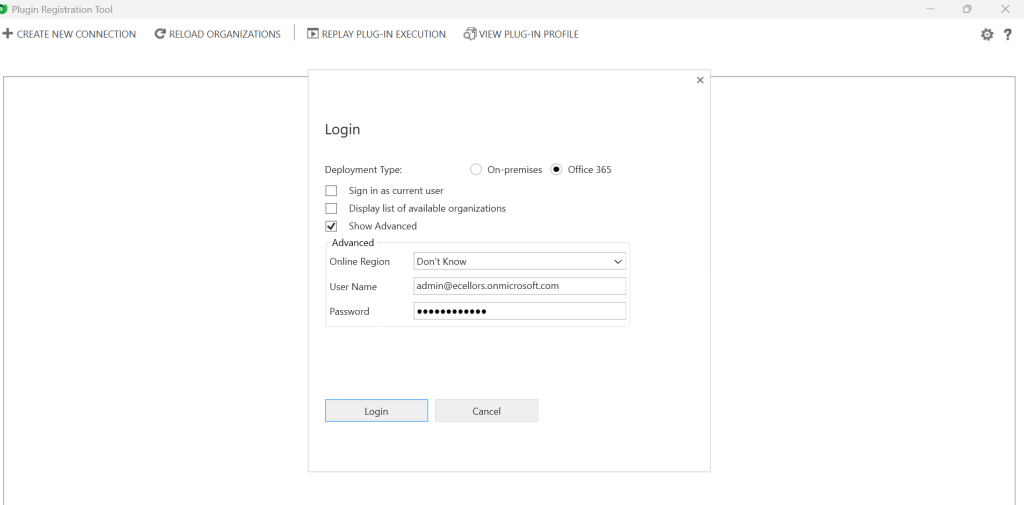
Provide login details and login
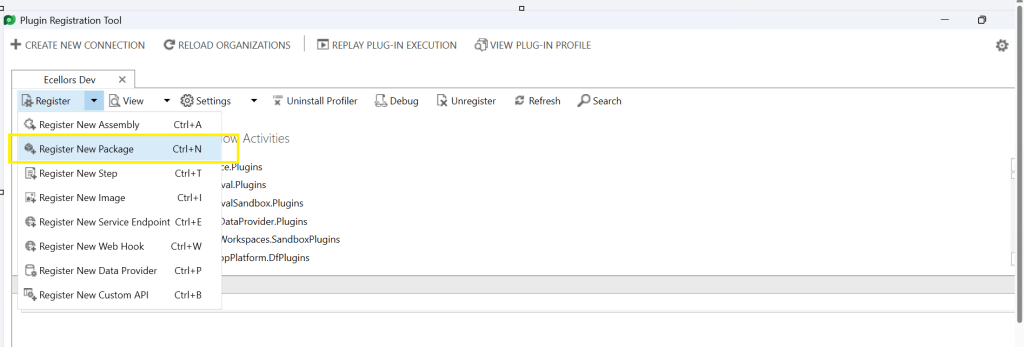
Click to Register New Package
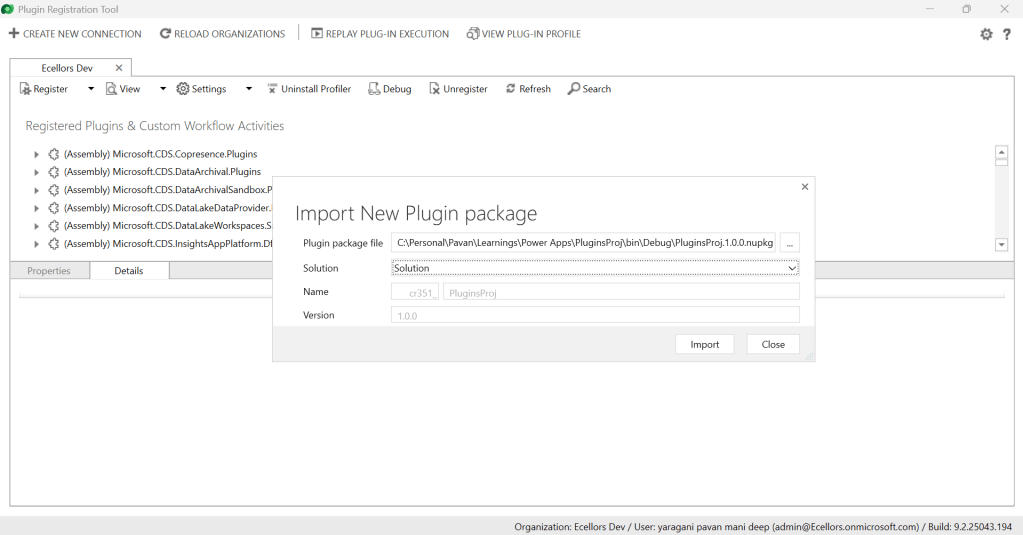
Browse to the directory where your nuget package file was created automatically when you build the project and import this file
Select the Command Data Service Default Solution and import it
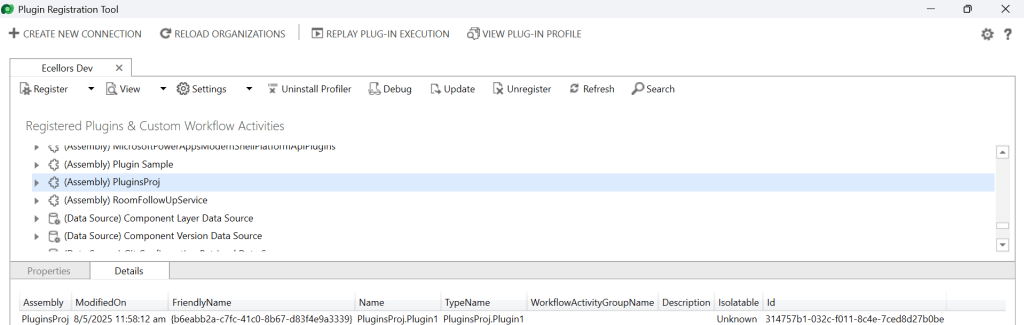
Click on view and Display by package
Now your Plugin Project is successfully registered with all dependent assemblies and ready to use.
While this post gives you a structure on how you can do build a plugin assembly, you can add the business logic as per your need.
Conclusion:
In conclusion, navigating the intricacies of Microsoft Dynamics 365 CRM plugins demands a nuanced approach, especially when dealing with NuGet Packages and dependent assemblies. This article has delved into the critical process of resolving the persistent ‘Could not load assemblies or its dependencies‘ issue, offering a comprehensive, step-by-step demonstration.
By following the recommended best practices, such as avoiding direct plugin project creation in Visual Studio and harnessing the power of Microsoft PowerApps CLI, developers can establish a standardized and reliable development environment. The CLI’s automatic creation of a NuGet Package file not only streamlines the process but also reduces the errors.
To further facilitate your journey, prerequisites such as downloading and installing essential tools like the Plugin Registration tool, Microsoft PowerApps CLI, and NuGet Package Explorer are highlighted. The guide emphasizes the significance of these tools in ensuring a smooth plugin development experience.
By adopting these practices and incorporating the suggested steps into your workflow, you not only troubleshoot existing issues but also fortify your understanding of the entire process. Take charge of your Dynamics 365 CRM plugin development, elevate your skills, and sidestep common pitfalls by mastering the art of handling NuGet Packages and dependencies seamlessly.
It’s been a since I posted on Dynamics 365 Plugins, so this blog post talks about one small tip when connecting to your Dynamics 365 instance from Plugin Registration Tool either if you were connecting from Standalone Plugin Registration Tool or using Plugin Registration Tool from XrmToolBox.
If you were looking to install plugin registration tool itself, you can check the below post or if you want to learn about all Plugin related issues at once, you can check the references at the bottom of this post, else you can continue reading this post.
If you don’t know this tip, it will be difficult and least you will spend many minutes figuring out the error message you see in the Plugin registration tool.
This is applicable for applications who have MFA enabled, even if you haven’t enabled, it was enabled by Microsoft by default to enforce security.
As usually, you select:
Office 365
Enable Display list of available organizations, Show Advanced
Provide User Name, Password
Click on Login
You will be prompted this error in such case
This file contains hidden or bidirectional Unicode text that may be interpreted or compiled differently than what appears below. To review, open the file in an editor that reveals hidden Unicode characters.
Learn more about bidirectional Unicode characters
Error : AADSTS50076: Due to a configuration change made by your administrator, or because you moved to a new location, you must use multi-factor authentication to access '00000007-0000-0000-c000-000000000000'. Trace ID: 7a7cac23-056c-4e77-ba82-98d50c0b7001 Correlation ID: d8b32fe6-6197-4d9a-a460-3834c8dc292a Timestamp: 2025-04-12 09:09:52Z
at Microsoft.Xrm.Tooling.CrmConnectControl.CrmConnectionManager.QueryOAuthDiscoveryServer(Uri discoServer, ClientCredentials liveCreds, UserIdentifier user, String clientId, Uri redirectUri, PromptBehavior promptBehavior, String tokenCachePath, Boolean useGlobalDisco)
at Microsoft.Xrm.Tooling.CrmConnectControl.CrmConnectionManager.QueryOnlineServerList(ObservableCollection`1 svrs, OrganizationDetailCollection col, ClientCredentials liveCreds, Uri trimToDiscoveryUri, Uri globalDiscoUriToUse)
at Microsoft.Xrm.Tooling.CrmConnectControl.CrmConnectionManager.FindCrmOnlineDiscoveryServer(ClientCredentials liveCreds)
at Microsoft.Xrm.Tooling.CrmConnectControl.CrmConnectionManager.ValidateServerConnection(CrmOrgByServer selectedOrg)
Error : {"error":"interaction_required","error_description":"AADSTS50076: Due to a configuration change made by your administrator, or because you moved to a new location, you must use multi-factor authentication to access '00000007-0000-0000-c000-000000000000'. Trace ID: 7a7cac23-056c-4e77-ba82-98d50c0b7001 Correlation ID: d8b32fe6-6197-4d9a-a460-3834c8dc292a Timestamp: 2025-04-12 09:09:52Z","error_codes":[50076],"timestamp":"2025-04-12 09:09:52Z","trace_id":"7a7cac23-056c-4e77-ba82-98d50c0b7001","correlation_id":"d8b32fe6-6197-4d9a-a460-3834c8dc292a","error_uri":"https://login.microsoftonline.com/error?code=50076","suberror":"basic_action"}: Unknown error
======================================================================================================================
Inner Exception Level 2	:
Source	: Not Provided
Method	: Not Provided
Date	: 12/4/2025
Time	: 5:09:52 pm
Error	: {"error":"interaction_required","error_description":"AADSTS50076: Due to a configuration change made by your administrator, or because you moved to a new location, you must use multi-factor authentication to access '00000007-0000-0000-c000-000000000000'. Trace ID: 7a7cac23-056c-4e77-ba82-98d50c0b7001 Correlation ID: d8b32fe6-6197-4d9a-a460-3834c8dc292a Timestamp: 2025-04-12 09:09:52Z","error_codes":[50076],"timestamp":"2025-04-12 09:09:52Z","trace_id":"7a7cac23-056c-4e77-ba82-98d50c0b7001","correlation_id":"d8b32fe6-6197-4d9a-a460-3834c8dc292a","error_uri":"https://login.microsoftonline.com/error?code=50076","suberror":"basic_action"}: Unknown error
Stack Trace	: Not Provided
======================================================================================================================
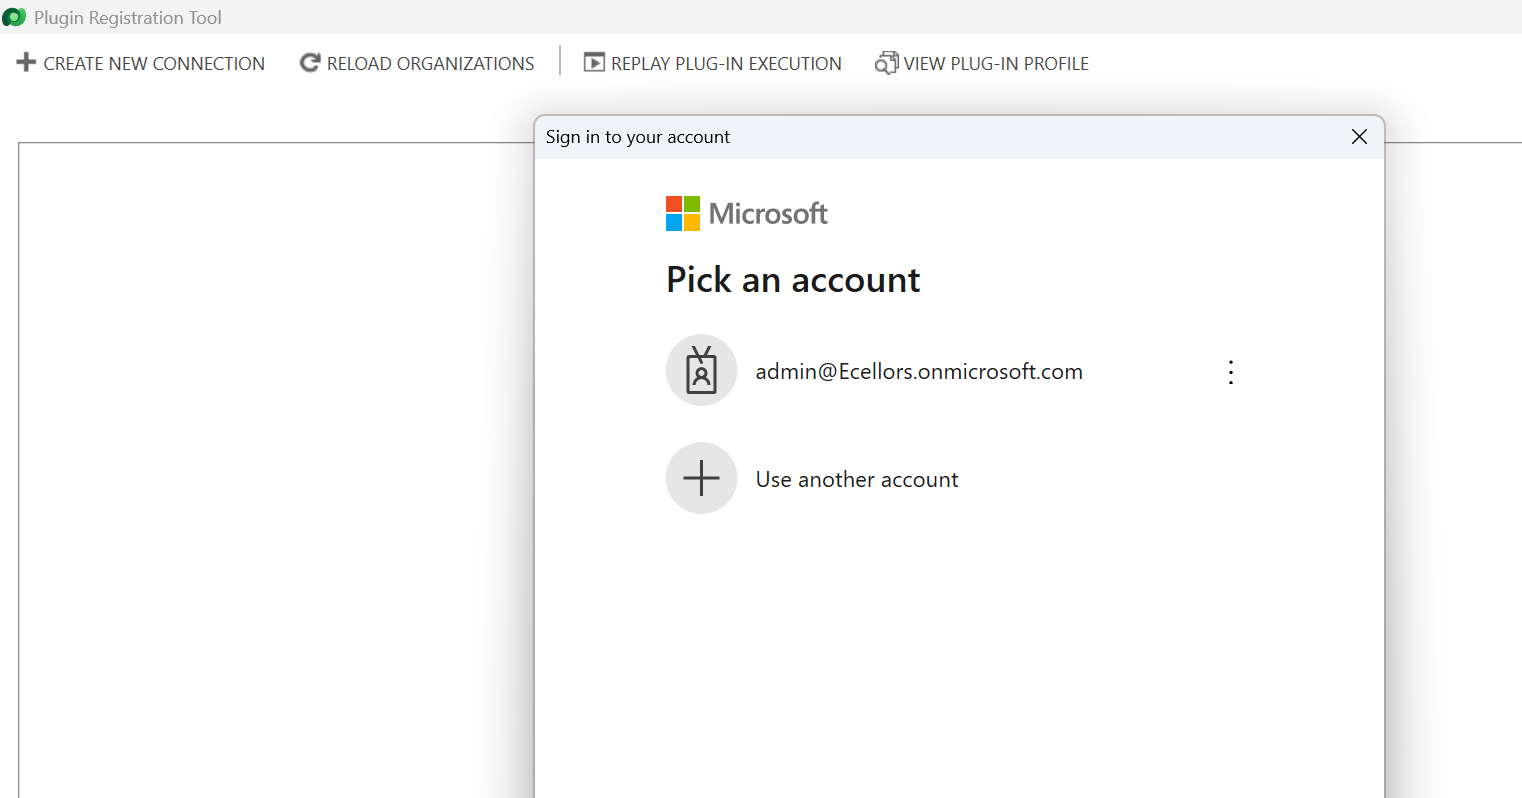
Based on the above inner exception, we can clearly understand that it is looking for Multifactor Authentication, so untick the Show Advanced checkbox, it then asks for Multifactor Authentication as shown below.
That’s it, with this simple tick of unchecking the Show Advanced, you were able to overcome this error, how cool is it…?
I have written lot of articles with respect to Plugin registration tool, you can check them below
🚀 You’re Invited to the Global AI Bootcamp 2025 – Singapore Edition!
Are you passionate about AI, Power Platform, and Microsoft technologies? Want to learn how AI is transforming businesses and industries? Then this event is for you!
🎯 What to Expect? ✅ Expert-led sessions on AI, Copilot, Power Platform, and more ✅ Hands-on workshops to apply AI in real-world scenarios ✅ Networking opportunities with industry leaders and AI enthusiasts ✅ Absolutely FREE to attend!