Hi Folks,
This is in continuation to the previous blog post…if you haven’t gone through the earlier post on connecting to Dataverse using Python, please have a look here
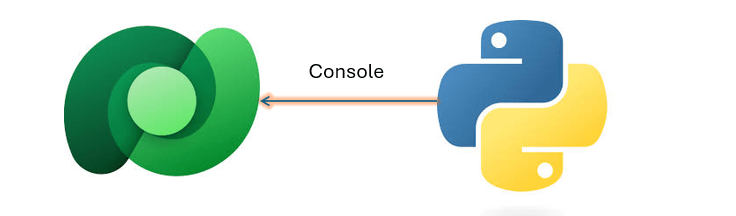
Now, we will see how you can retrieve the records in Dataverse using Web API using Python…
- Follow the previous blog post for connecting to Dataverse using Python
- Once you get the access token via the TDS End point, we can invoke the Dataverse Web API using below code…
This file contains hidden or bidirectional Unicode text that may be interpreted or compiled differently than what appears below. To review, open the file in an editor that reveals hidden Unicode characters.
Learn more about bidirectional Unicode characters
| import pyodbc | |
| import msal | |
| import requests | |
| import json | |
| # Azure AD details | |
| client_id = 'XXXX' | |
| client_secret = 'XXXX' | |
| tenant_id = 'XXXX' | |
| authority = f'https://login.microsoftonline.com/{tenant_id}' | |
| resource = 'https://XXXX.crm8.dynamics.com' | |
| # SQL endpoint | |
| sql_server = 'XXXX.crm8.dynamics.com' | |
| database = 'XXXX' | |
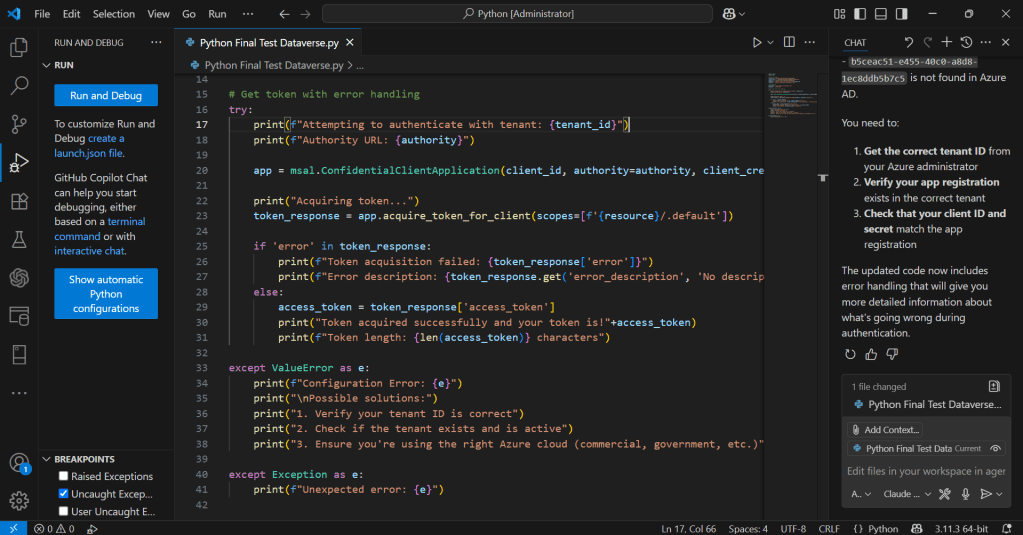
| # Get token with error handling | |
| try: | |
| print(f"Attempting to authenticate with tenant: {tenant_id}") | |
| print(f"Authority URL: {authority}") | |
| app = msal.ConfidentialClientApplication(client_id, authority=authority, client_credential=client_secret) | |
| print("Acquiring token…") | |
| token_response = app.acquire_token_for_client(scopes=[f'{resource}/.default']) | |
| if 'error' in token_response: | |
| print(f"Token acquisition failed: {token_response['error']}") | |
| print(f"Error description: {token_response.get('error_description', 'No description available')}") | |
| else: | |
| access_token = token_response['access_token'] | |
| print("Token acquired successfully and your token is!"+access_token) | |
| print(f"Token length: {len(access_token)} characters") | |
| except ValueError as e: | |
| print(f"Configuration Error: {e}") | |
| print("\nPossible solutions:") | |
| print("1. Verify your tenant ID is correct") | |
| print("2. Check if the tenant exists and is active") | |
| print("3. Ensure you're using the right Azure cloud (commercial, government, etc.)") | |
| except Exception as e: | |
| print(f"Unexpected error: {e}") | |
| #Get 5 contacts from Dataverse using Web API | |
| import requests | |
| import json | |
| try: | |
| print("Making Web API request to get contacts…") | |
| # Dataverse Web API endpoint for contacts | |
| web_api_url = f"{resource}/api/data/v9.2/contacts" | |
| # Set up headers with authorization token | |
| headers = { | |
| 'Authorization': f'Bearer {access_token}', | |
| 'OData-MaxVersion': '4.0', | |
| 'OData-Version': '4.0', | |
| 'Accept': 'application/json', | |
| 'Content-Type': 'application/json' | |
| } | |
| # Add query parameters to get only 5 contacts with specific fields | |
| params = { | |
| '$top': 5, | |
| '$select': 'contactid,fullname,emailaddress1,telephone1,createdon' | |
| } | |
| # Make the GET request | |
| response = requests.get(web_api_url, headers=headers, params=params) | |
| if response.status_code == 200: | |
| print("Web API request successful!") | |
| contacts_data = response.json() | |
| print(f"\nFound {len(contacts_data['value'])} contacts:") | |
| print("-" * 80) | |
| for i, contact in enumerate(contacts_data['value'], 1): | |
| print(f"Contact {i}:") | |
| print(f" ID: {contact.get('contactid', 'N/A')}") | |
| print(f" Name: {contact.get('fullname', 'N/A')}") | |
| print(f" Email: {contact.get('emailaddress1', 'N/A')}") | |
| print(f" Phone: {contact.get('telephone1', 'N/A')}") | |
| print(f" Created: {contact.get('createdon', 'N/A')}") | |
| print("-" * 40) | |
| else: | |
| print(f"Web API request failed with status code: {response.status_code}") | |
| print(f"Error details: {response.text}") | |
| except requests.exceptions.RequestException as e: | |
| print(f"Request error: {e}") | |
| except KeyError as e: | |
| print(f"Token not available: {e}") | |
| except Exception as e: | |
| print(f"Unexpected error: {e}") |
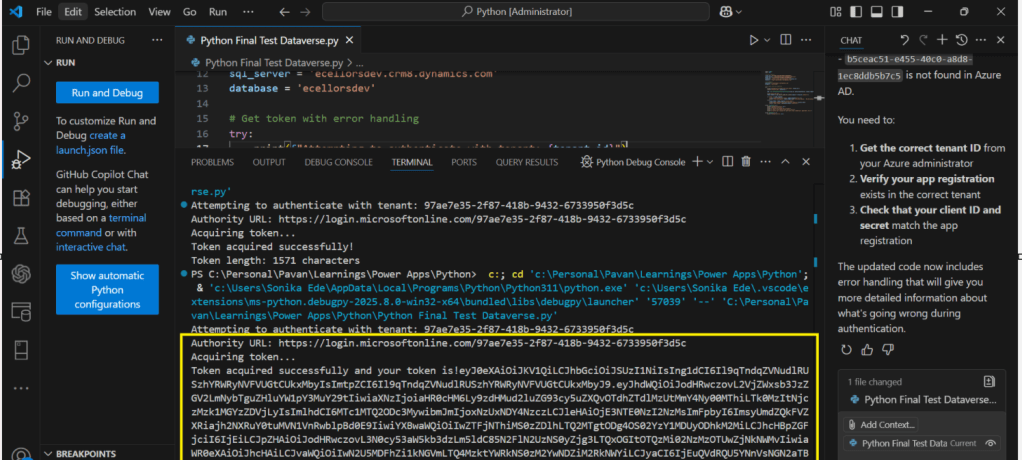
You can use the VS Code as IDE, copy the above code in a python file, next click on Run Python File at the top of the VS Code

So, once you get the Access token, you can invoke the Web API using Python similar to how we did it using Javascript…

Please download the Python Jupyter Notebook if you want to work on this in VS Code
If you want to follow along in this series, please see below post
Hope this helps…
Cheers,
PMDY
Share this:
- Tweet
- Share on WhatsApp (Opens in new window) WhatsApp
- Email a link to a friend (Opens in new window) Email
- Share on Threads (Opens in new window) Threads
- Print (Opens in new window) Print
- Share on Telegram (Opens in new window) Telegram
- Share on Tumblr
- Share on Reddit (Opens in new window) Reddit
- Share on Bluesky (Opens in new window) Bluesky