Hi Folks,
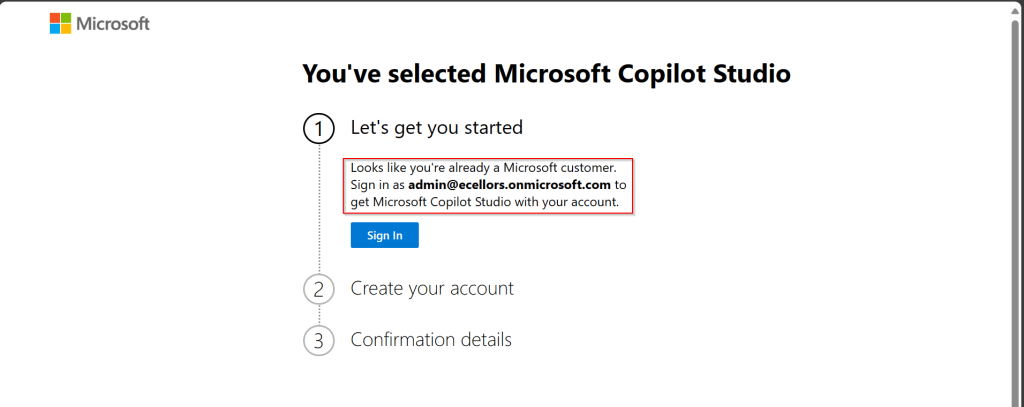
This sounds good for those who are Pro Dev and also those working on Fusion teams (Pro + Low Code), as well. Just note, all these features are in preview or experimental features and are available in US Preview Region now as they were just released in the Microsoft Build 2024 last week. Public preview of these features is expected to be released in June 2024, so you can then try out in your region as well. If you want to check these out now, spin up a trial in US Preview region.
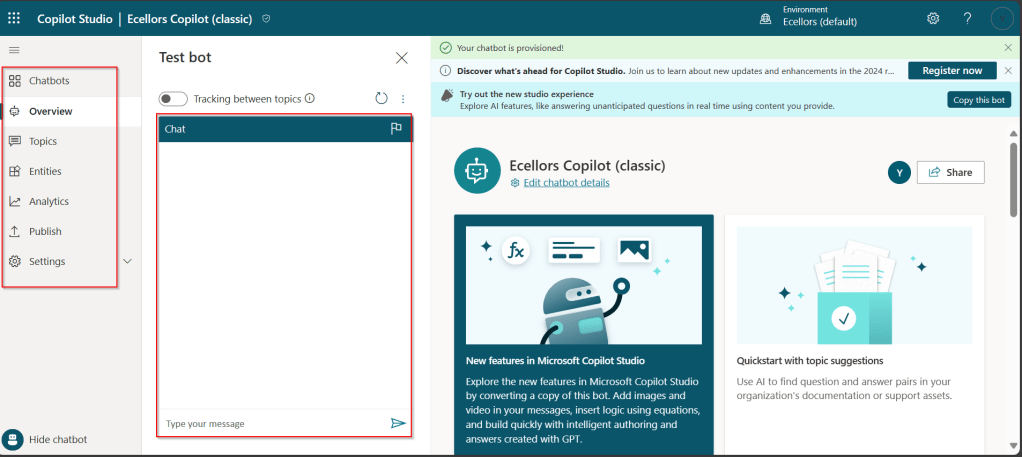
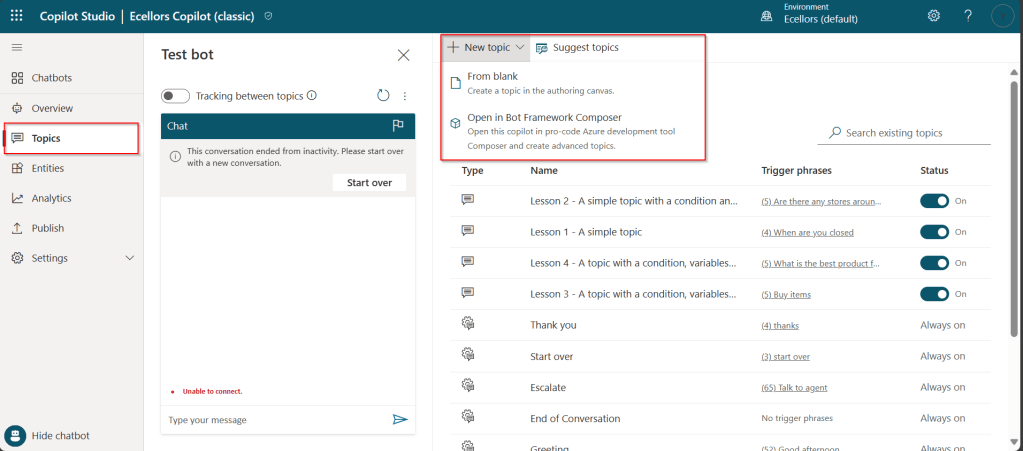
These are the top new features
- View the Code behind the Canvas Apps
- Use Copilot to generate comments and expressions for your Canvas Apps
- Integrate Canvas Apps with GitHub
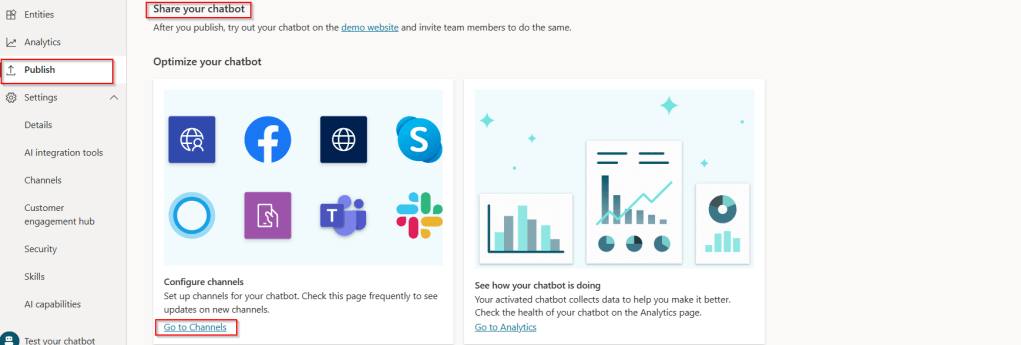
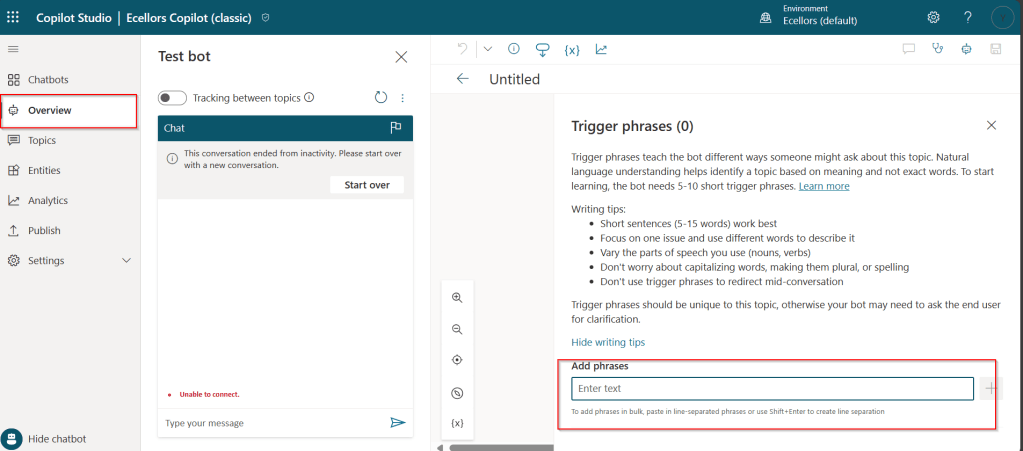
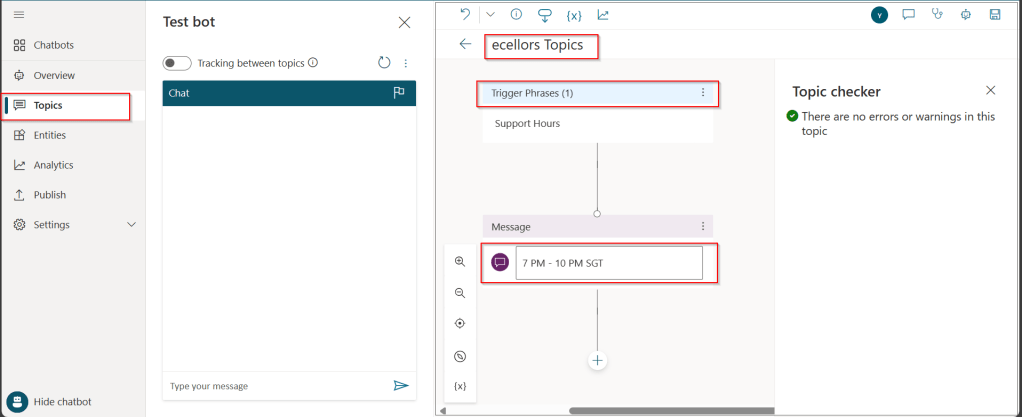
Feature #1: View the Code behind the Canvas Apps
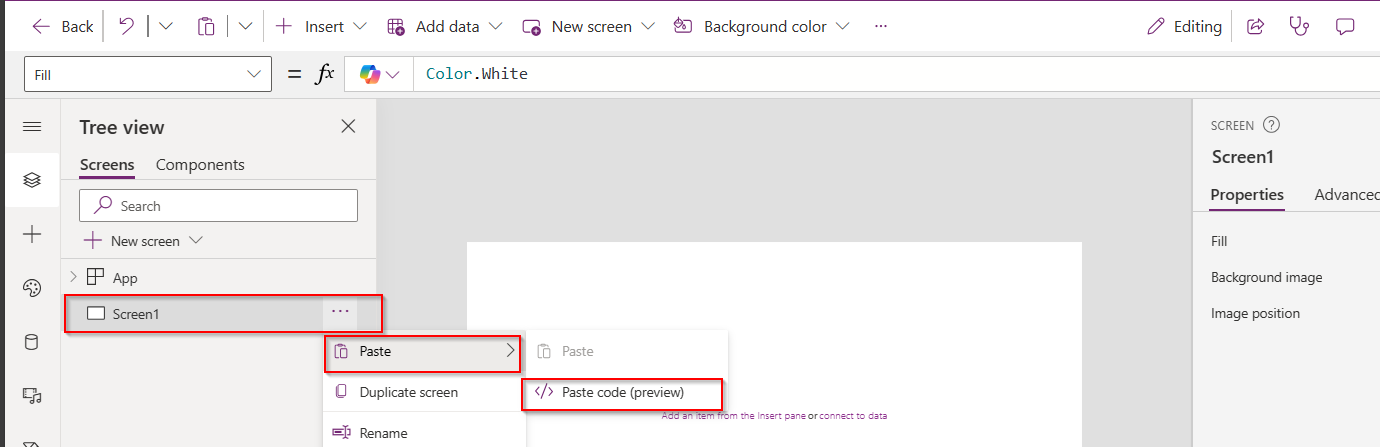
Now you can view the code behind your Canvas Apps, besides the screen where the components reside, click on the ellipses as below

You should be able to see the YAML source code for your Canvas App, the code is currently read only, you can click on Copy code option in the above screen at the bottom of page.
Make the necessary changes to the YAML code, create a new blank screen and you can then copy the YAML code to recreate the previous screen for which you copied the YAML code into a new screen if you wish you.
Here I will copy the code for the container inside, then I will create a new Blank screen

Once blank screen is added, expand it so that it occupies the entire size of the App, then click on Paste as below
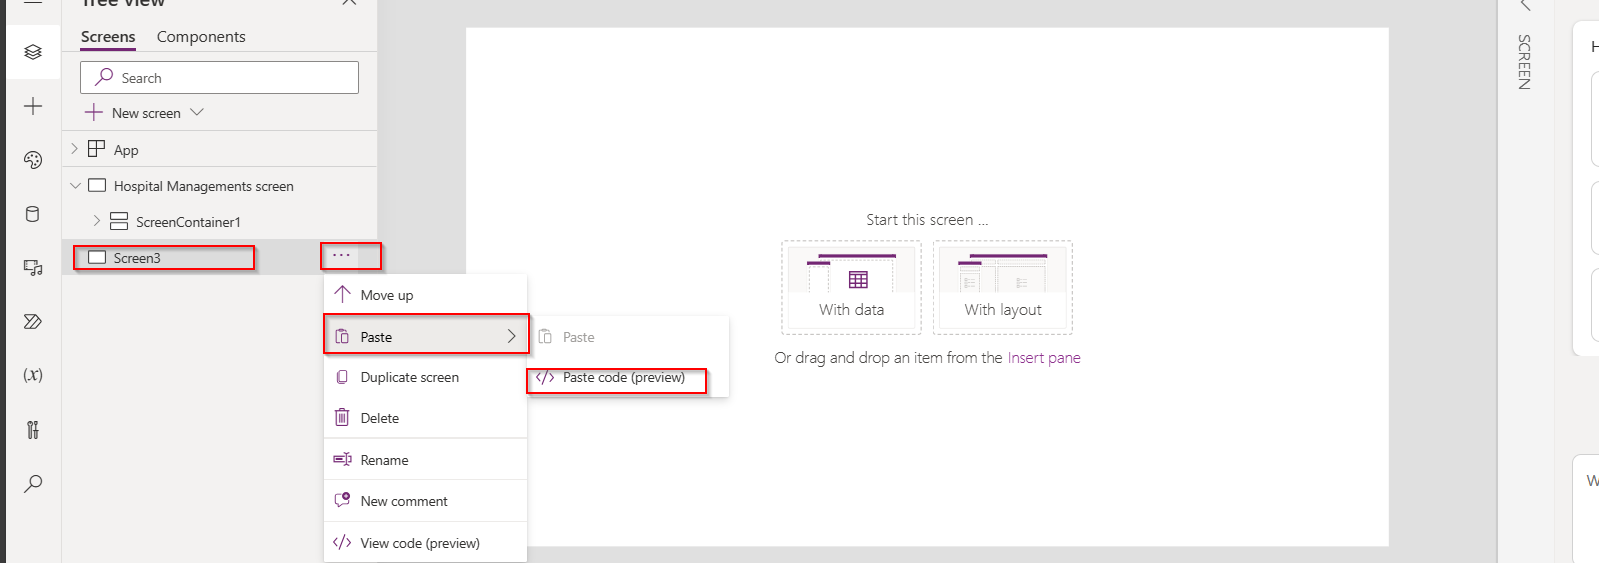
Give it a minute, your new screen is now ready with container inside as below e.g here it was Screen3, just rename this accordingly.

How easy it was…. make sure you copy it to relevant item, meaning if you copied the code of container, you could only copy it to another container and not a screen.
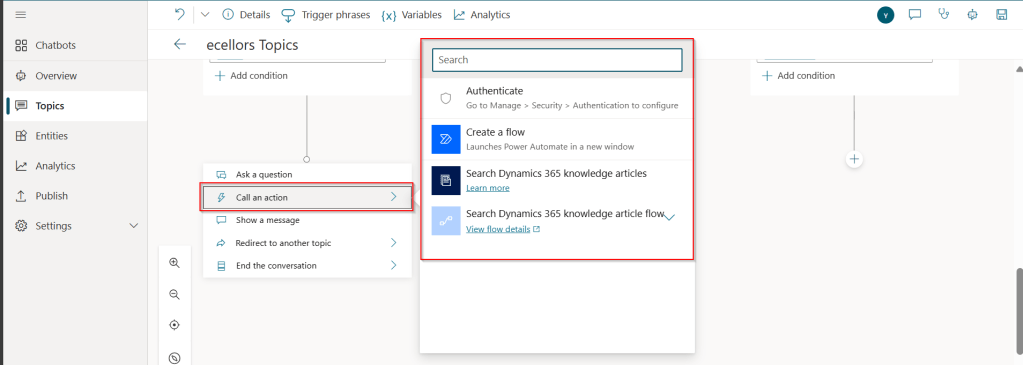
Feature #2: Use Copilot to generate comments and expressions for your Canvas Apps
Do you want to generate comments for the expressions you wrote. Or have you forgot the logic which you have written for Canvas Apps long time back, don’t worry, use this approach.
Let’s say, I am choosing OnSelect Property, I have the below formula

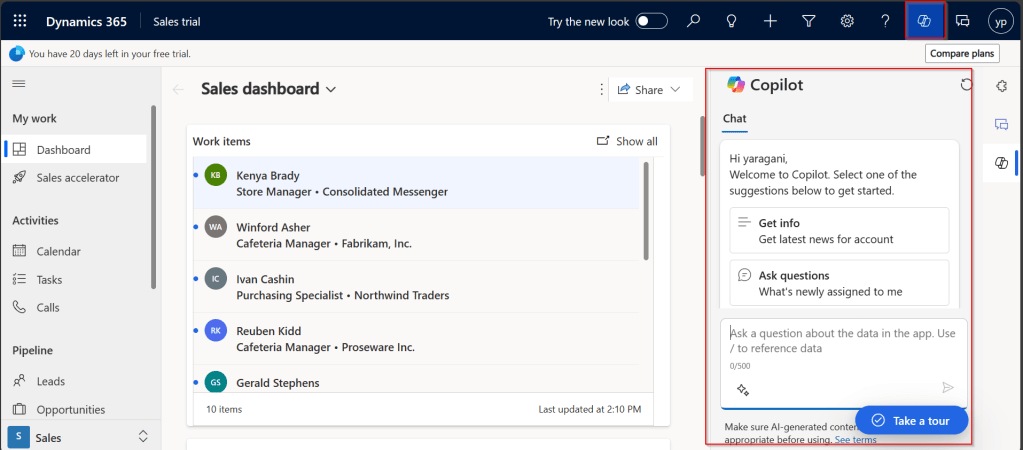
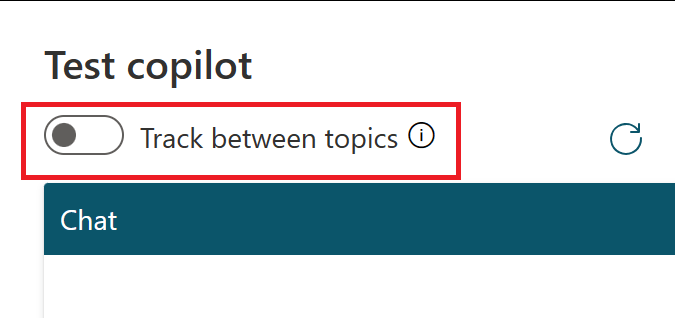
Let’s ask Copilot what this mean, click on the Copilot icon available as below

Choose to explain the formula

So now you click on Copy option available and paste it above your command, this serves as a comment for your expression, you can try for any complex expression you wrote in your App. This improves the readability of your app and also makers can use existing knowledge to quickly get up to speed, minimize errors, and build—fast next time you were working on the same App

Now you can generate Power Fx using Copilot, you can start typing in natural language what you need in comments and as soon you stop typing, it shows as generating as below…you could use either // and /* */, comments can remain in the formula bar as documentation, just like with traditional code.

It generates the Power Fx command for your input as below and then you need to click on Tab key on your keyboard, it will show something like below

And finally, you can see the output as below.

You can apply these two tips for complex formulas as well.
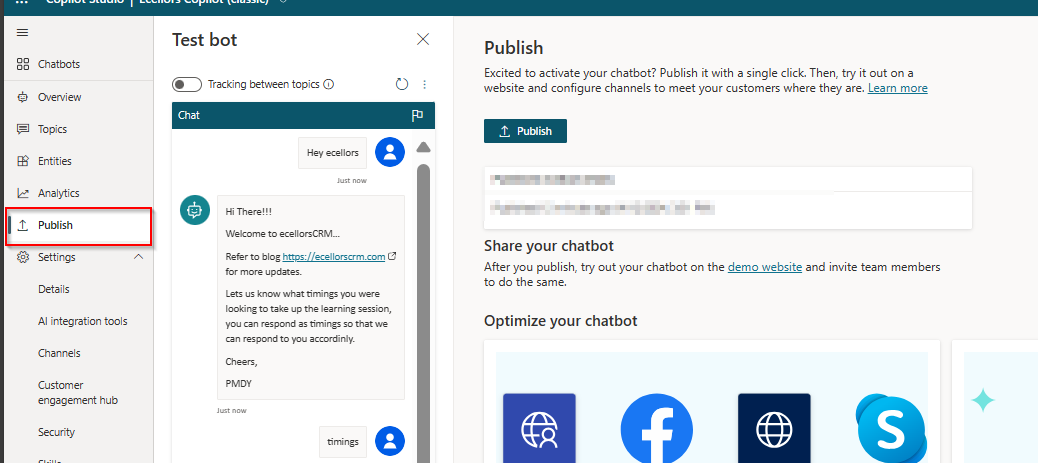
Feature 3: Integrate Canvas Apps with GitHub
Did you ever notice that if the canvas app was opened by one user, when another user tries to open the same Canvas app, you would see a warning message and you need to explicitly click on override to take it forward, meaning at any point of time, only one person could be able to work on the Canvas App.
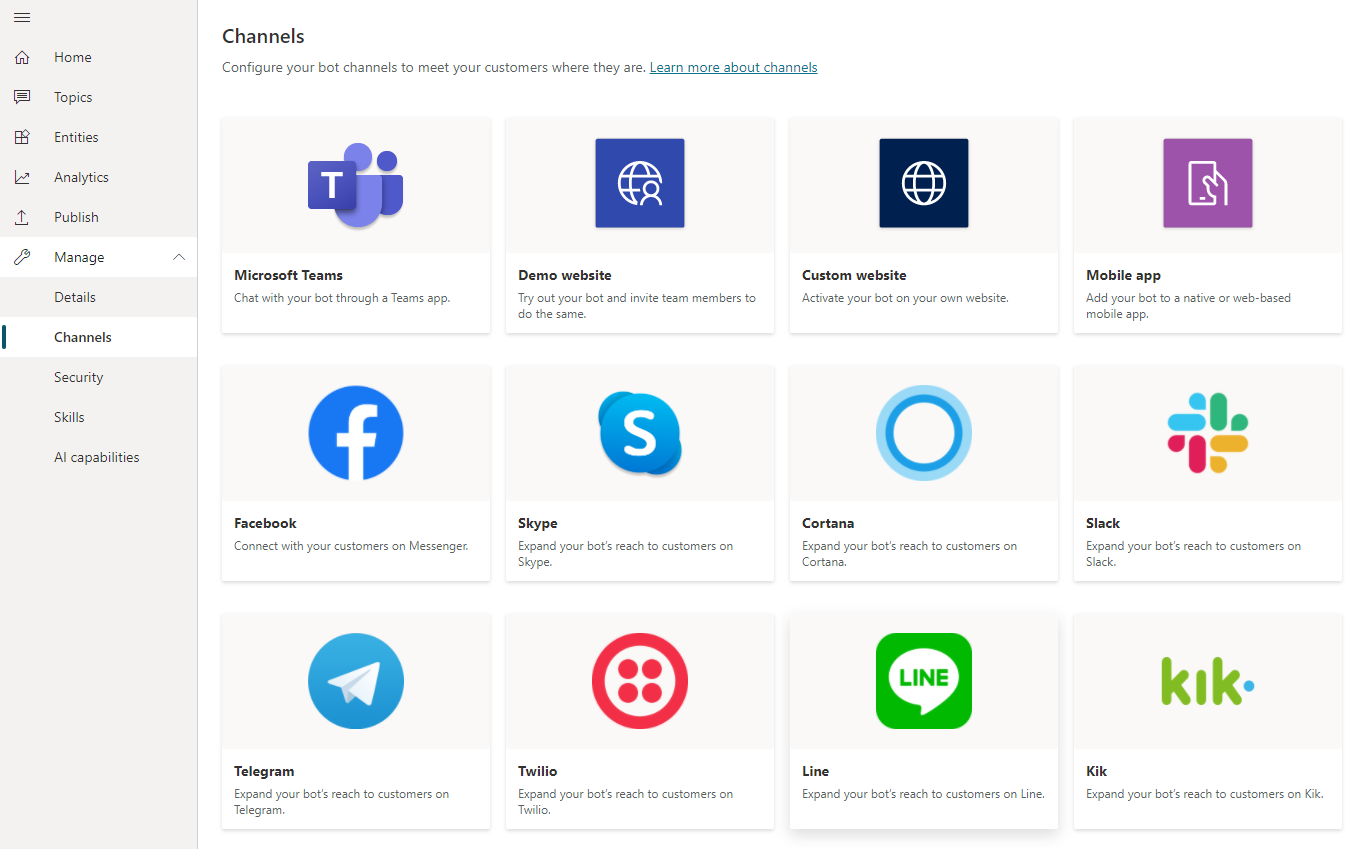
Now we can use first class Devops with the GitHub Integration feature enabled, many people can work on the same canvas app at the same time and also commit the code for Canvas Apps to Git, let’s see this.
Prerequisites:
- You need to have a GitHub Repo created, creating branches is optional, we can use main branch otherwise.
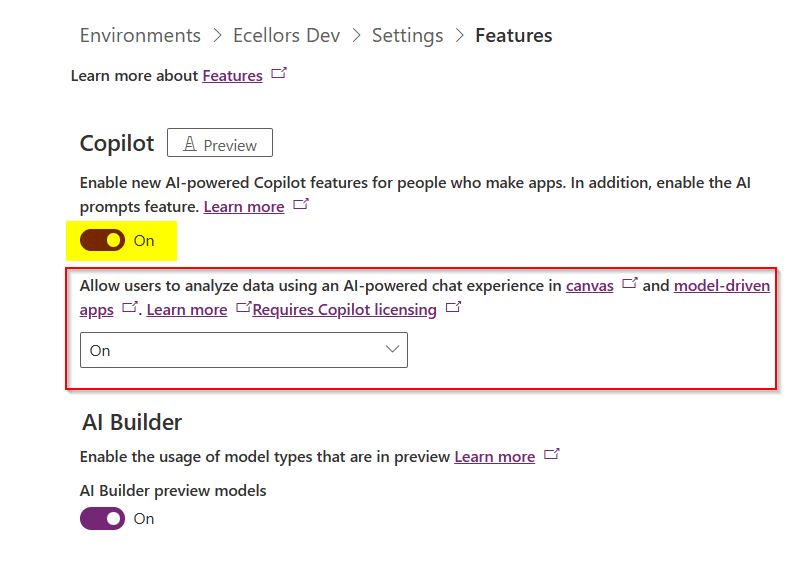
- Enable the experimental feature as below

Then you should see

Next thing is you need to configure Git version control as below, you can either use GitHub or Azure DevOps for this, I want to create a new Directory for storing my canvas app like GitHub Test which is not yet in my GitHub Account.

You need to your GitHub Account settings to create a new token as below.
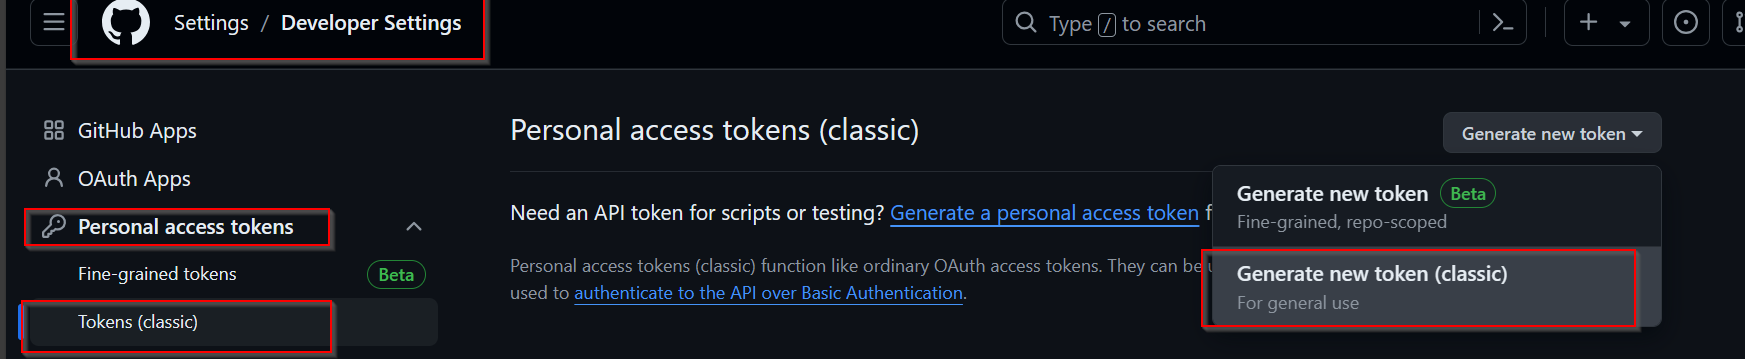
For the personal access token, give repo level scope and click generate token.
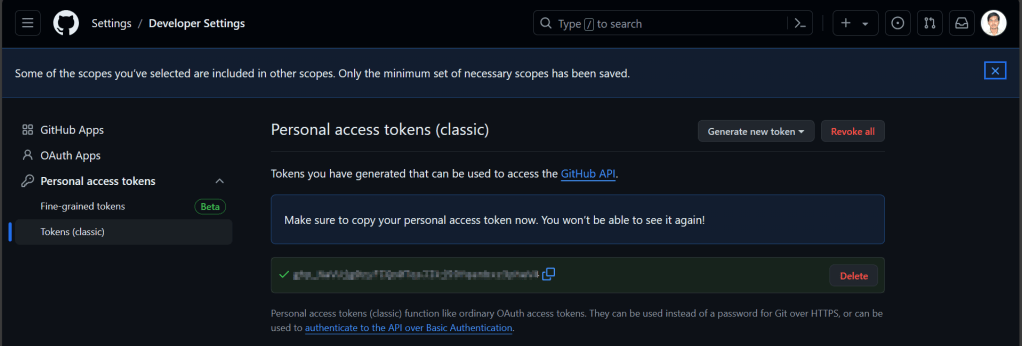
Copy the personal access token in the connect to a Git Repository window, once authenticated, you should see a message like below.

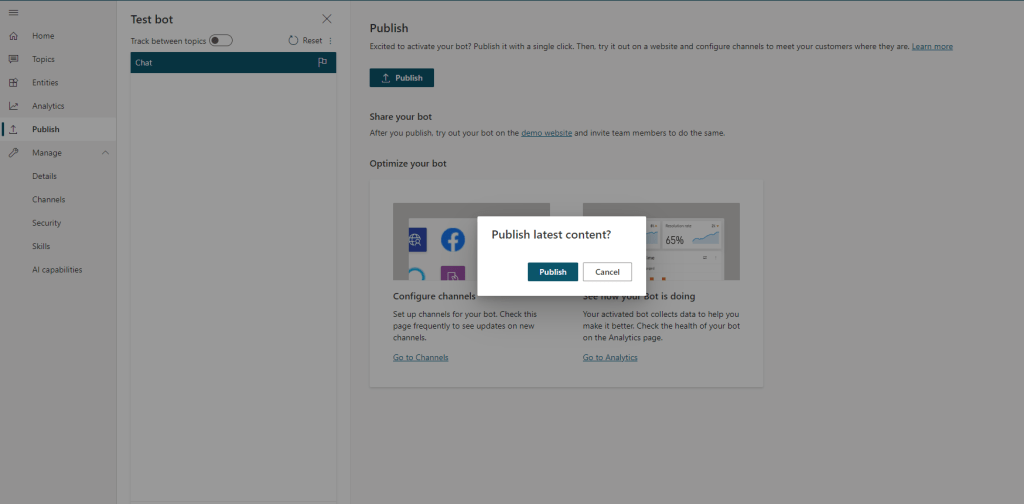
Click Yes, you should see something like below

Within a minute, you should the below screen w

So, you should the code files being created in your GitHub Account as below

Now, your team can make the changes in the GitHub, since GitHub allows multiple people to work on it, latest commit will be reflected whenever you try to open the Canvas App from the maker portal. This helps developers build and deploy to source control without leaving the maker portal. Whenever you try to open this app, it will ask your Git Account credentials.
Do note that these features are currently available in US Preview region as they are just released last week in Build and would be released to other regions in near future, possibly in June 2024.
Hope you learned something new coming up next month or sooner…
That’s it for today…
Cheers,
PMDY